


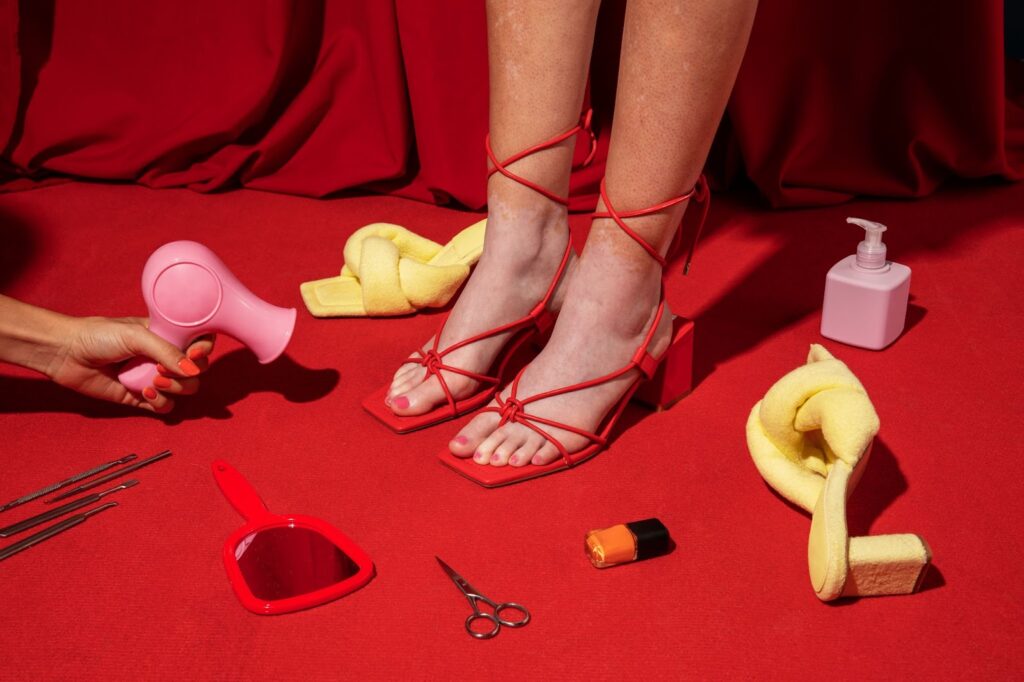


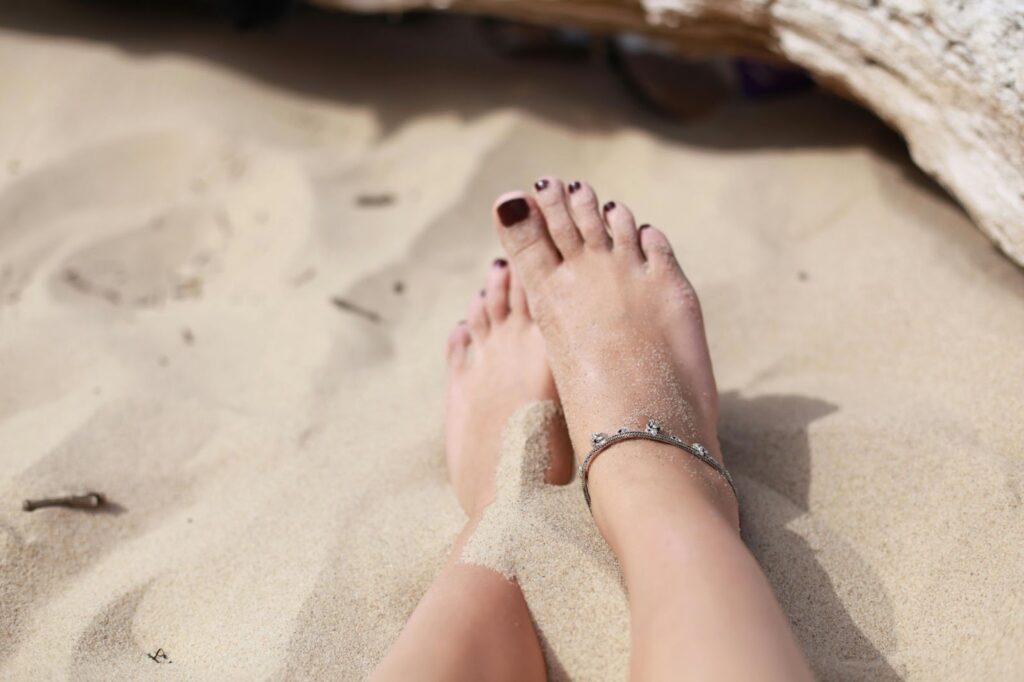


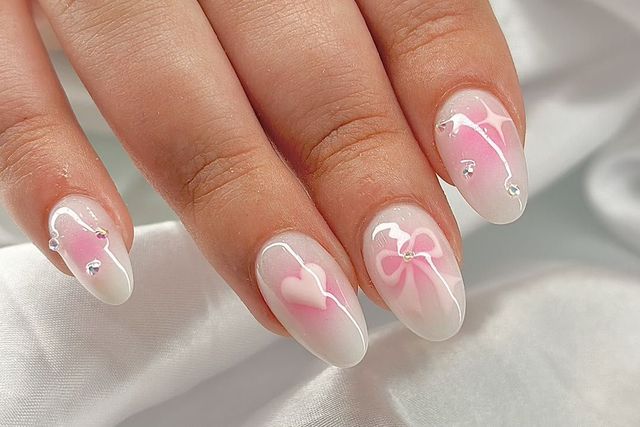


DIY Salon-Quality Manicure: Your Step-by-Step Guide
Achieving a salon-quality manicure at home is absolutely possible with the right technique, tools, and care. Whether you’re trying to save money, pamper yourself, or avoid harsh salon chemicals, mastering the art of the DIY manicure is both empowering and rewarding.
Why Choose to Do Your Own Nails at Home?
Knowing how to do your nails at home like a professional saves time, money, and keeps you in control of your nail health. Whether you’re going for a fresh color, classic French tips, or a clean manicure at home naturally, doing it yourself lets you personalize every detail.
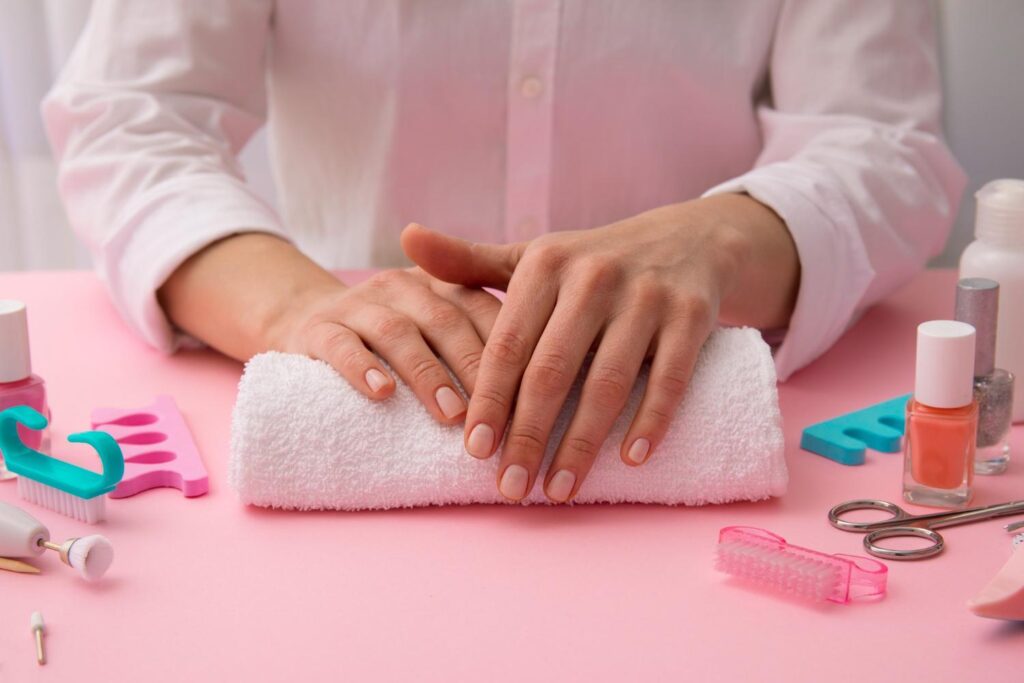
Choose Your Tools: Manicure Kit vs. Individual Items
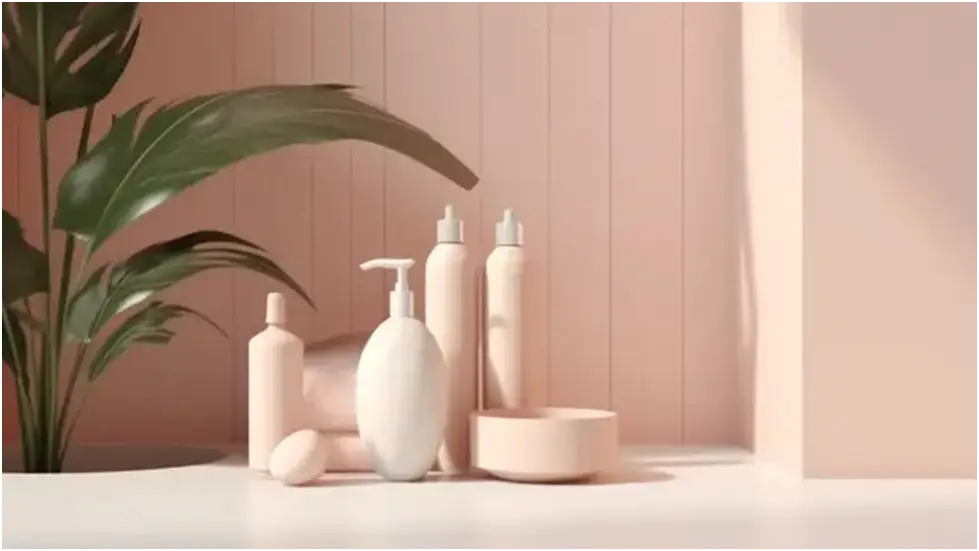
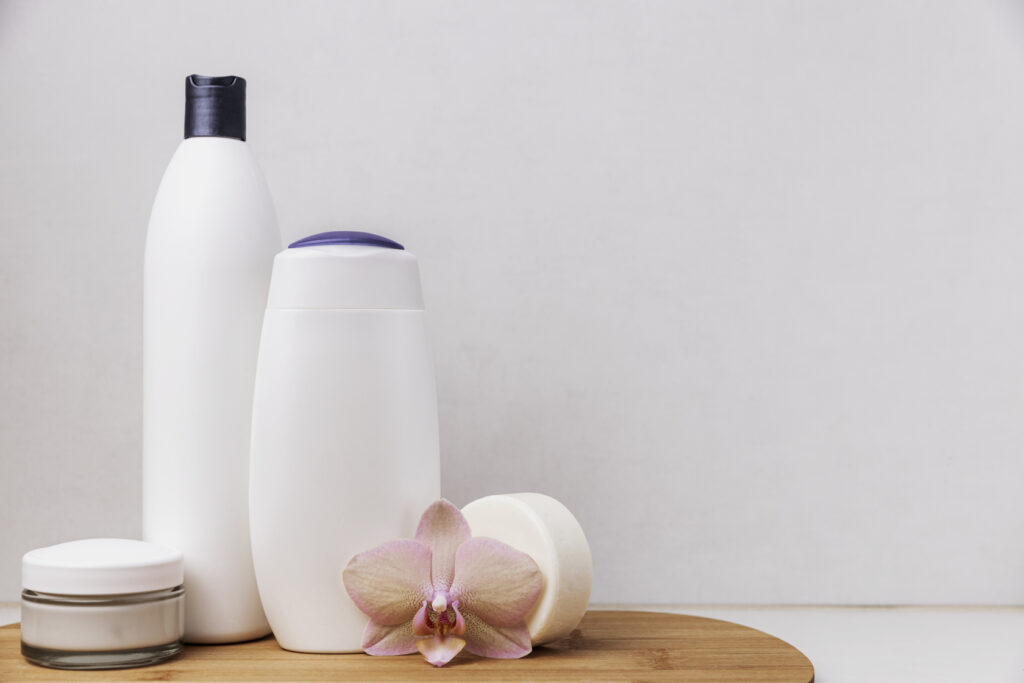
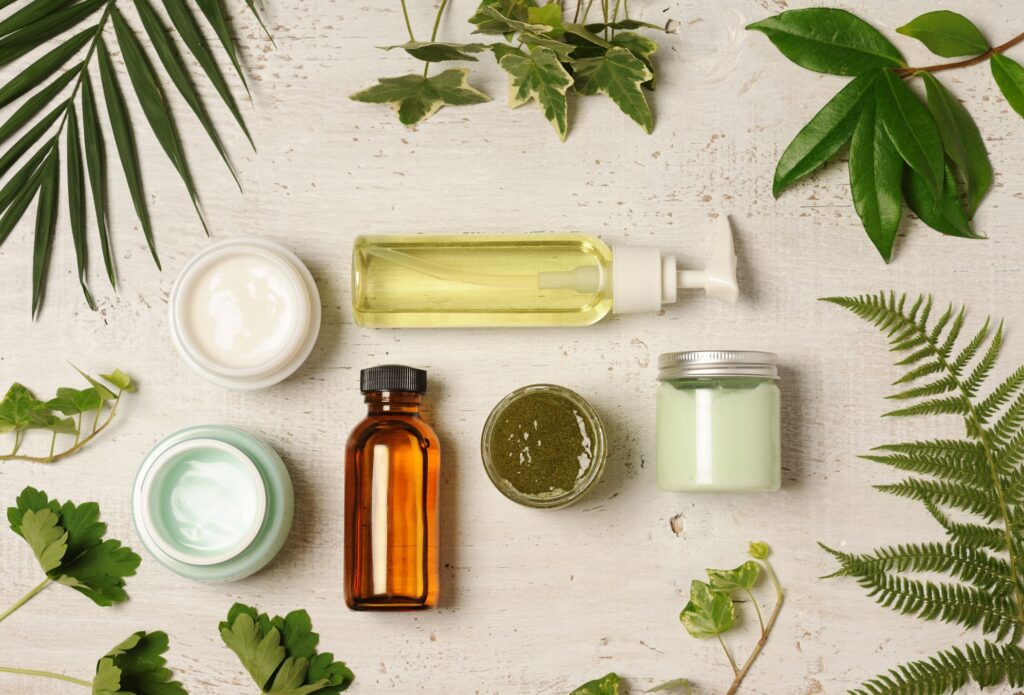
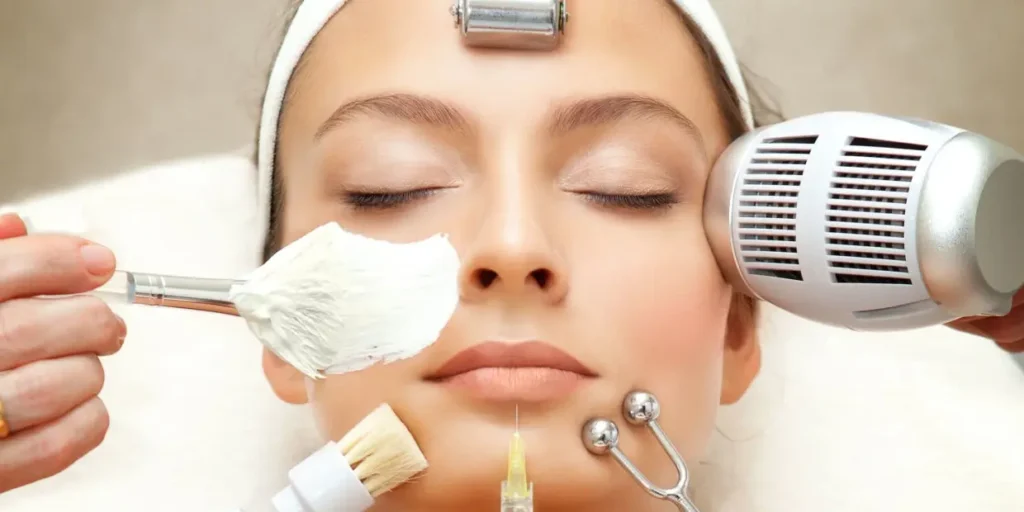
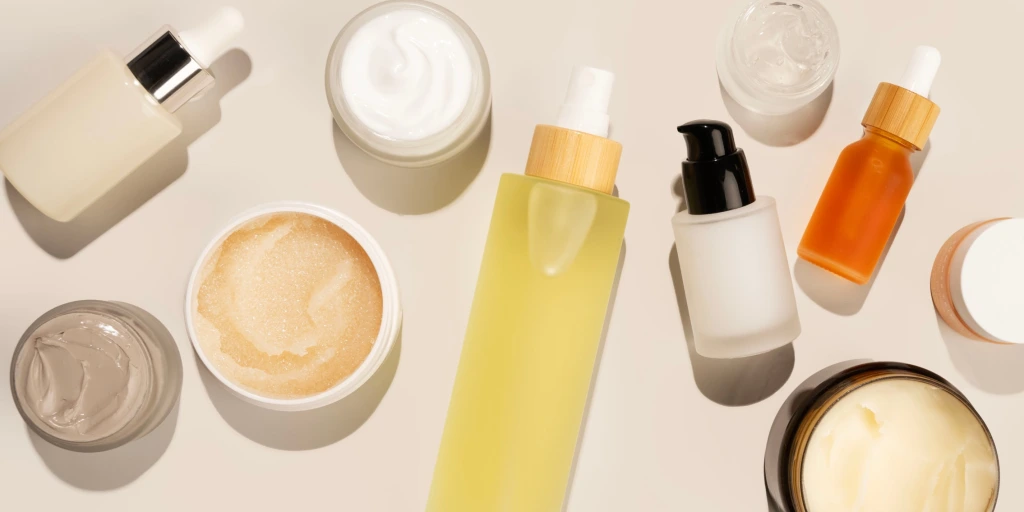
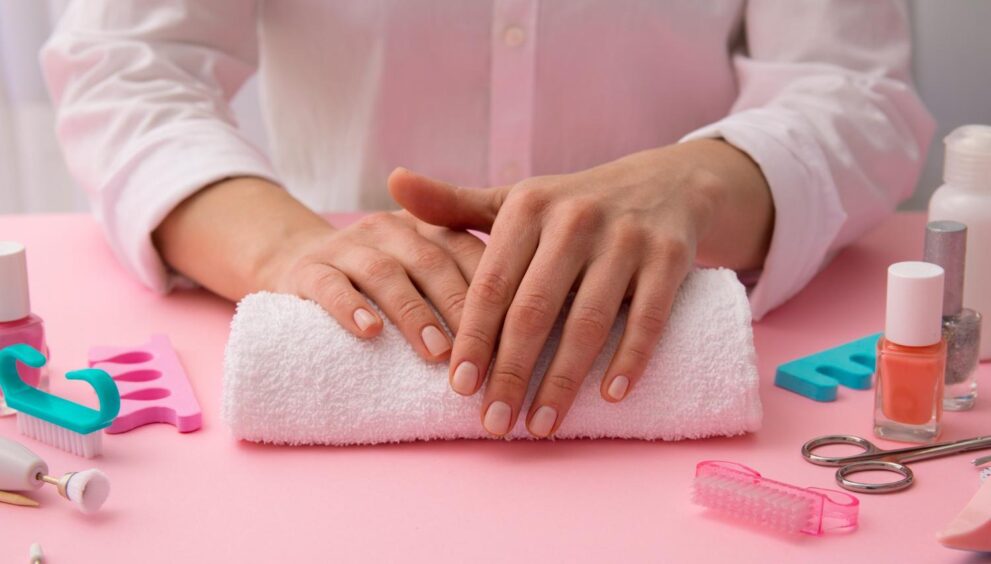
Before diving into the steps, it’s crucial to assemble the right tools. A professional manicure kit is a smart investment, but be cautious cheap kits can cause injuries due to poorly made blades or fragile tools.
Tips for choosing a professional kit:
- Look for stainless steel instruments (they’re durable and sanitary).
- Read reviews and avoid overly inexpensive options.
- Choose kits that include essentials: nail clippers, cuticle pusher, buffer, nail file, and nail scissors.
Alternatively, buy each tool separately for customized quality. This can sometimes offer better value and control over what you’re using on your nails.
Step-by-Step: How to Do Manicure at Home Like a Professional

Mastering the manicure steps at home is all about practice and the right approach. Follow this process for easy, consistent results every time.
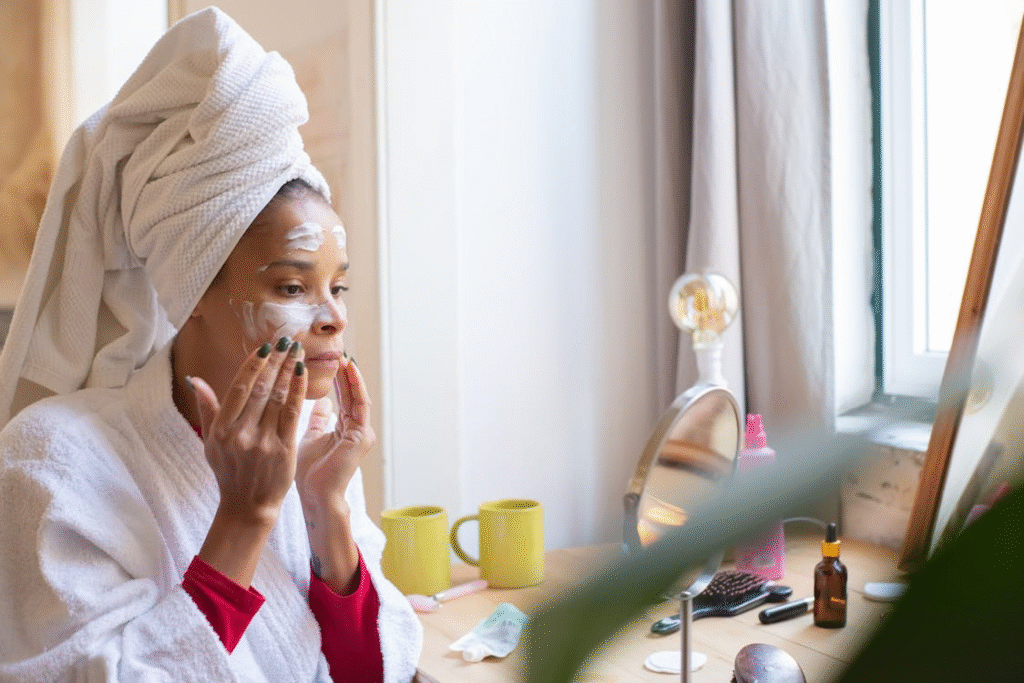
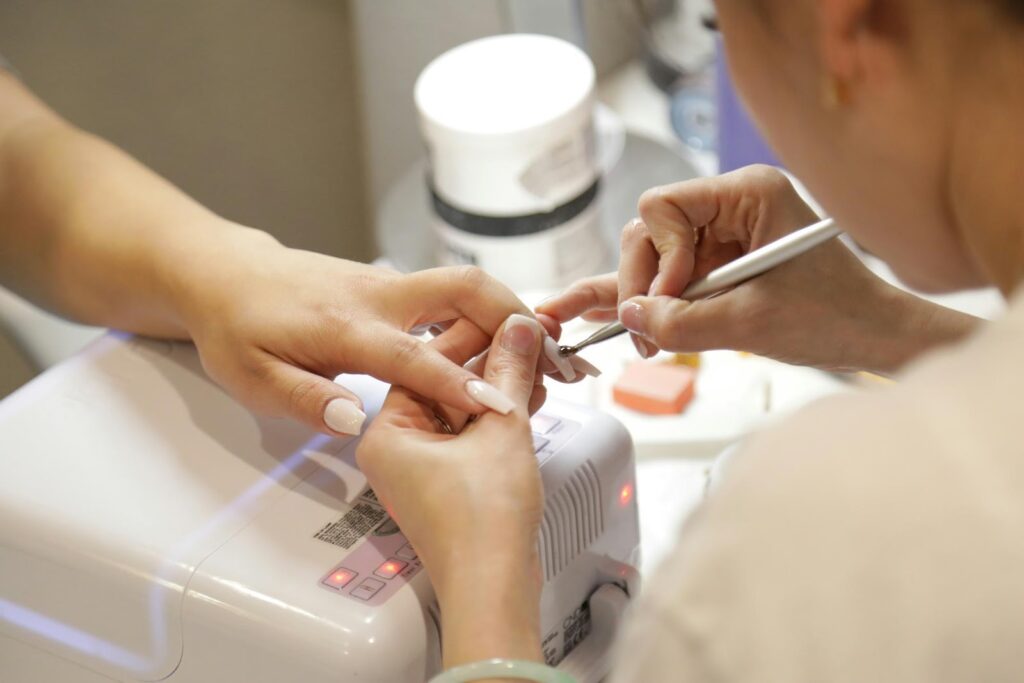
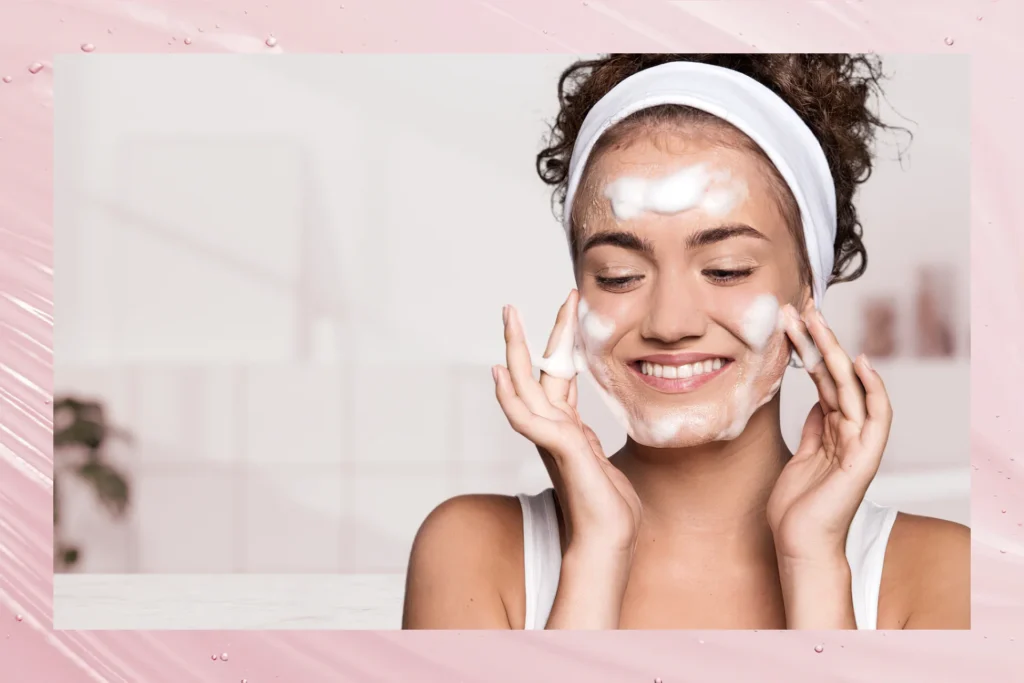
Step 1: Clean and Prep Your Nails
Remove old polish using an acetone-free remover to avoid drying your nails. Wash your hands thoroughly with soap and warm water.
Pro Tip: Use a nail brush to clean under nails and around the cuticle area for a clean slate.
Step 2: Trim and Shape Your Nails
Use high-quality nail clippers to trim your nails evenly. Then, shape them with a fine-grit nail file. Whether you prefer square, almond, or round shapes, be consistent and file in one direction to avoid splitting.
Manicure Tip: Avoid metal files; they can be too harsh on natural nails.
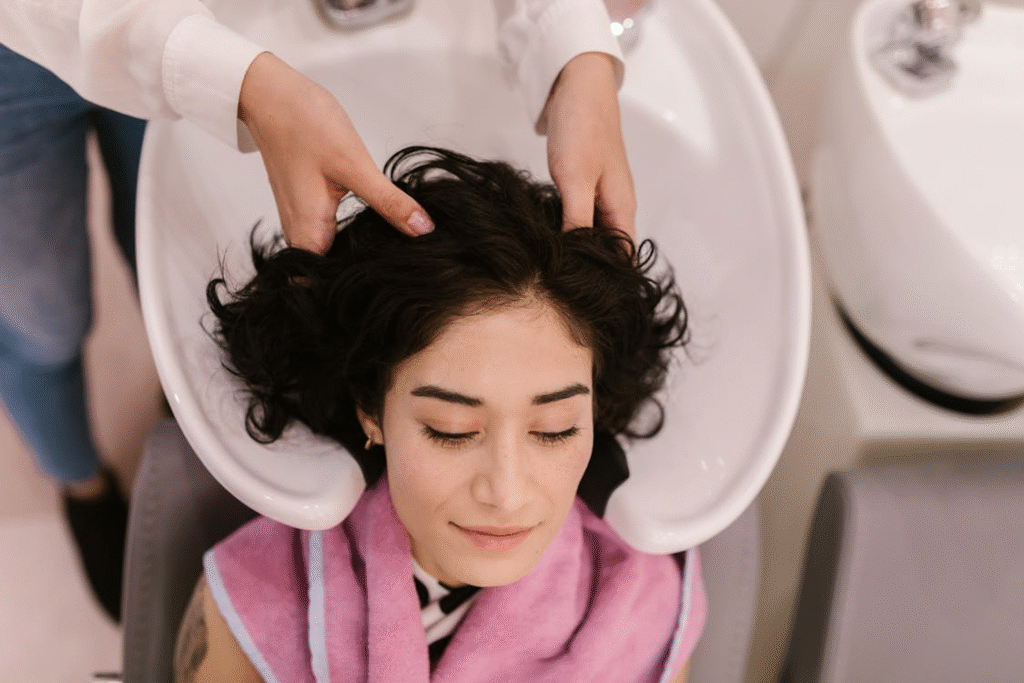
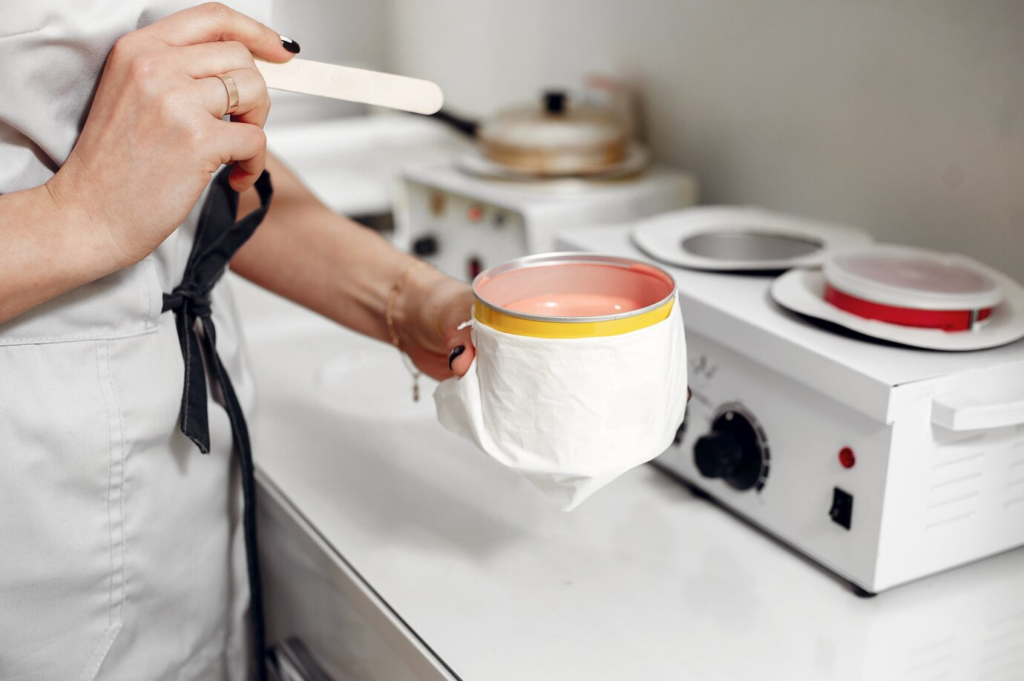
Step 3: Soften and Push Back Cuticles
Soak your fingertips in warm, soapy water for 5–7 minutes. This softens the cuticles for easier manipulation.
Gently push them back with a cuticle pusher—never cut them, as this can lead to infections. This step is essential for those aiming for a manicure at home naturally with a clean, fresh look.
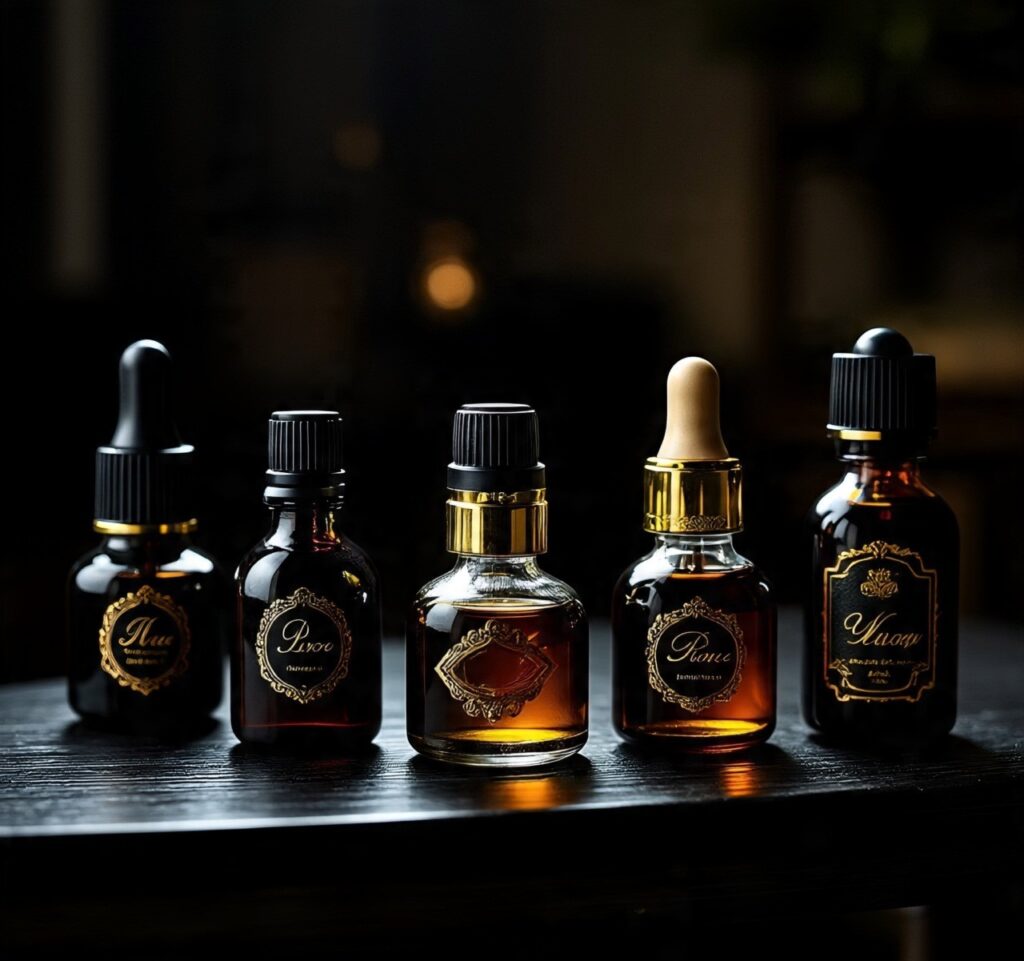
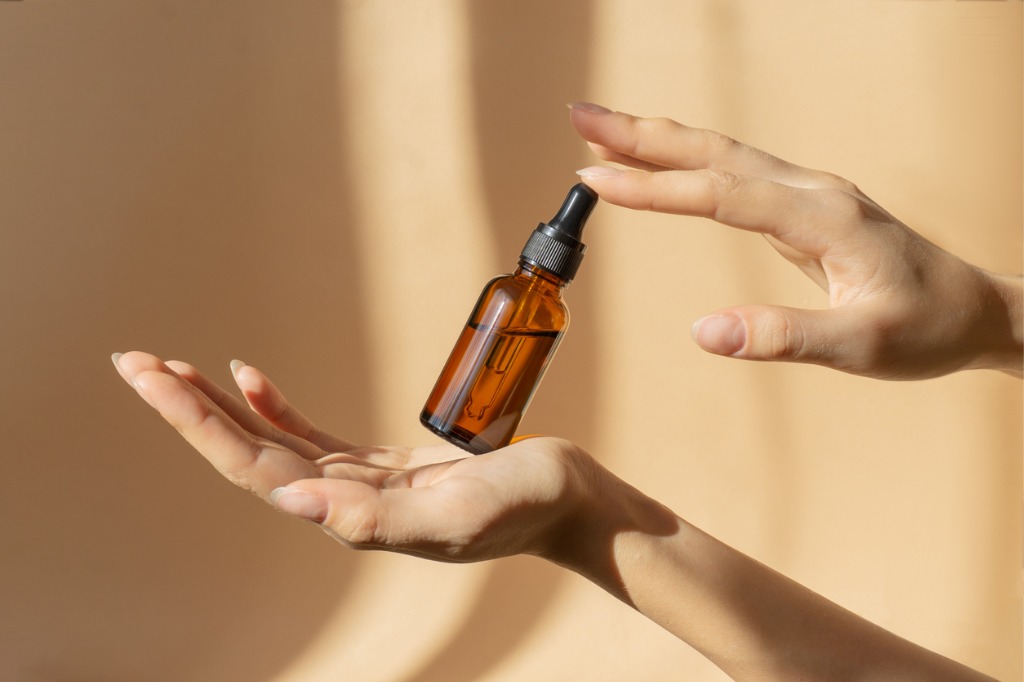
Natural Manicure Tip: Massage a few drops of jojoba or almond oil into cuticles to hydrate and soften without soaking.
Step 4: Buff Your Nail Surface
Using a nail buffer, smooth the surface of your nails. This enhances shine and creates a smooth canvas for polish.
Easy Nails at Home Hack: Don’t over-buff—once a week is enough to prevent thinning the nail.
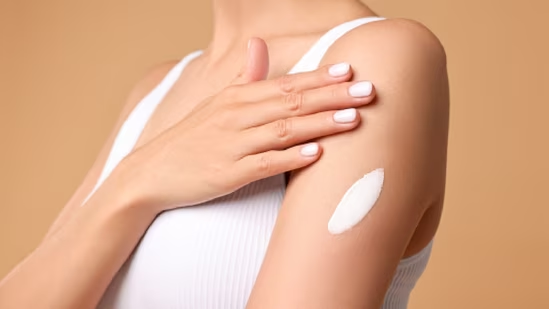
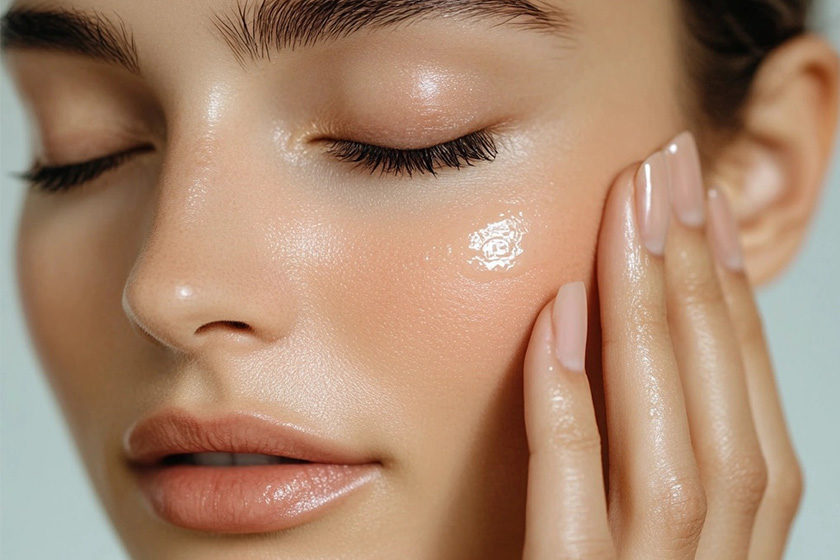
Step 5: Moisturize and Clean Again
Apply hand cream or cuticle oil generously and massage in. Let it absorb, then wipe nails with rubbing alcohol to remove any oil before painting.
Why it matters: Oils left on the nail bed can prevent polish from adhering properly.
Step 6: Apply Base Coat
Always start with a quality base coat. It prevents staining, fills ridges, and helps polish last longer.
Pro Manicure Tip: Let each layer dry completely before applying the next to avoid smudging.
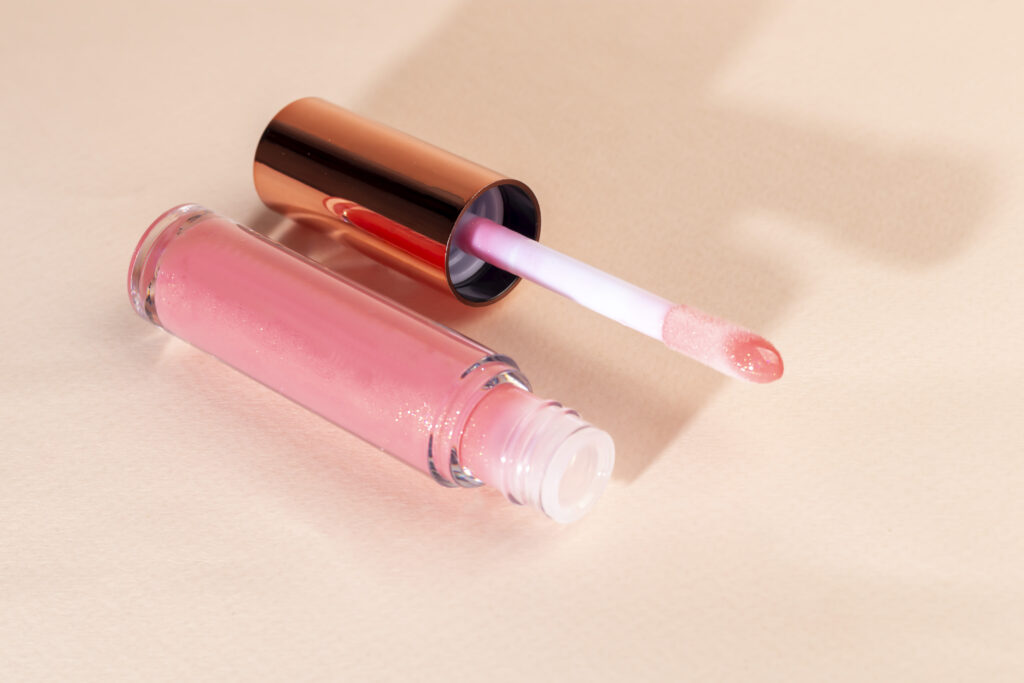
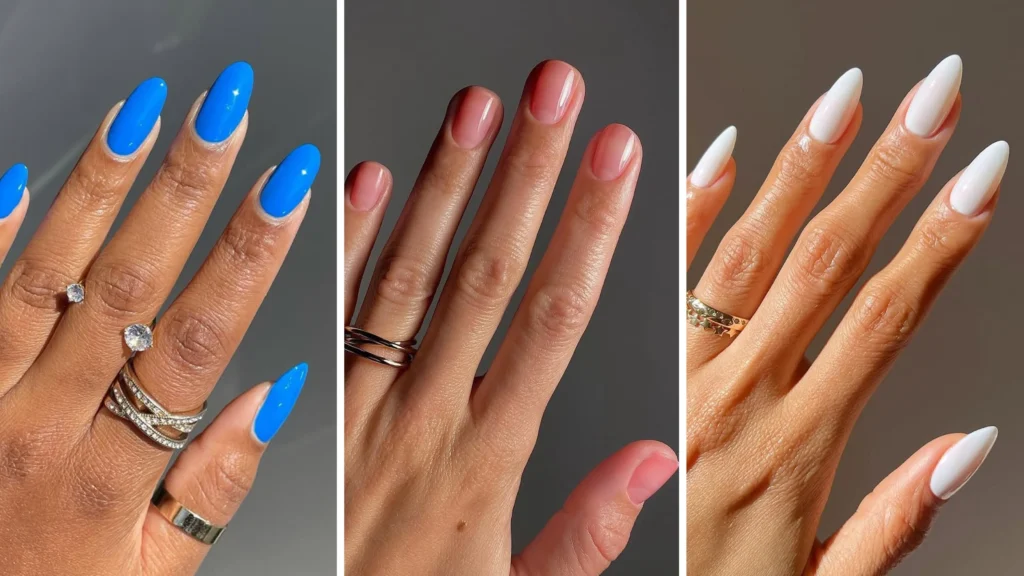
Step 7: Apply Nail Color in Thin Layers
Choose your favorite polish and apply it in two thin coats. Start from the center of the nail and sweep outward. This helps avoid streaks.
Tip for Manicure at Home: If your hand shakes, rest your elbow on a flat surface to steady it.
Step 8: Seal with a Top Coat
Use a high-gloss or matte top coat to seal in your color and extend wear time. Reapply every 2–3 days to prevent chipping.
Extra Protection Tip: Wrap the top coat over the tips of your nails to lock in color and prevent early wear.
Step 9: Clean Up Mistakes Like a Pro
Use a small angled brush dipped in nail polish remover to tidy up edges and cuticles. This gives your DIY manicure a truly professional finish.
Step 10: Dry Completely
Let your nails dry for at least 15–20 minutes. Avoid using fans or blowing on them—this causes bubbles.
Quick Dry Tip: Use drying drops or a fast-dry spray if you’re short on time.
Best Manicure Tips for Long-Lasting Results
Knowing how to do a manicure at home is one thing—making it last is another. Here are key tips:
- Avoid hot water for at least an hour after painting.
- Wear gloves while cleaning or gardening.
- Moisturize daily to prevent peeling or cracking.
- Don’t skip base/top coats; they make all the difference.
How to Mani Like a Pro: Extra Tips for Success
- Practice makes perfect: Your non-dominant hand will improve with time.
- Use light colors to hide minor mistakes.
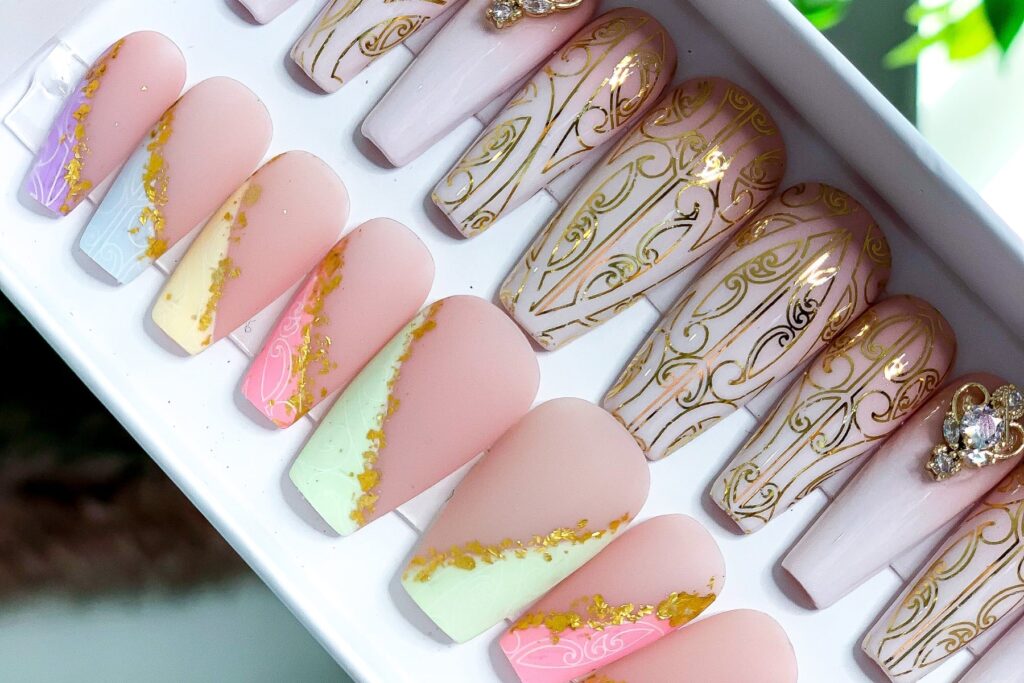
- Try minimalist nail art (dots, lines) once you’re comfortable.
Manicure at Home Naturally: No Polish, No Problem
For a natural glow, buff your nails and apply cuticle oil regularly. A beeswax-based balm can also give a healthy shine and strengthen nails without any color.
Bonus Tip: Drink plenty of water and eat biotin-rich foods like eggs, almonds, and spinach for stronger nails from the inside out.
Final Thoughts: Easy Nails at Home Done Right
Doing your nails at home doesn’t mean compromising on results. With the right tools, technique, and attention, you can create a stunning, long-lasting manicure that looks like it came straight from the salon naturally, beautifully, and confidently.