


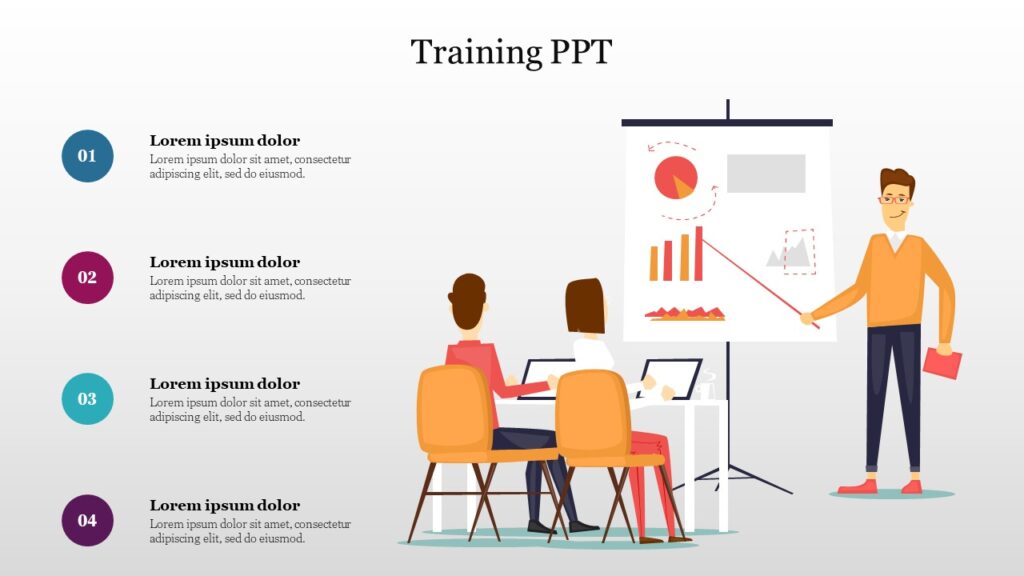


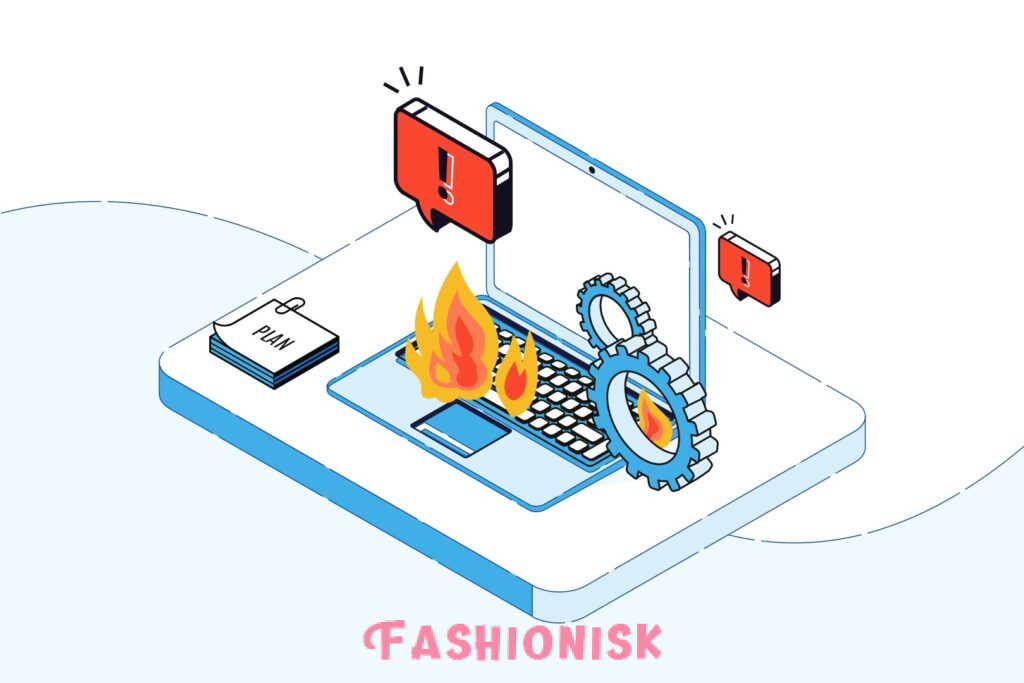


The ultimate checklist for your next promotional product order

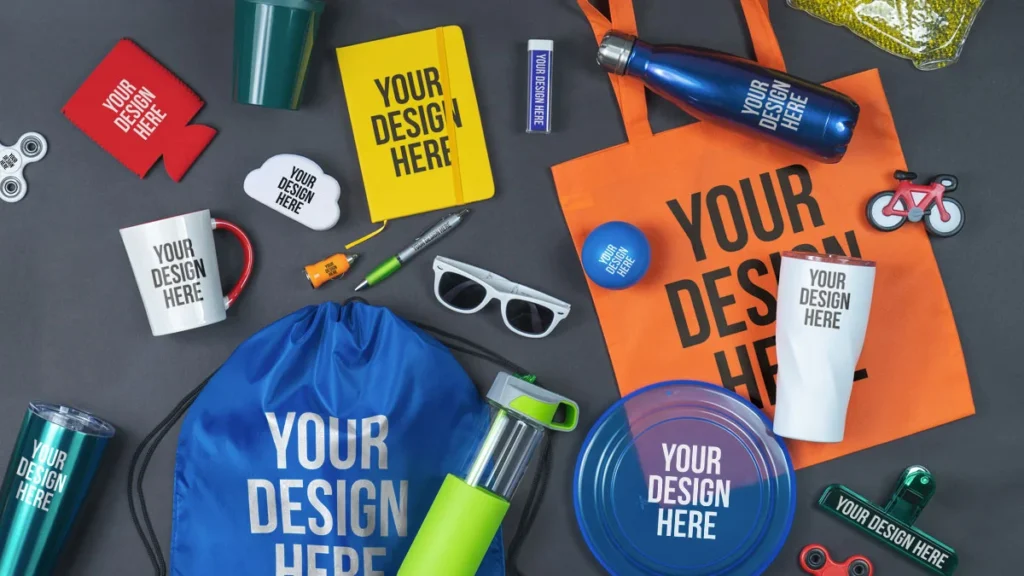
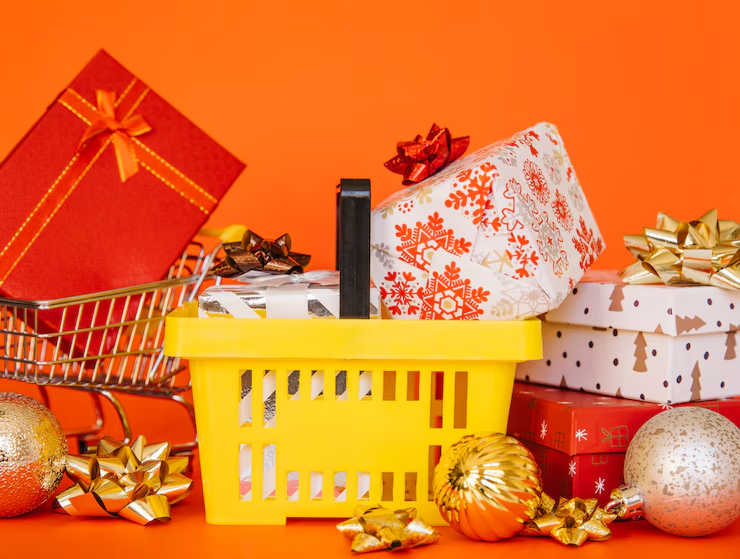
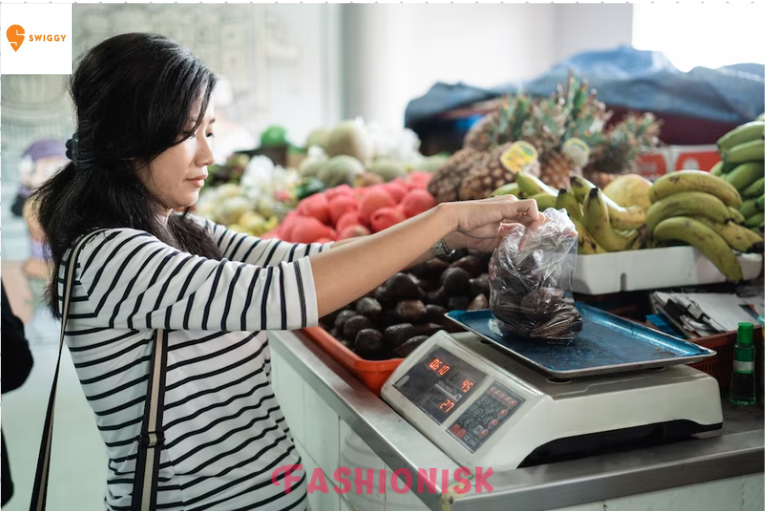
Hopping from shopping apps, we always notice new items being advertised, but do we remember what brand they were from? Unless you touch and feel it, you probably cannot identify its brand name at a glance. This makes it all the more critical for businesses to stand out in the market with appealing promotional items that leave a lasting impression on the audience.
Promotional products, those branded and customized goodies, serve as brand-building tools and promote customer loyalty. Even better, they deliver impressive engagement. Gearing up for your next campaign? We have curated a promotional product checklist that will guide you through ordering promotional products, ensuring efficiency and impact. Let’s get started.
Step 1: Define your goals and target audience
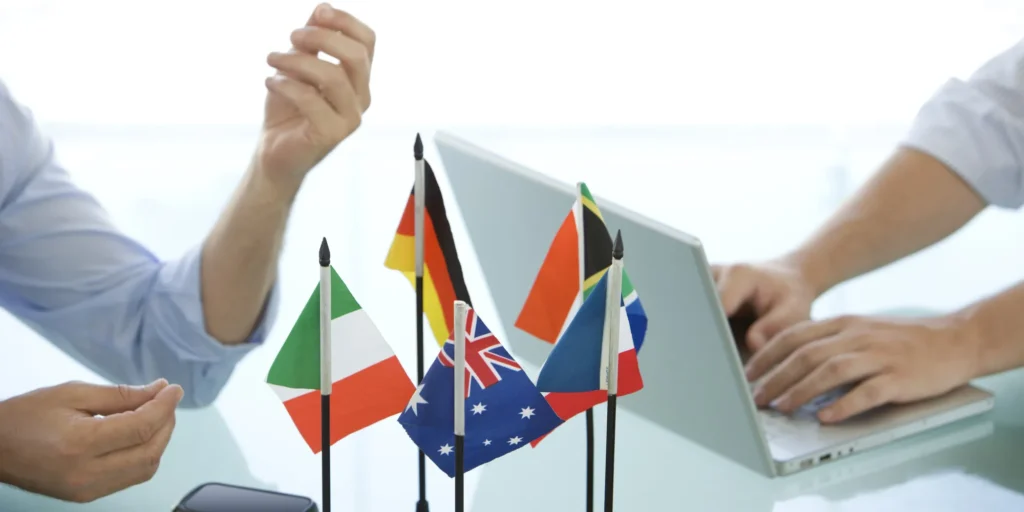
Every new venture or journey requires a clear goal. The same applies here. Specific and feasible goals help prioritize the choice of products, ensuring that they align with your marketing strategy, like eco-friendly bags for sustainability campaigns.
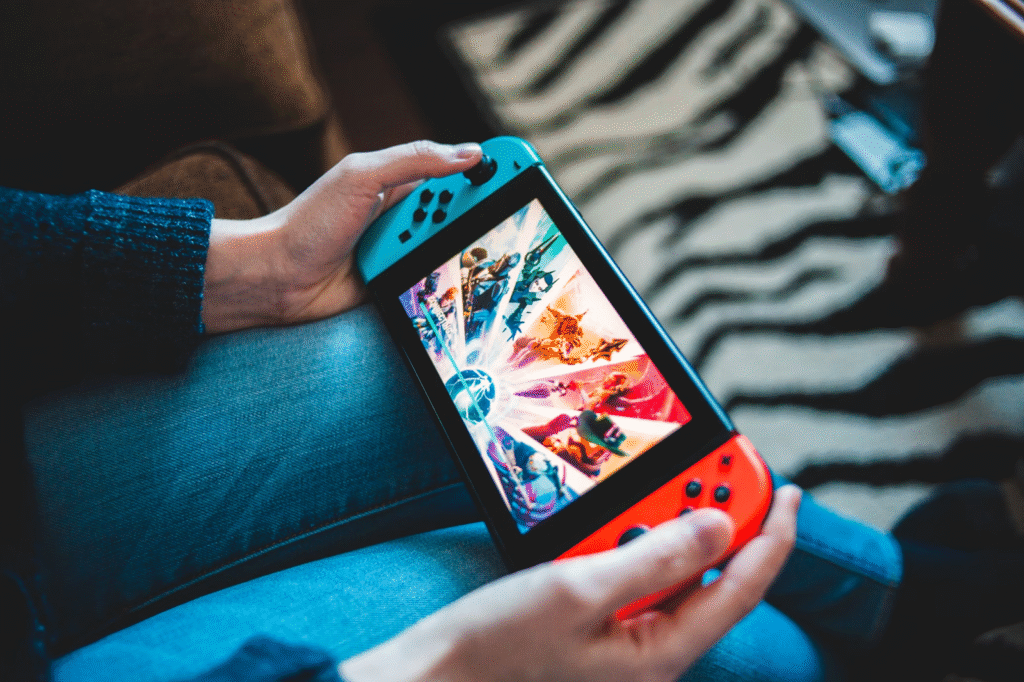
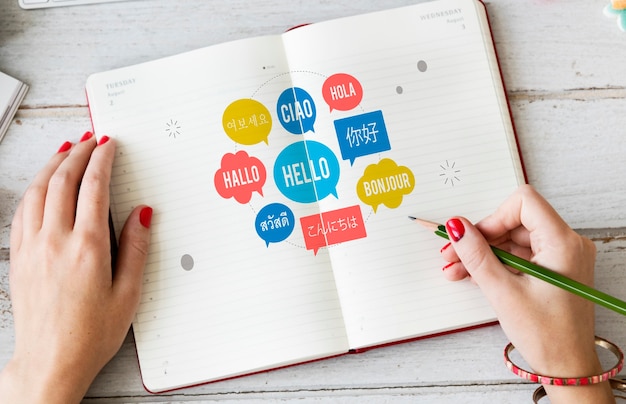
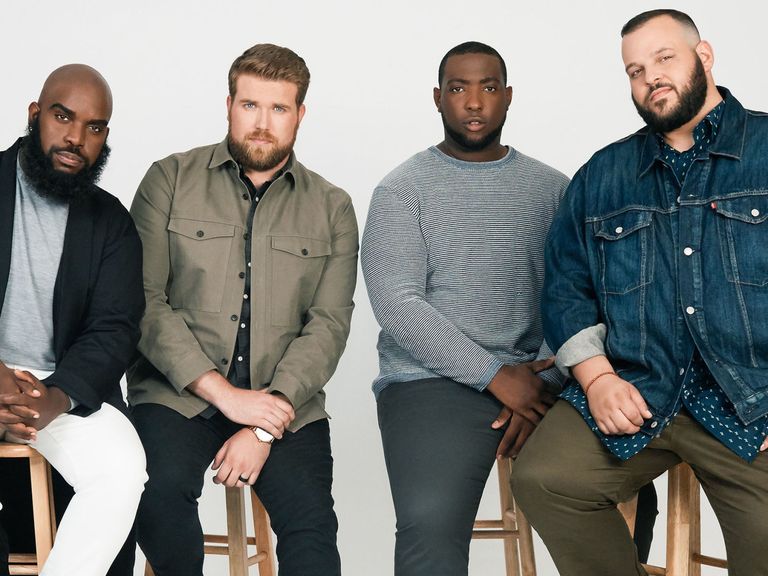
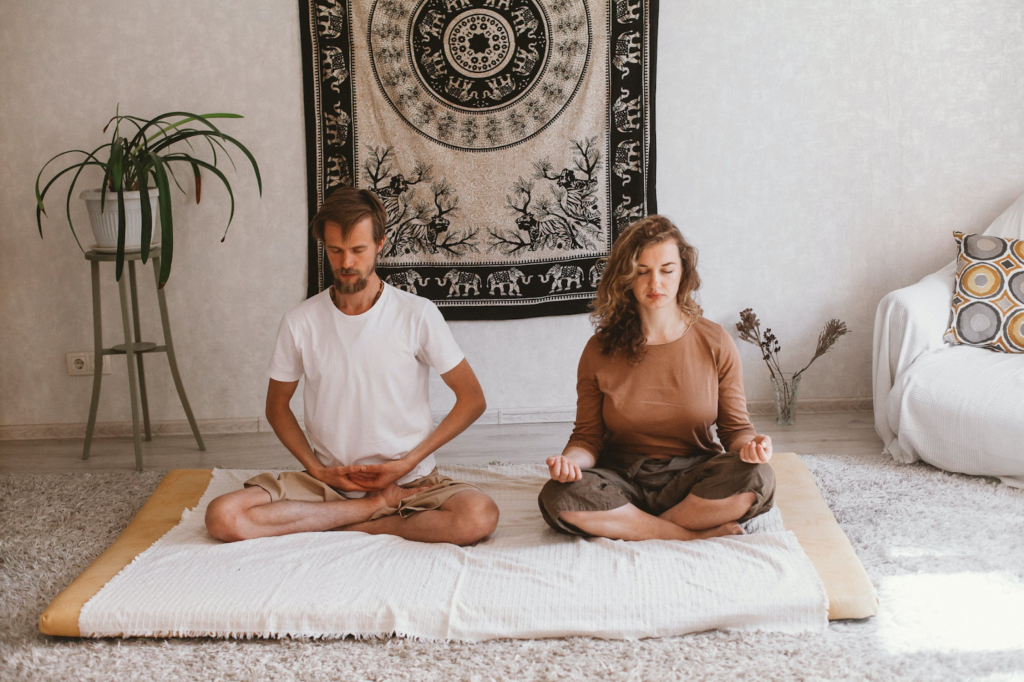
Next, profile or segment your audience thoroughly: their demographics, profession, lifestyle, and preferences. Young professionals, for example, might appreciate branded wireless earbuds, while families prefer practical items they can use in daily life. But in any case, avoid generic choices to prevent mismatched products, and consider cultural sensitivities and inclusivity to broaden appeal. This promotes higher retention and engagement.
Step 2: Establish budget, quantity, and timeline
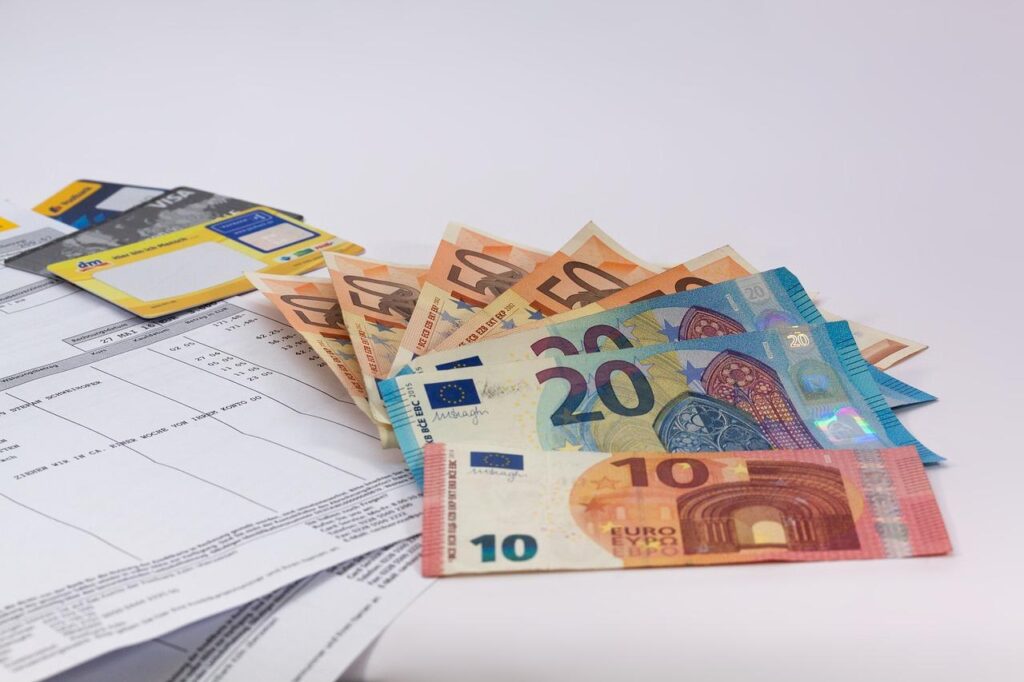
The extent of impact you envision defines the budget for your promotional campaign. Beyond the end value (ROI), your budget should also account for unit costs, setup fees, imprinting, shipping, and taxes. Like, if you are doing volume distributions, pick items under $5. But that doesn’t mean compromise on quality..
Determine the quantity based on expected reach, but order 10-20% extras for surprises. This is where order timelines turn critical. Standard production typically takes 2-4 weeks, but if you rush orders, it would hike the fees by 20-50%. Experts suggest using tools like spreadsheets to track expenses and deadlines efficiently. This structured approach keeps projects on track and within financial limits.
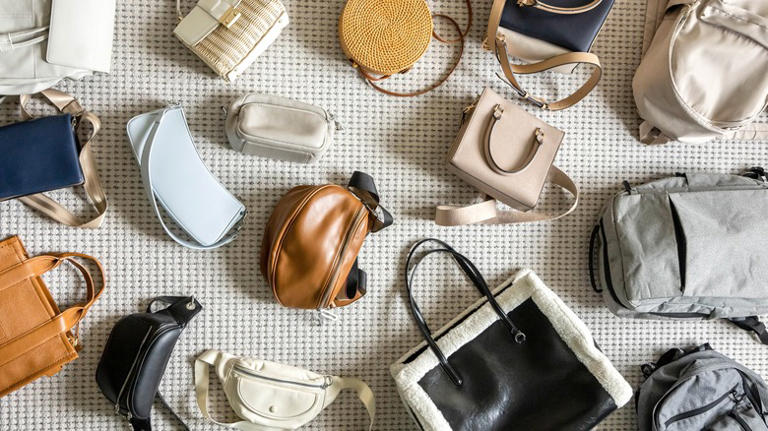
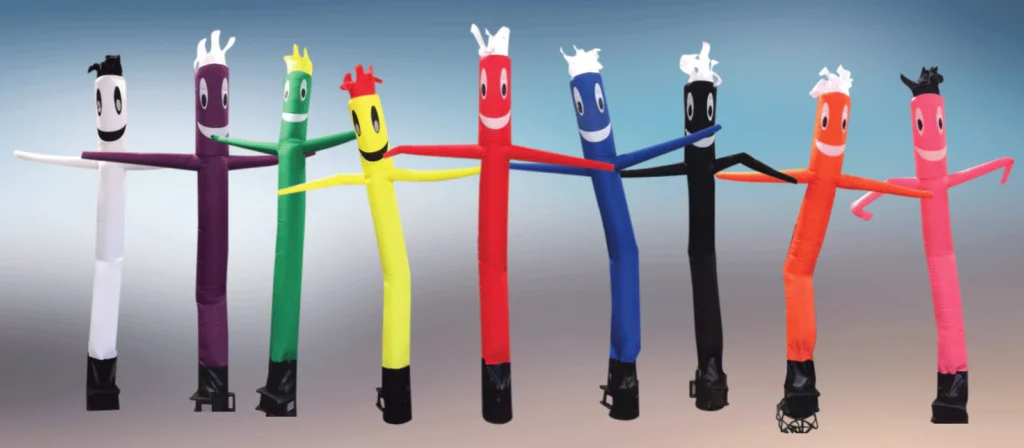
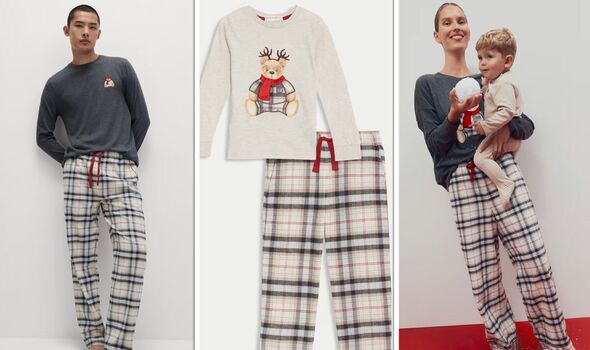
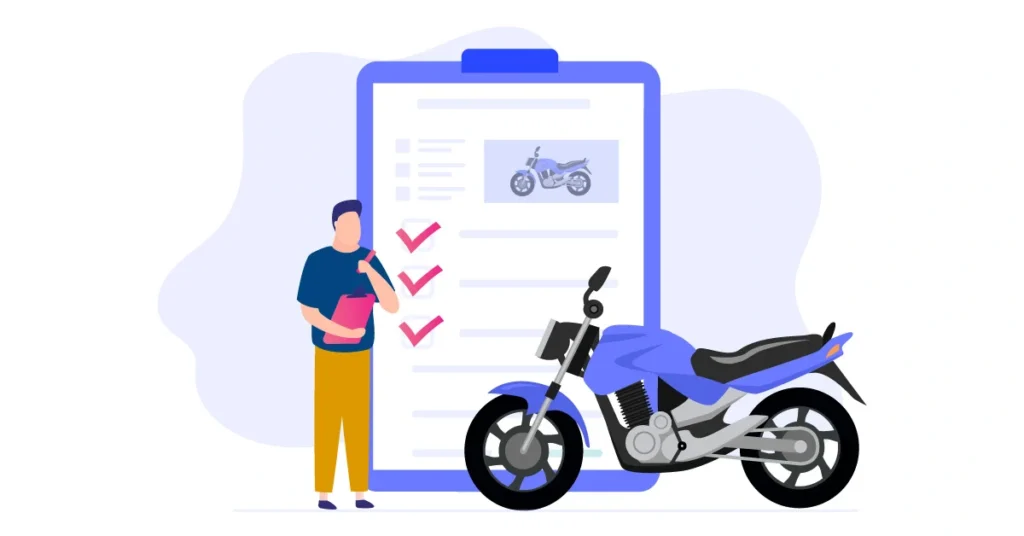
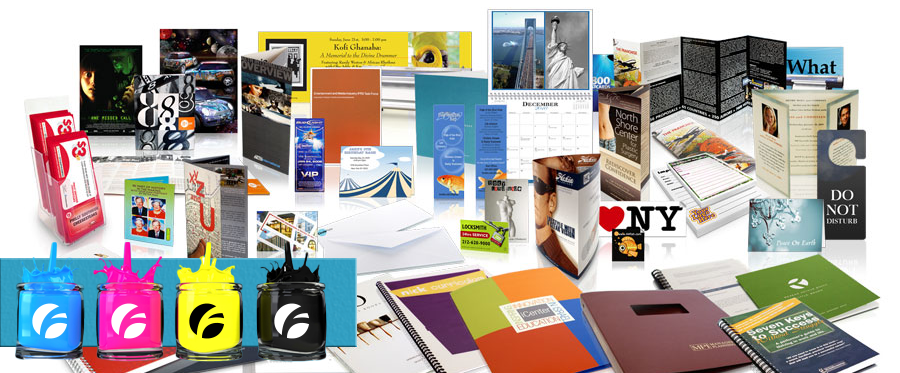
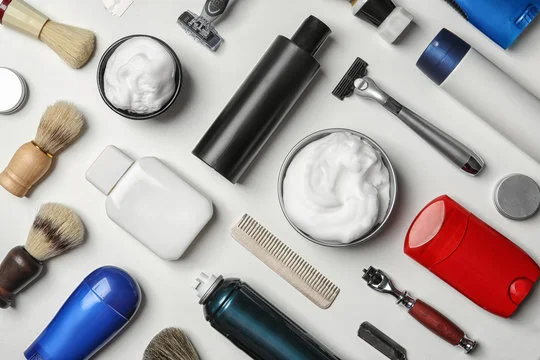
Step 3: Select the right products
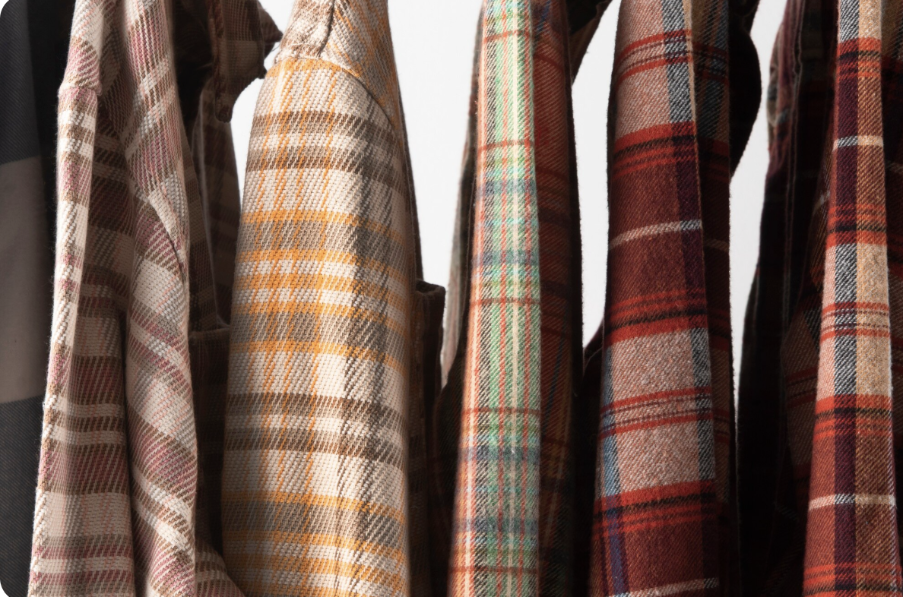
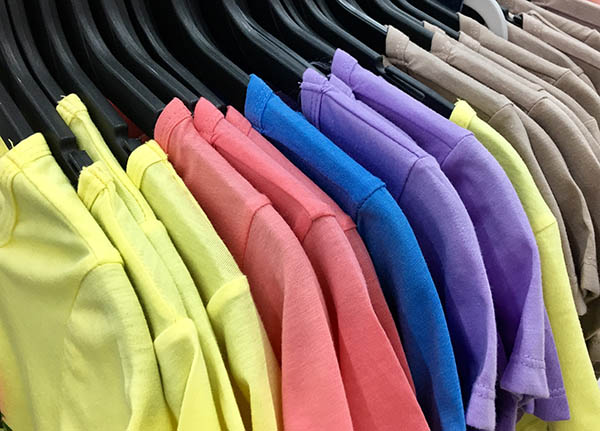
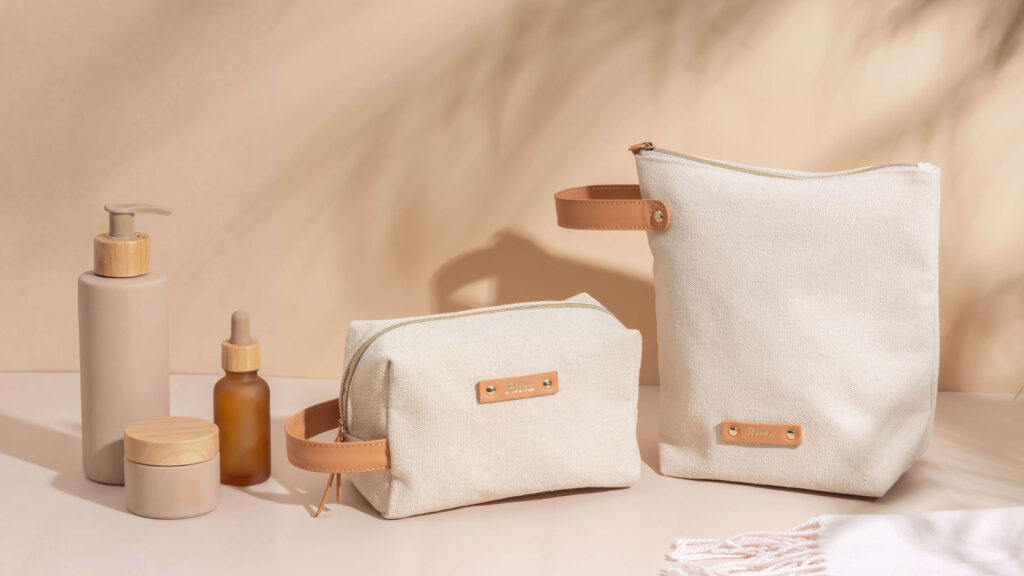
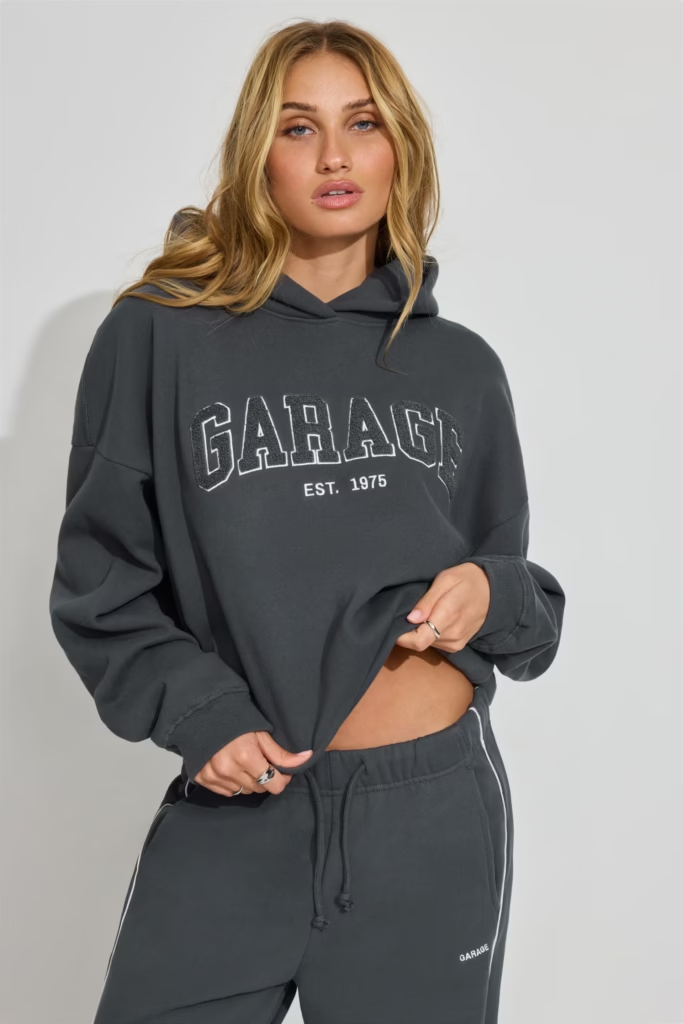
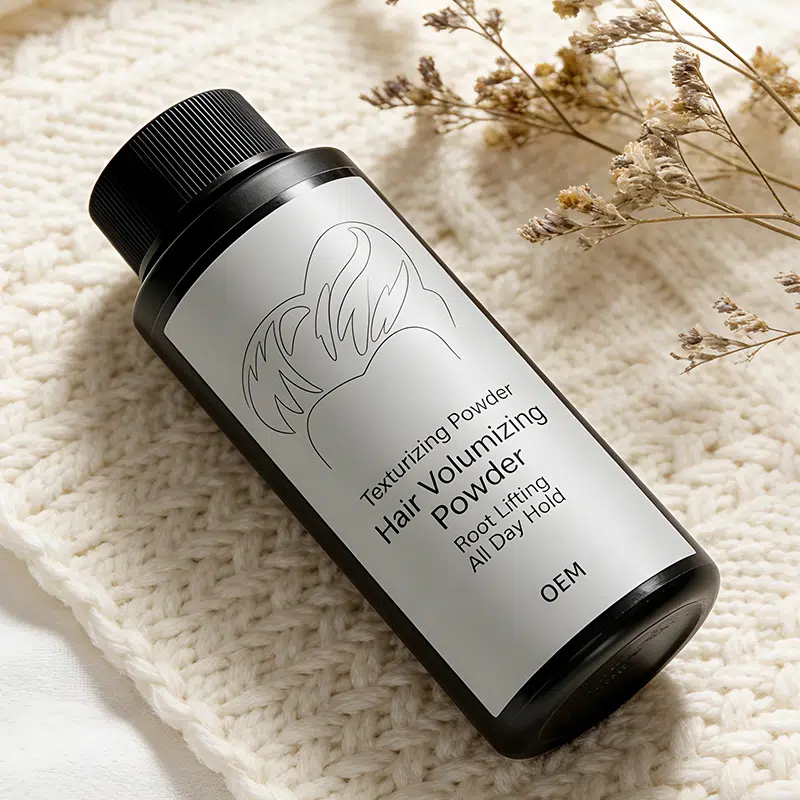
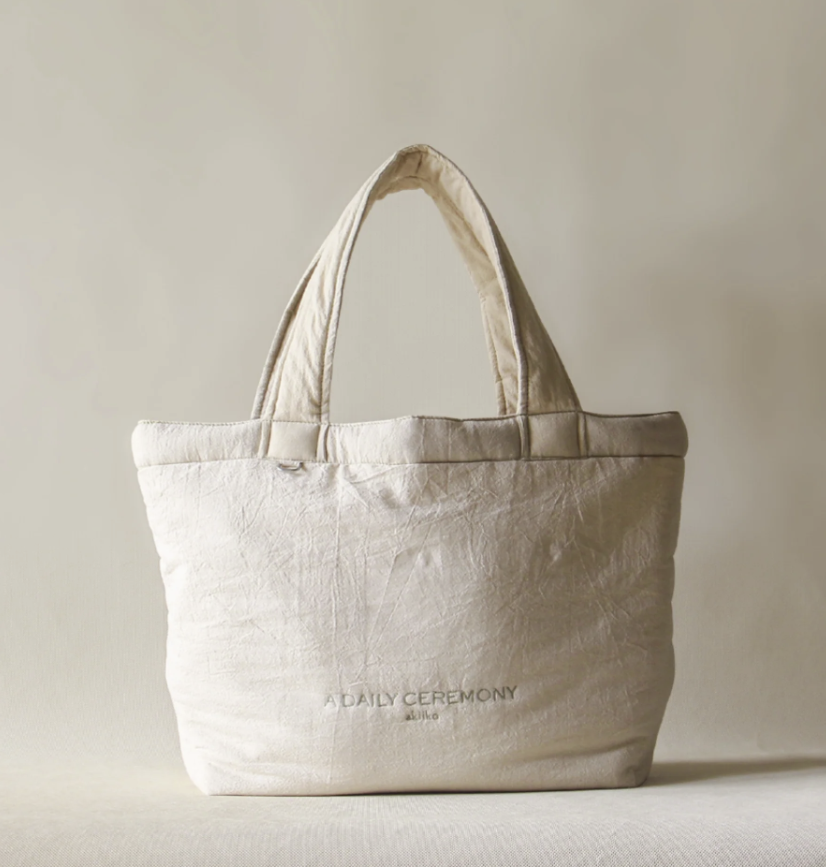
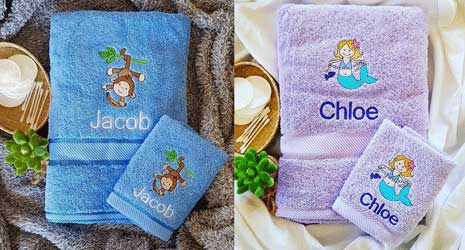
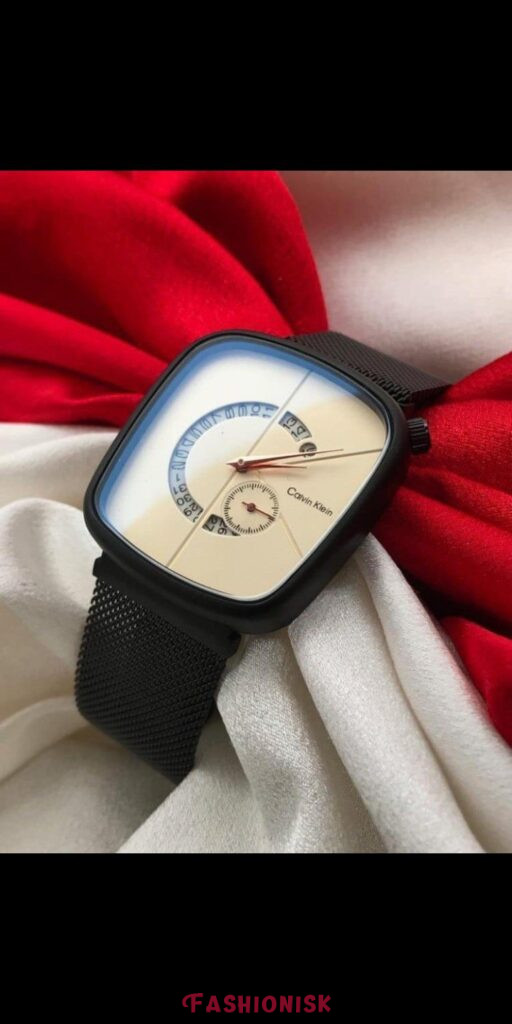
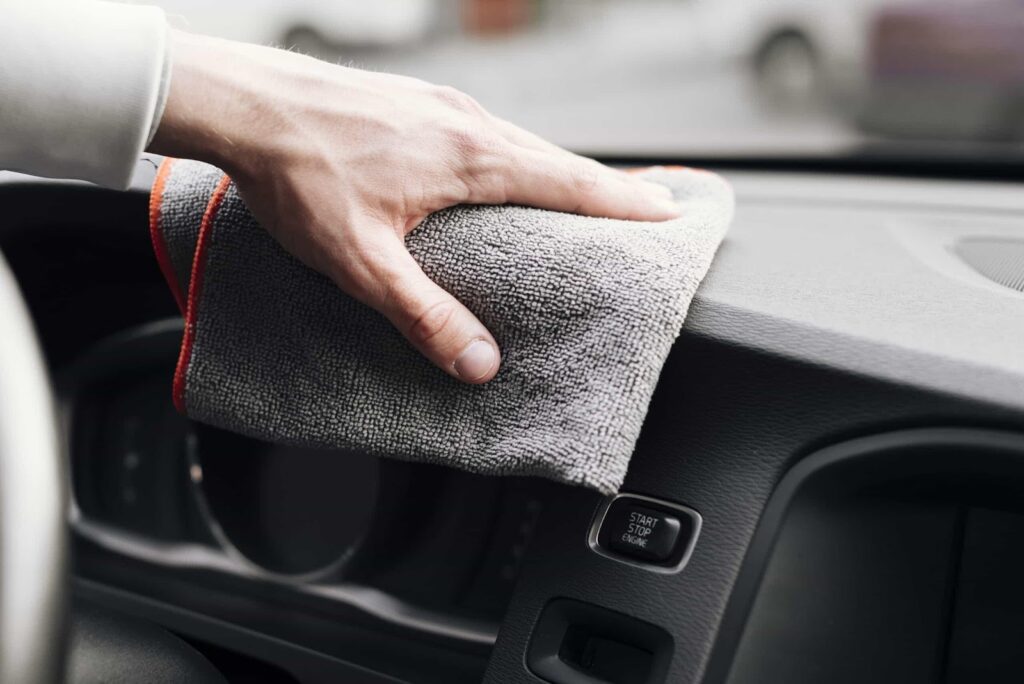
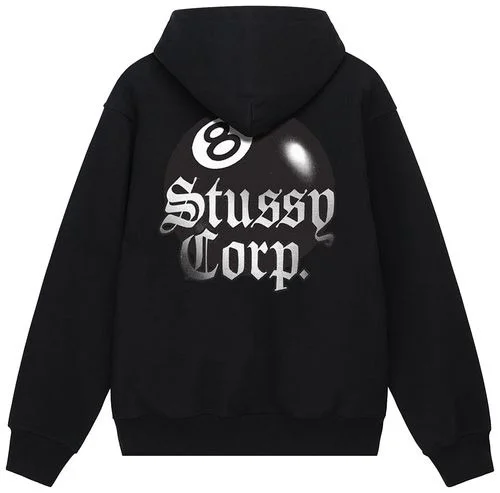
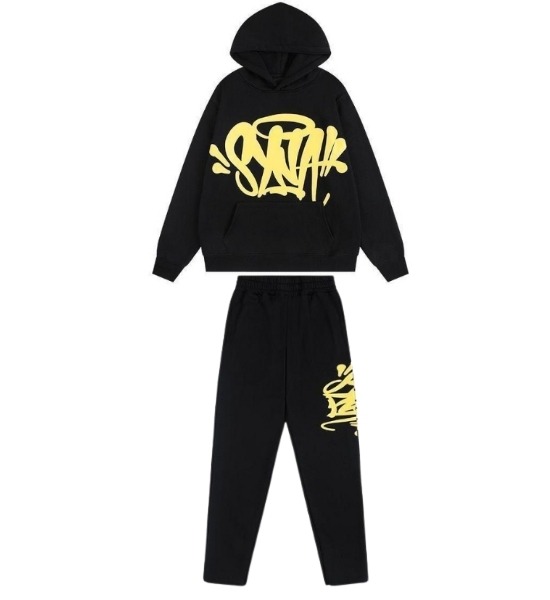
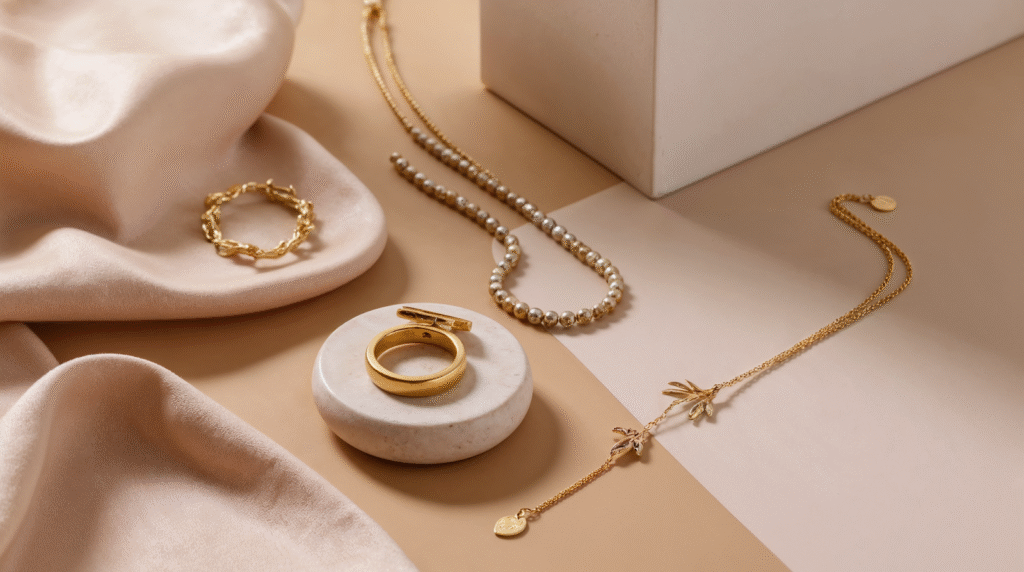
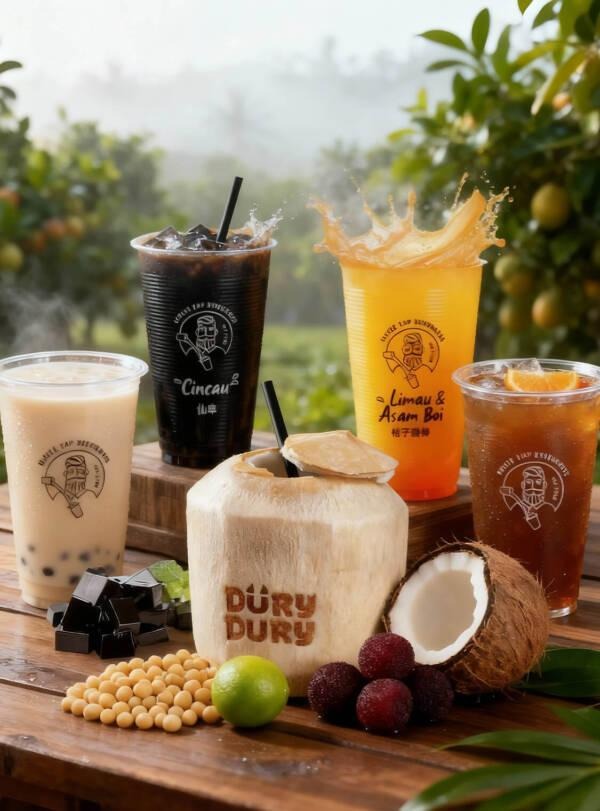
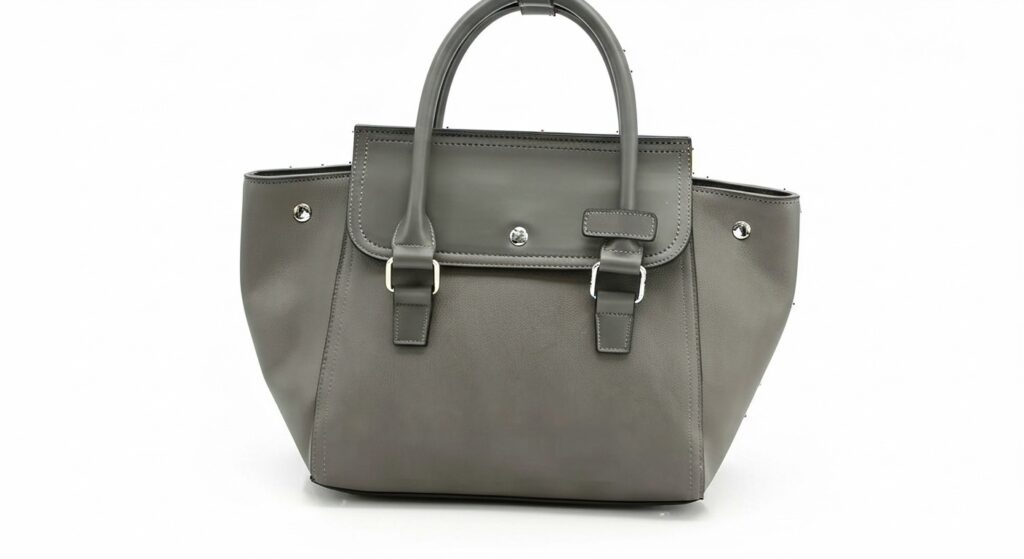
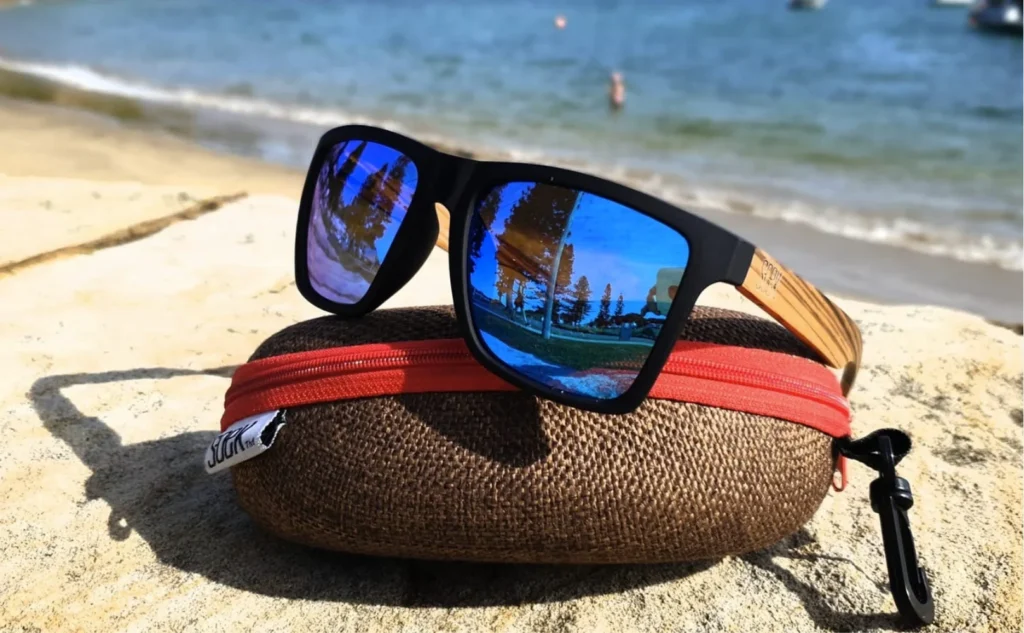
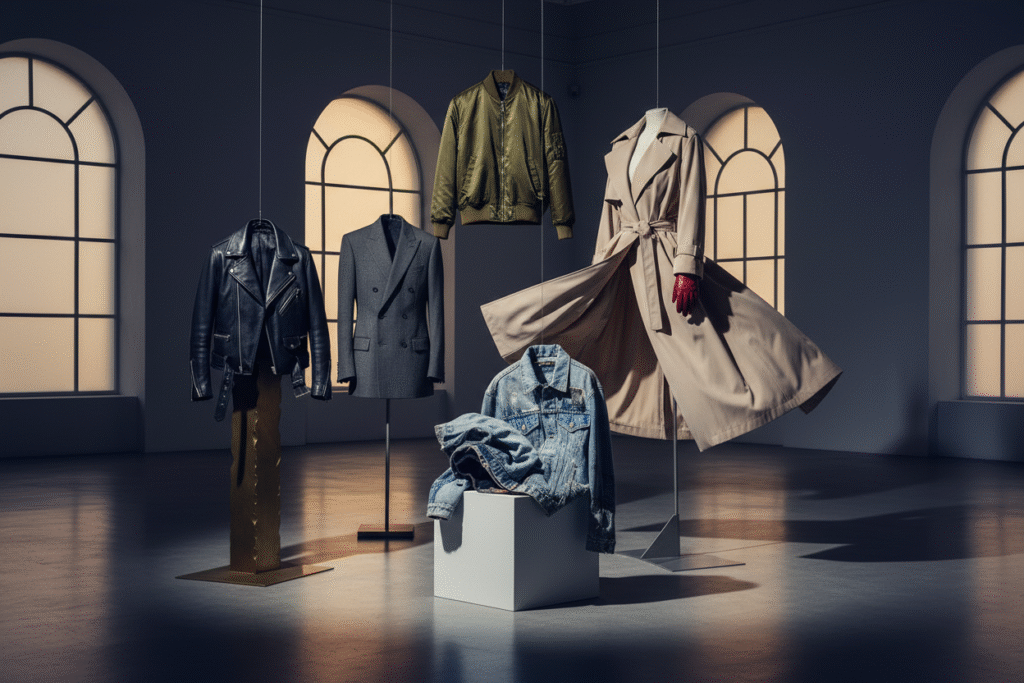
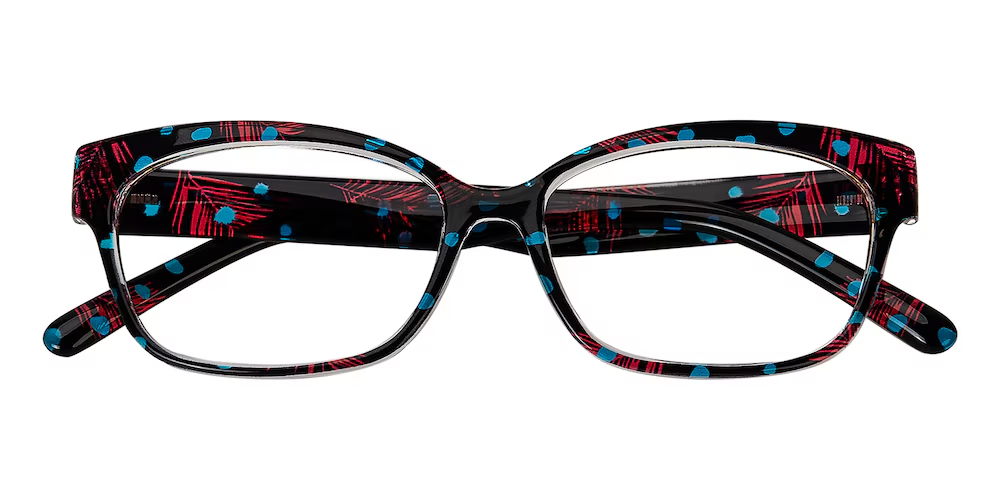
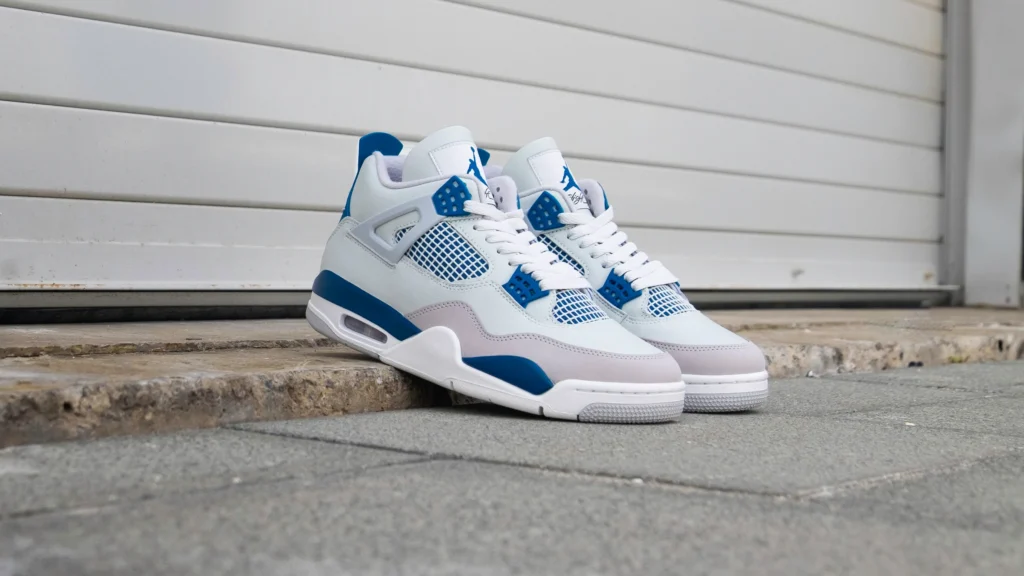
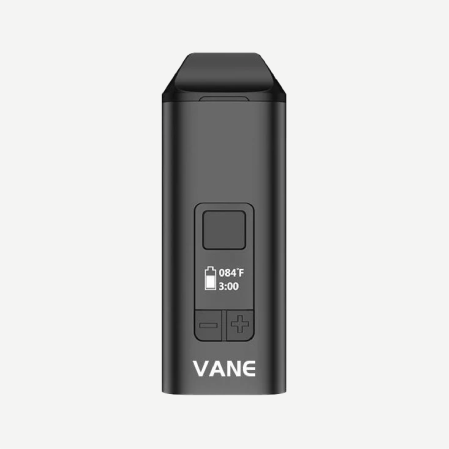
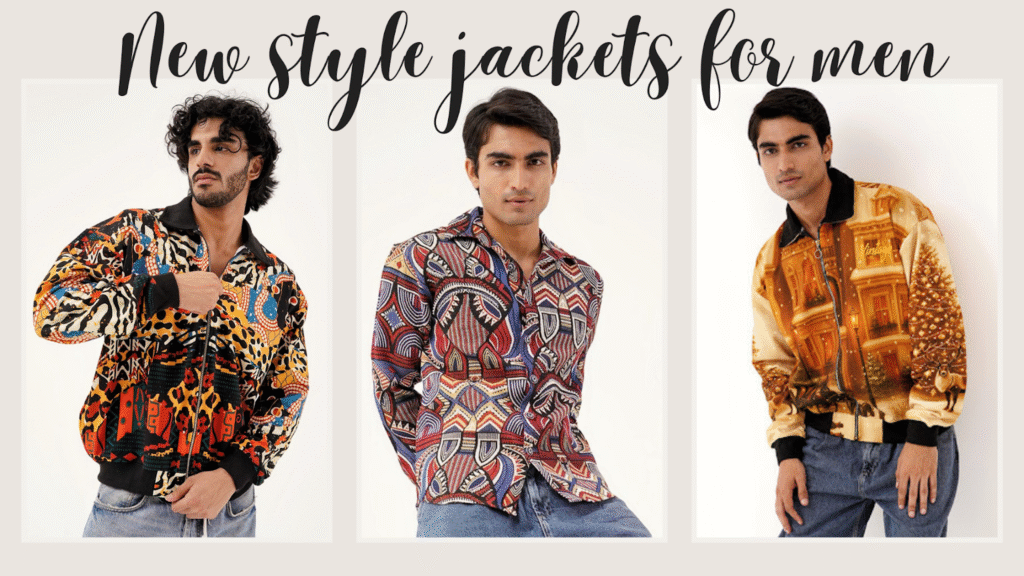
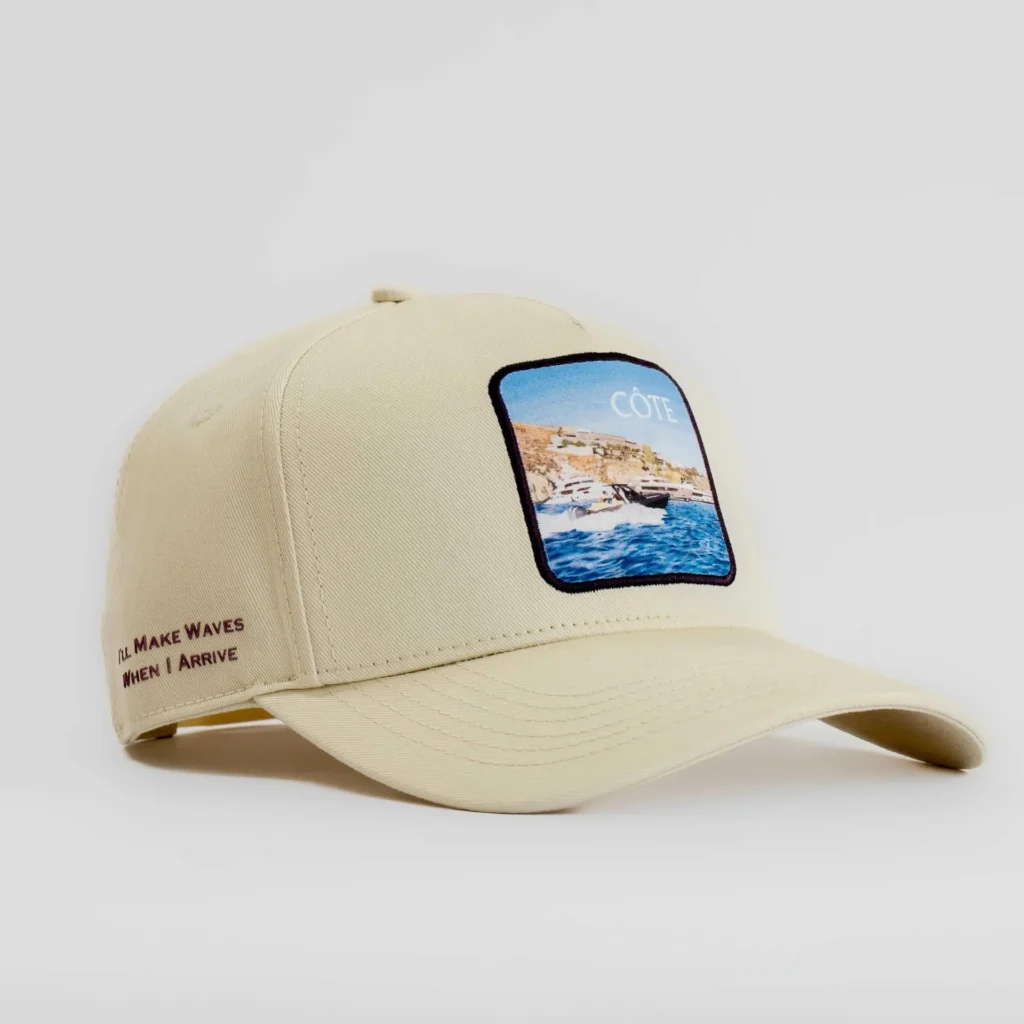
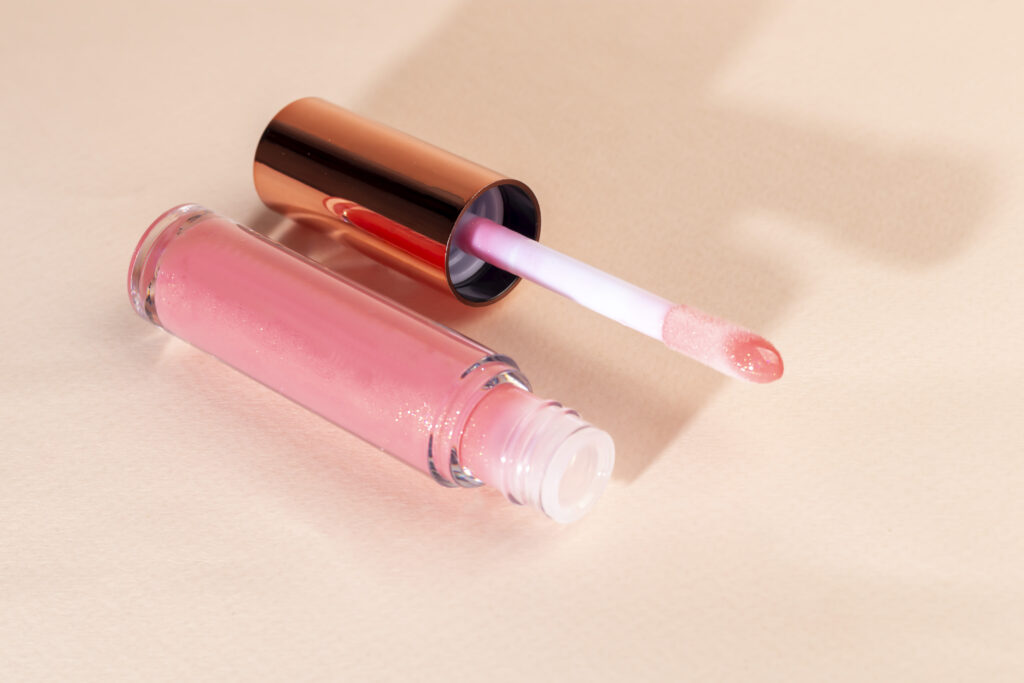
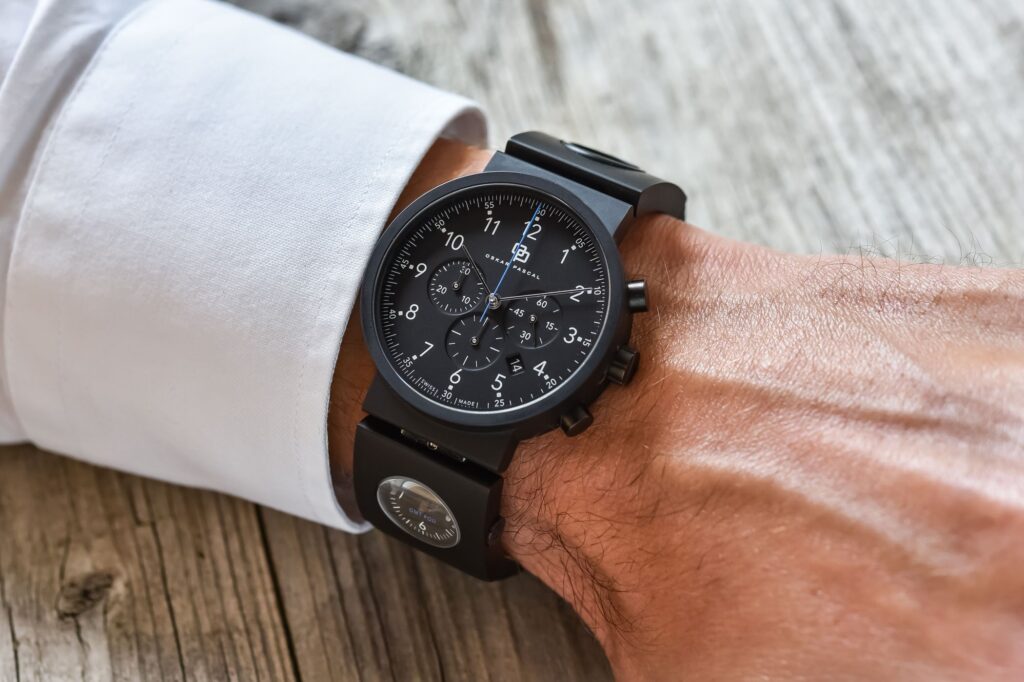
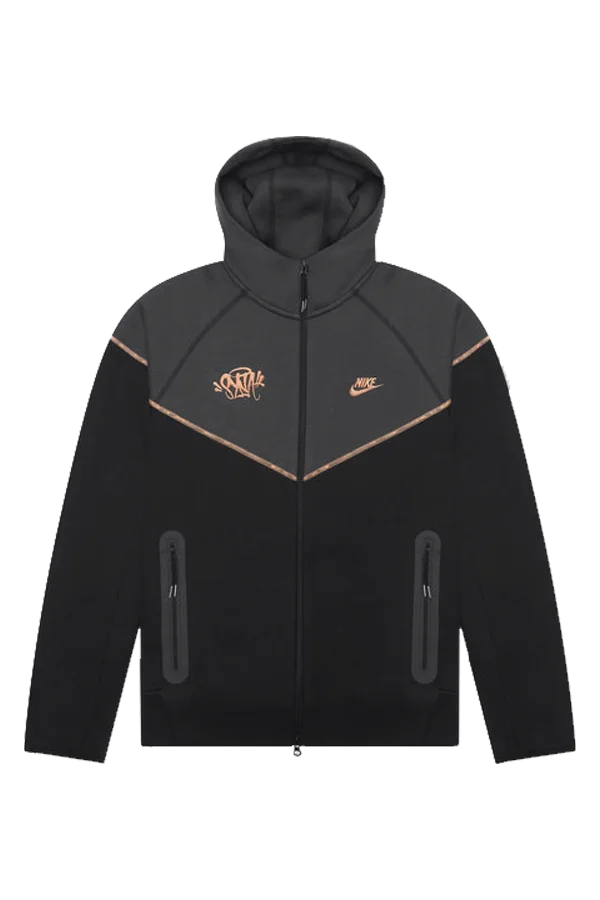
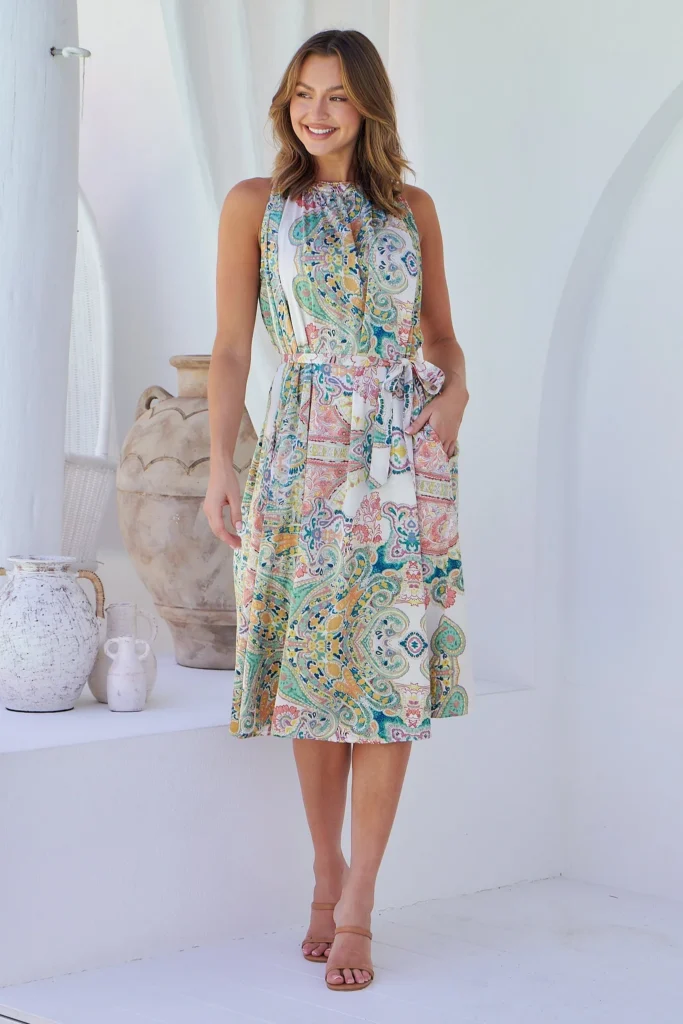
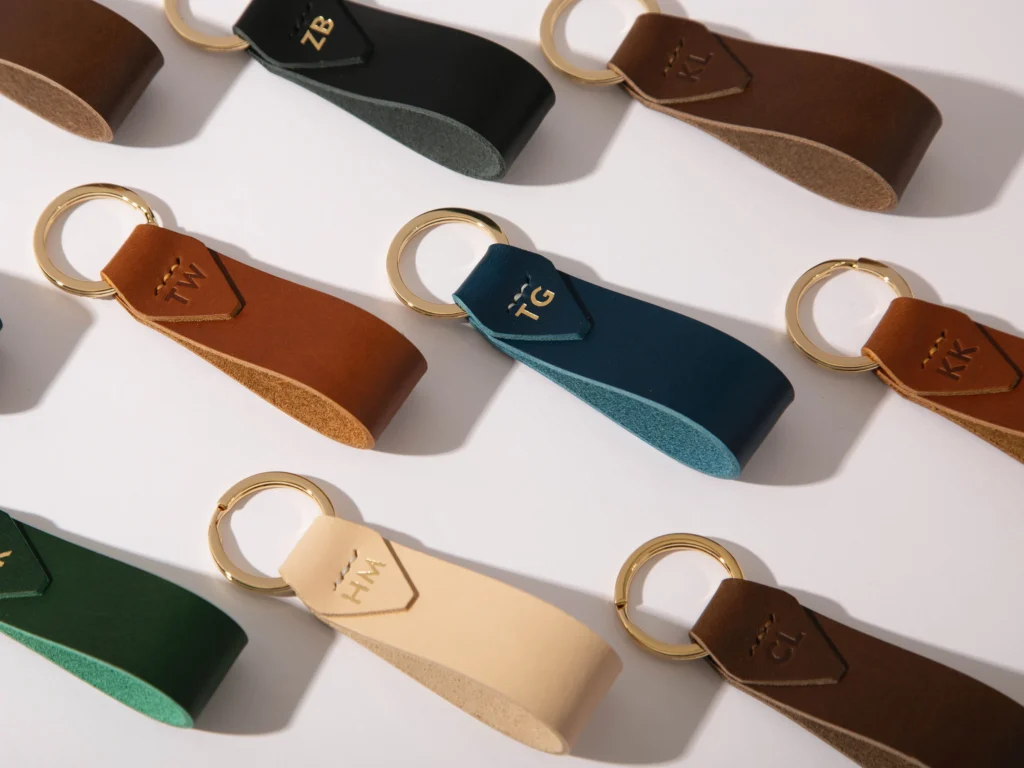
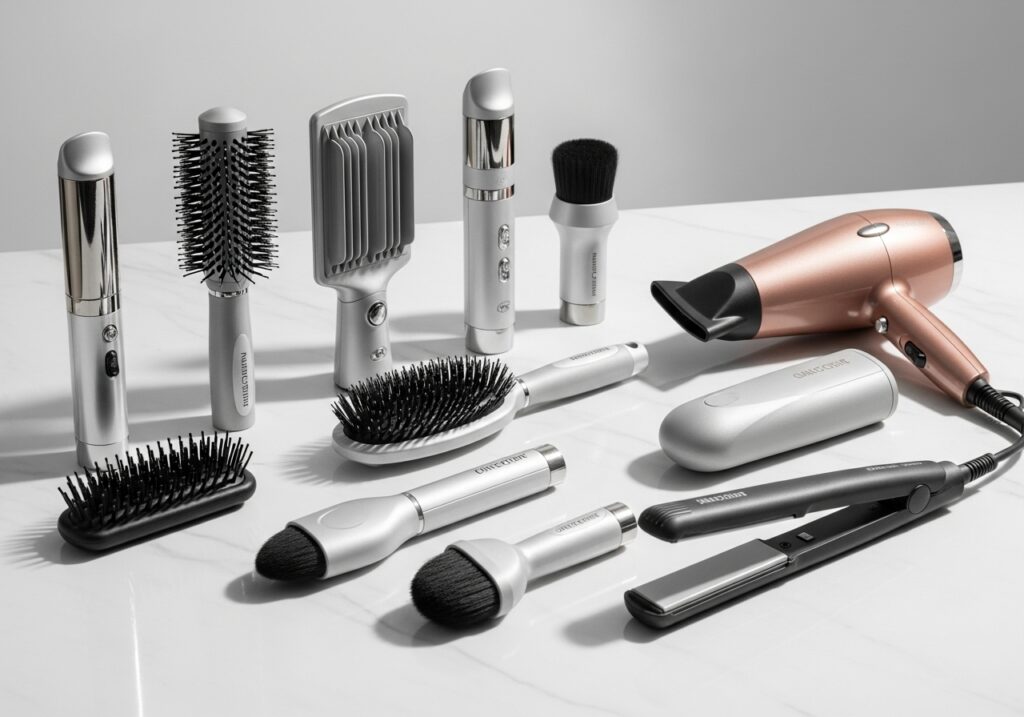
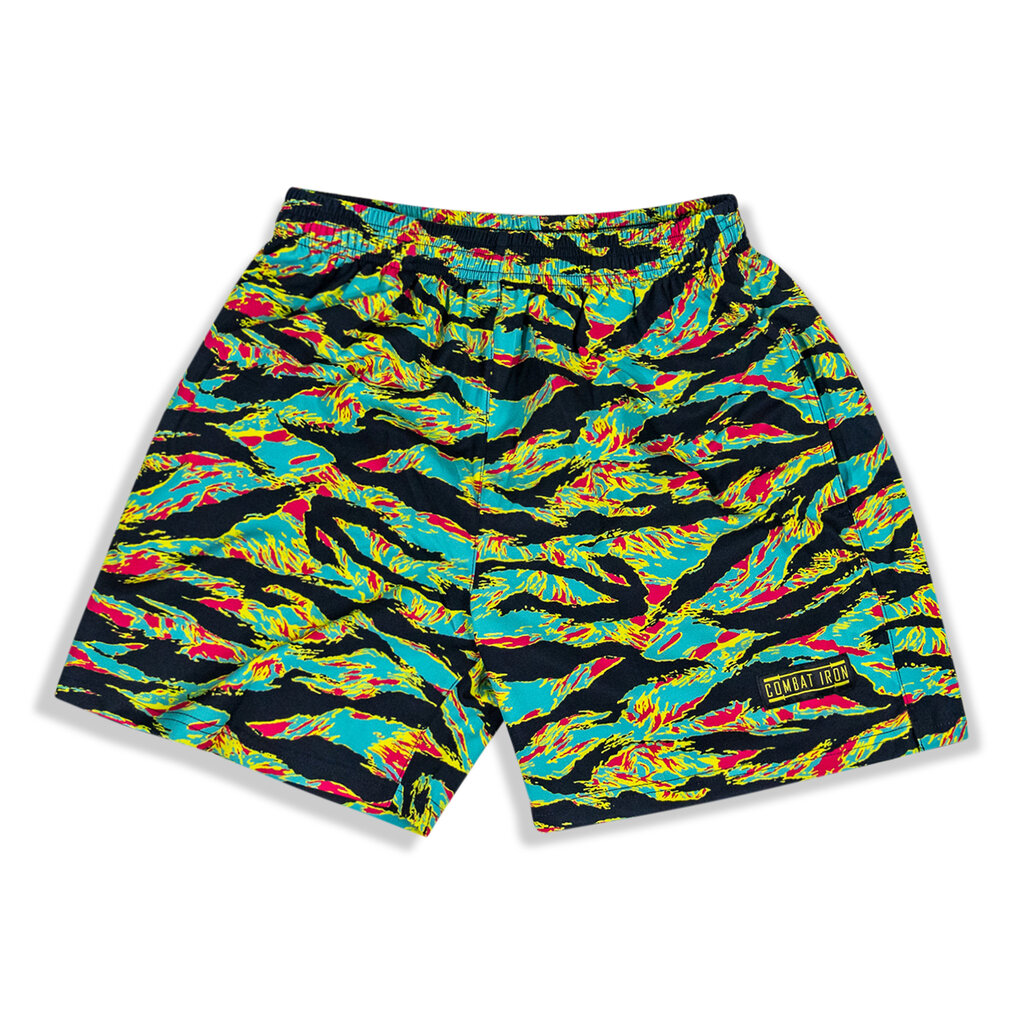
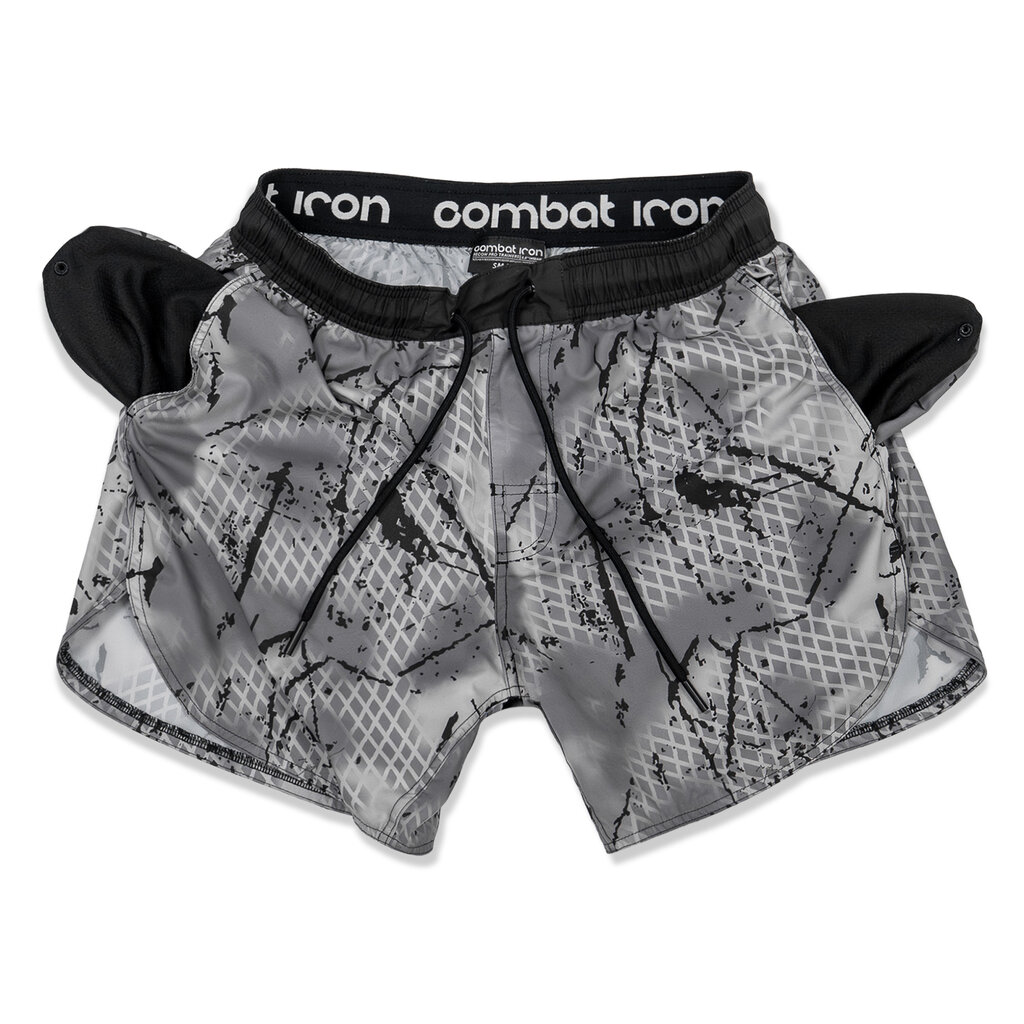
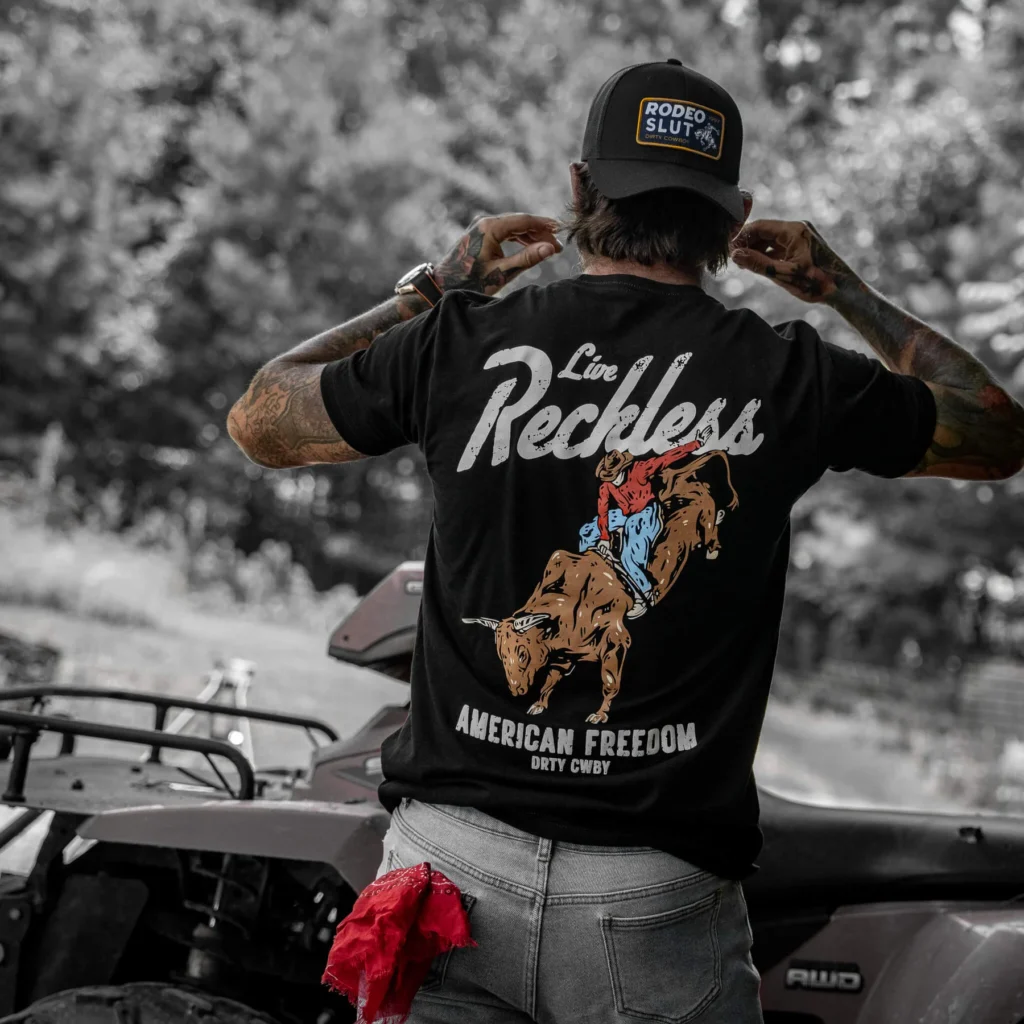
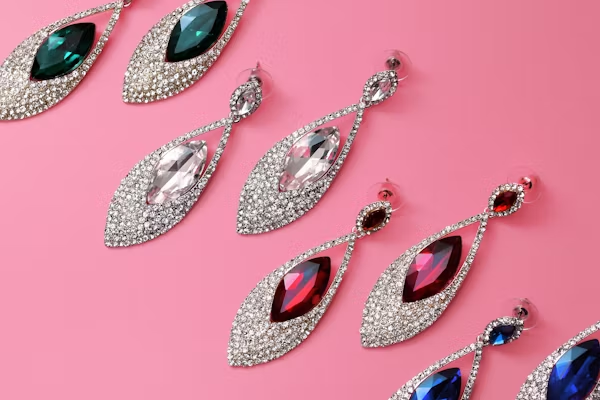
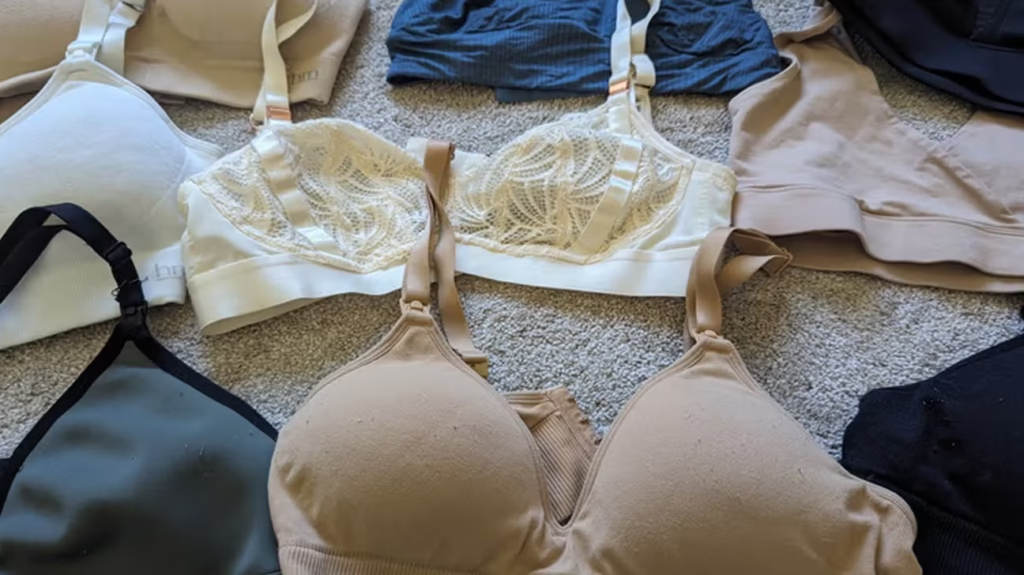
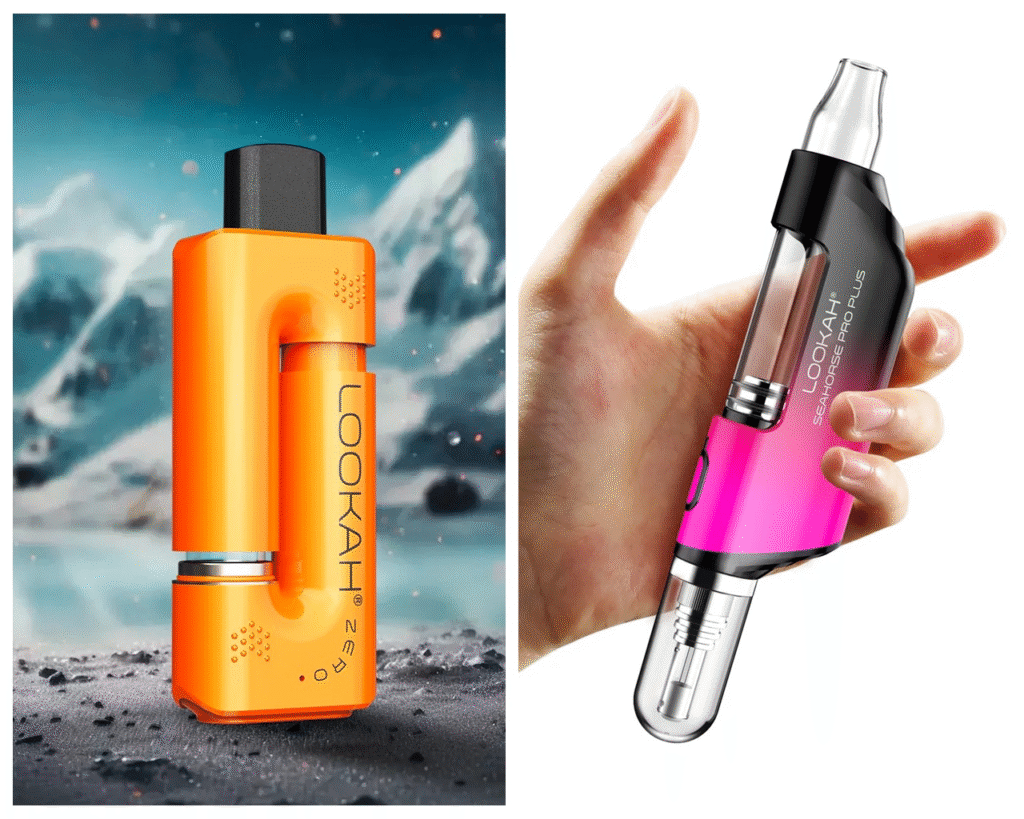
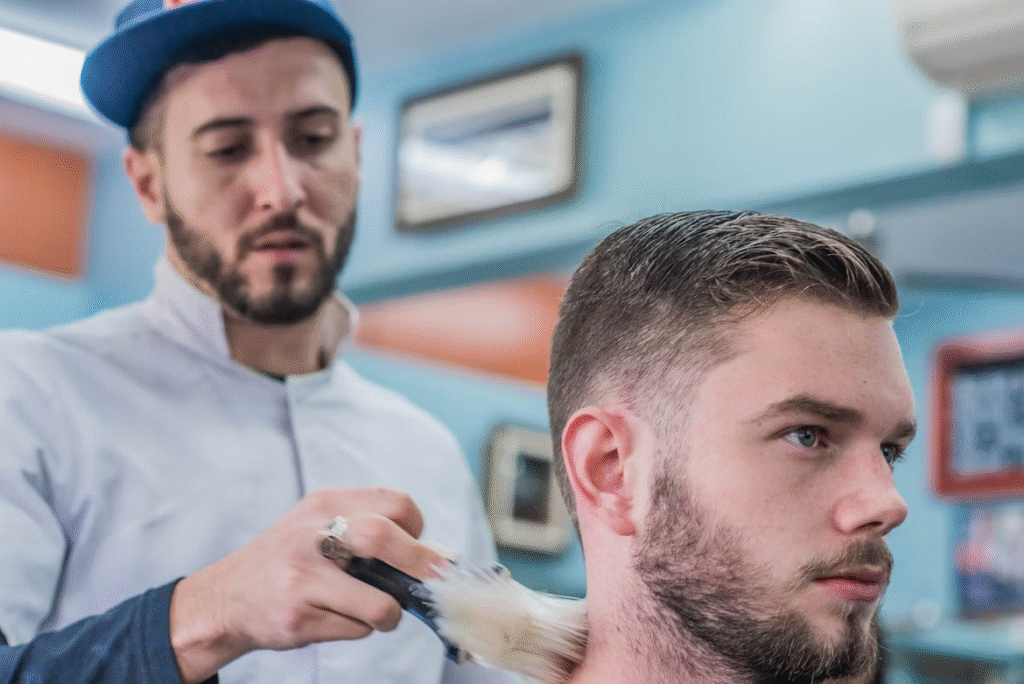
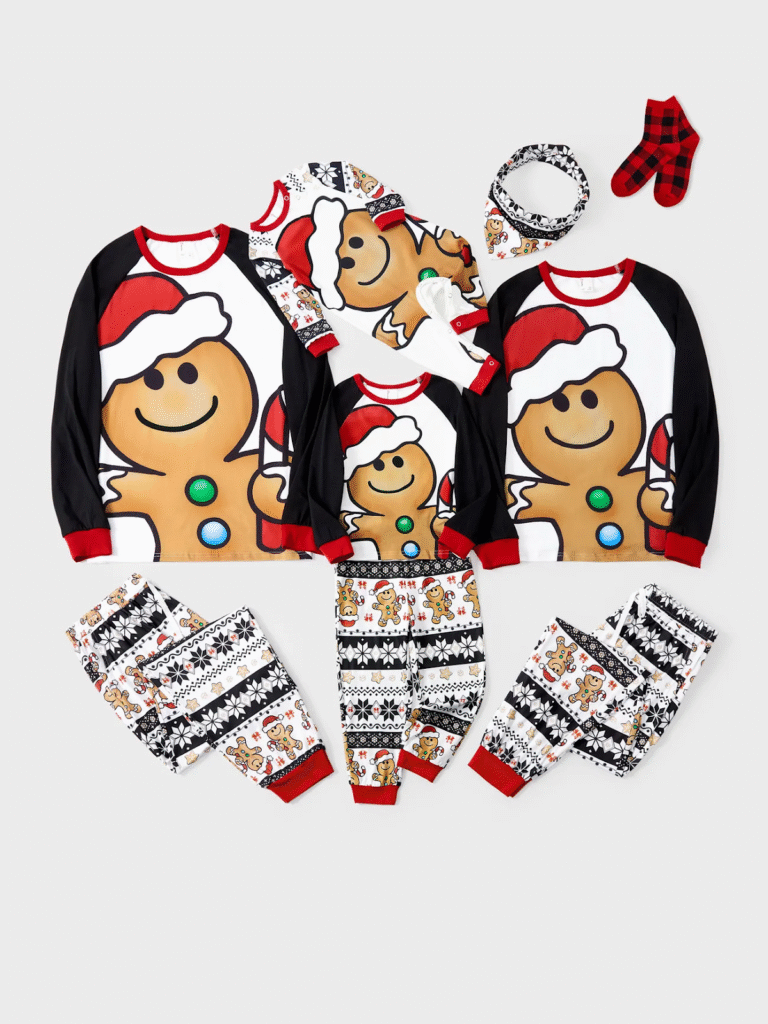
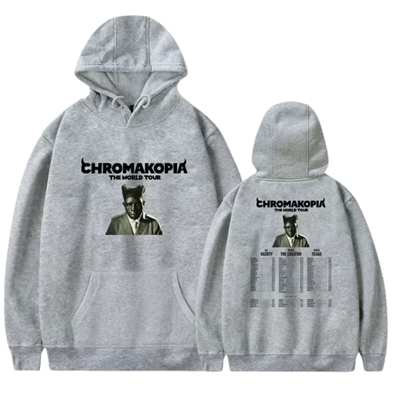
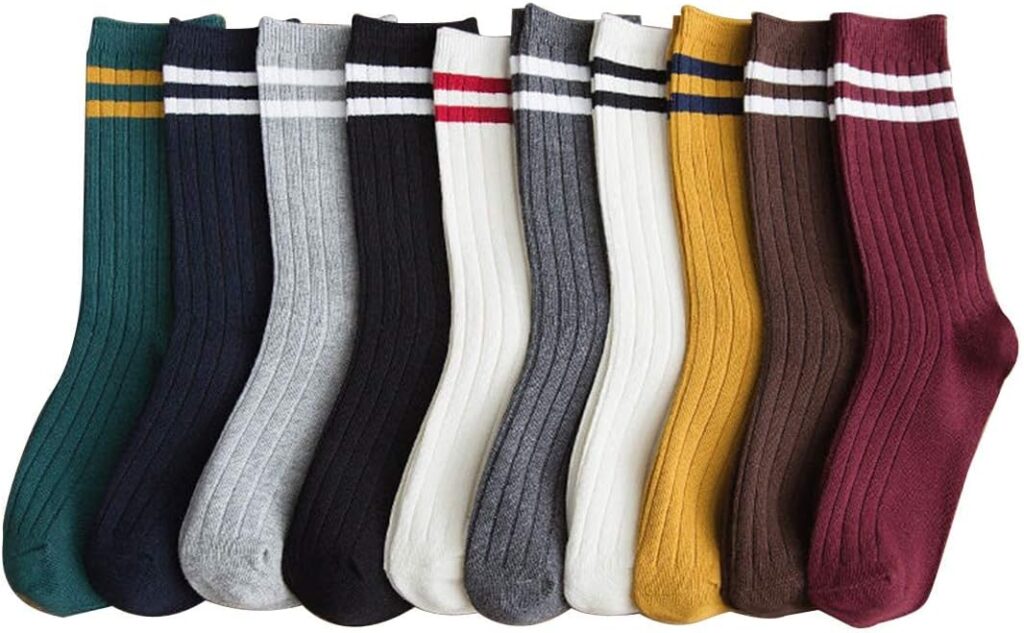
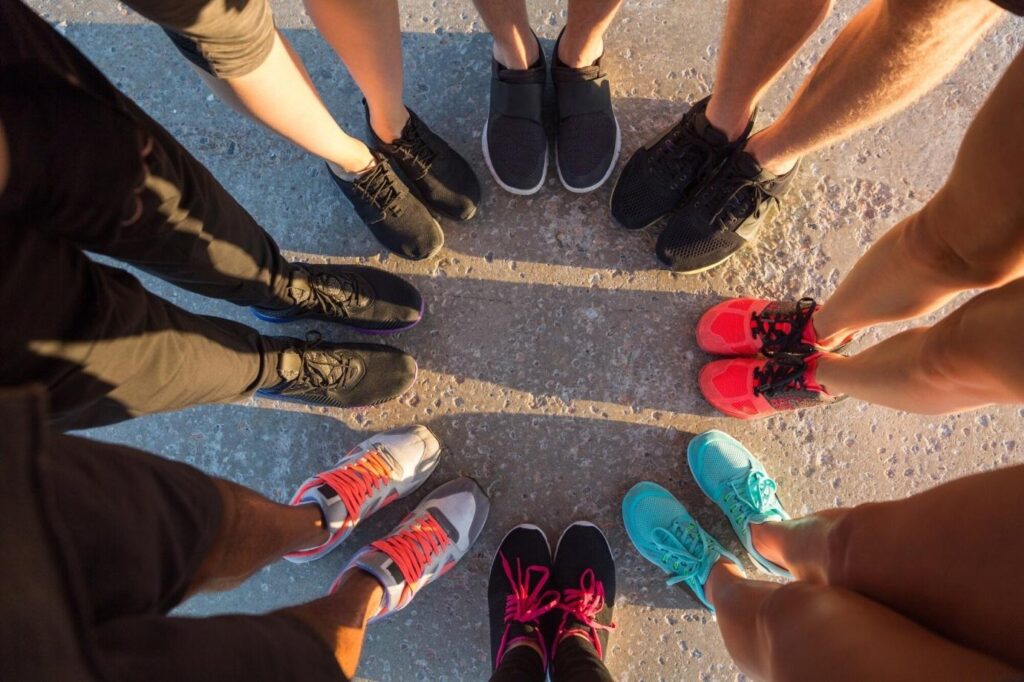
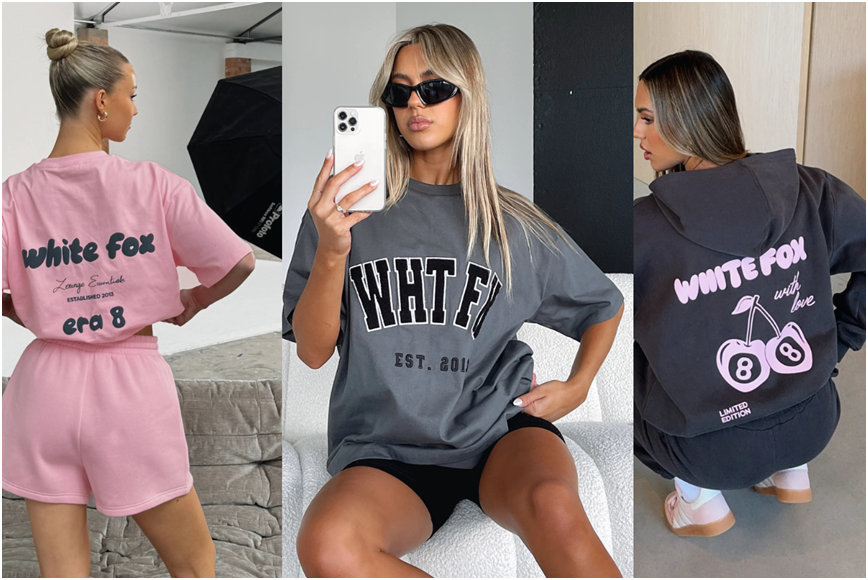
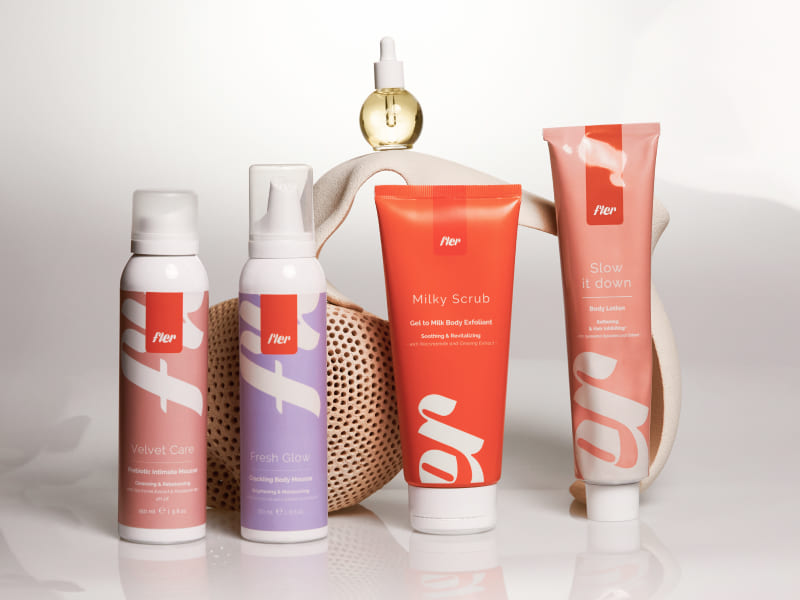
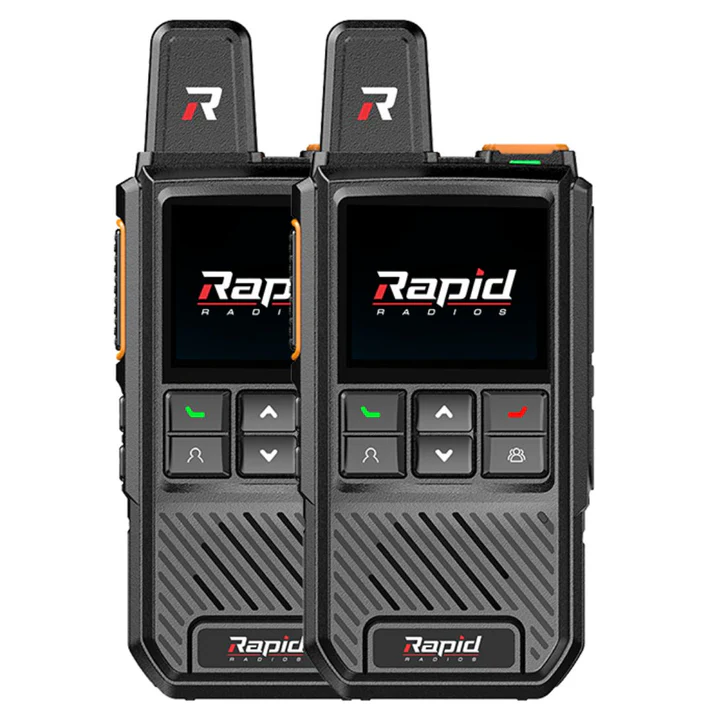
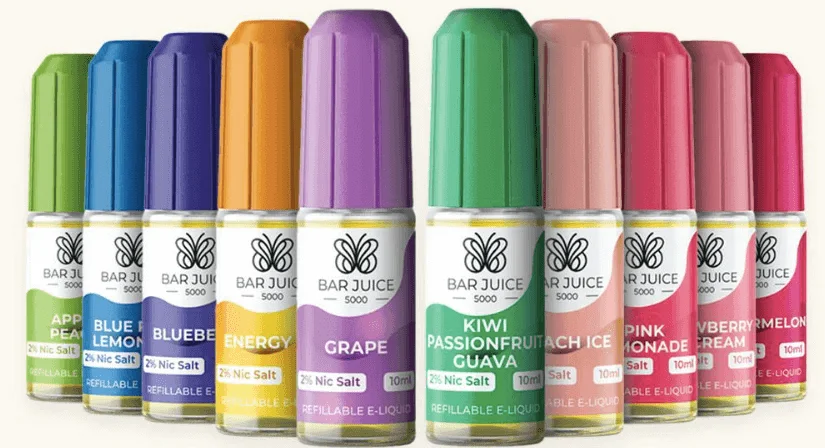
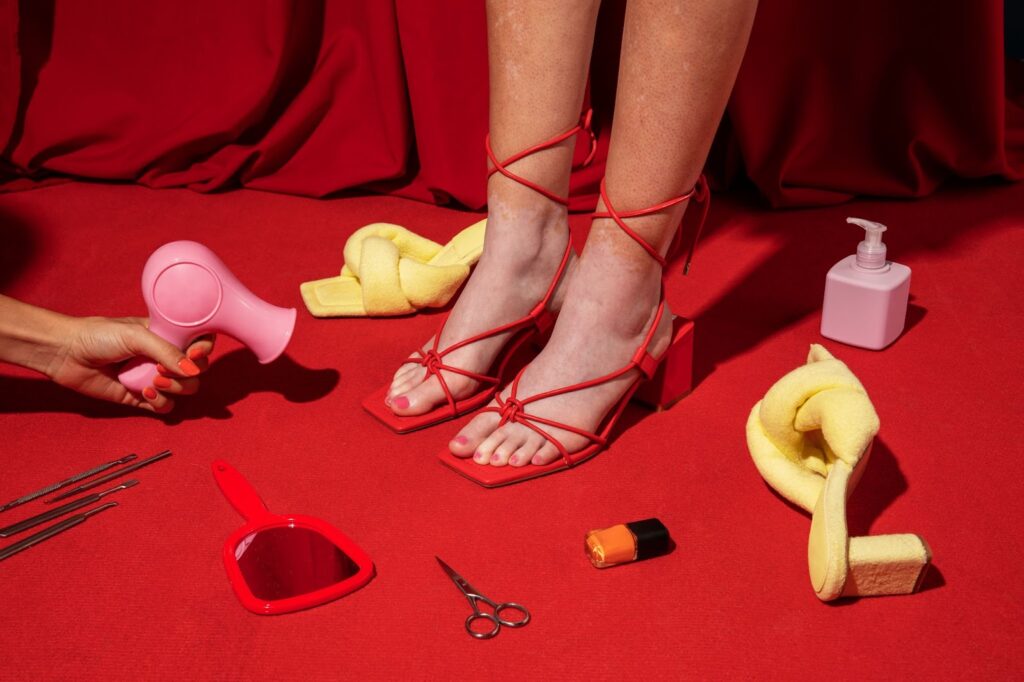
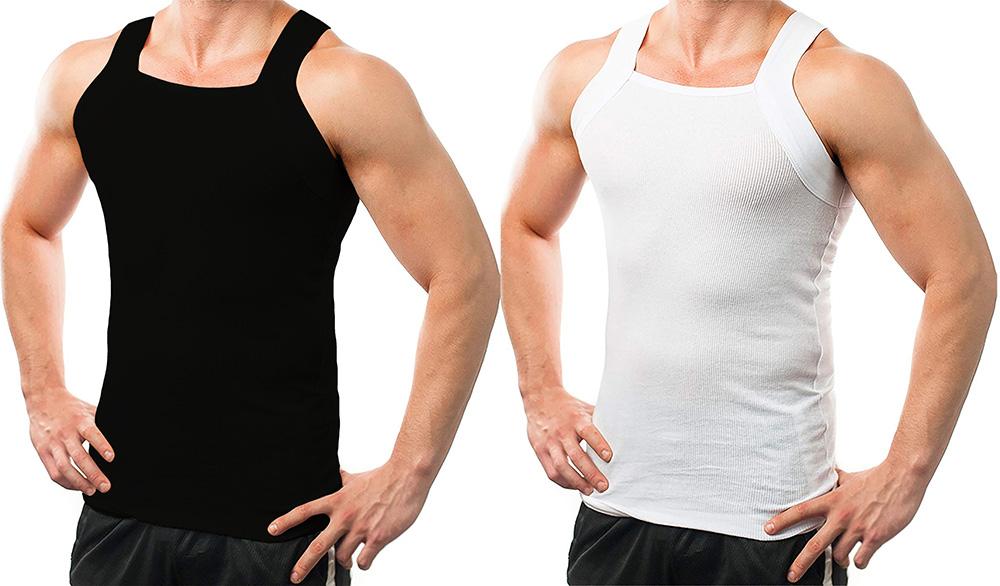
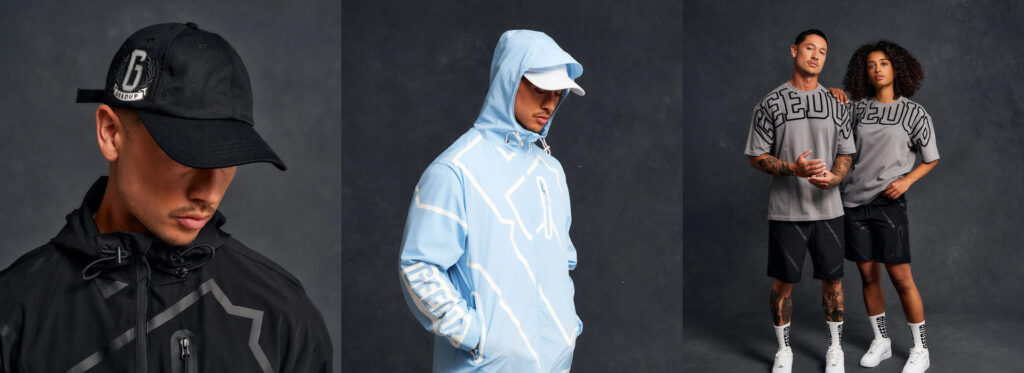
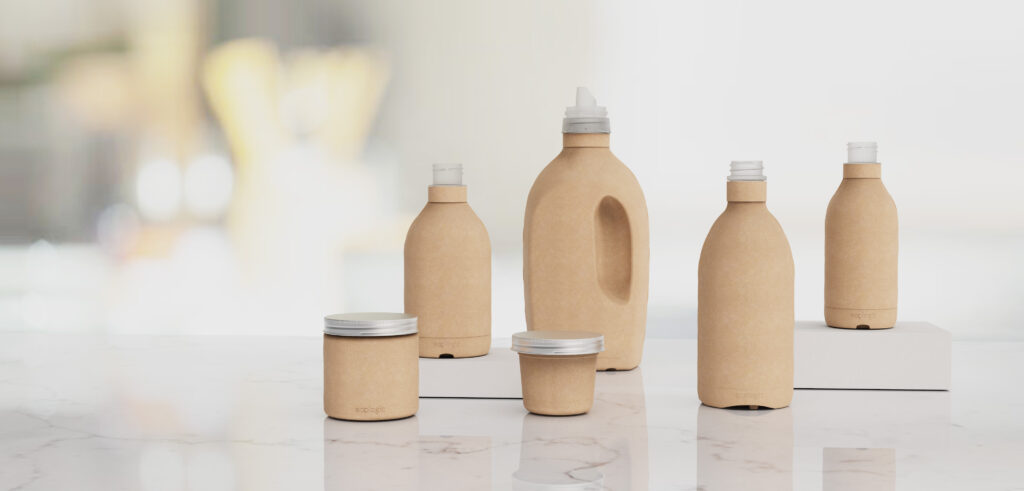
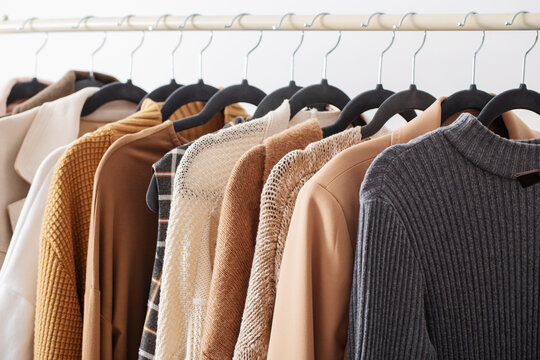
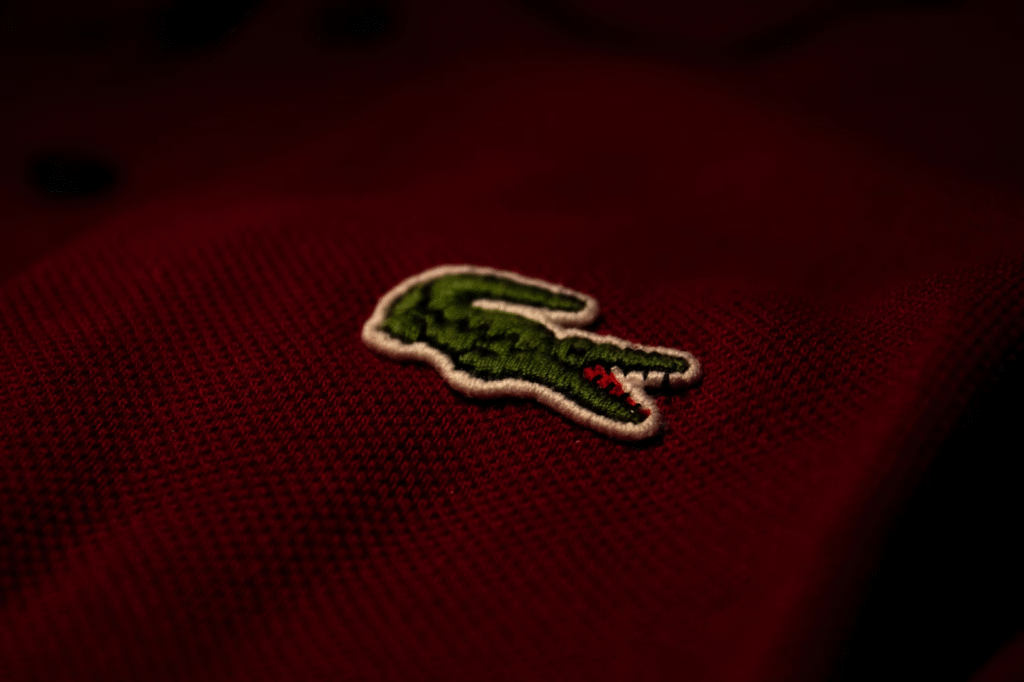
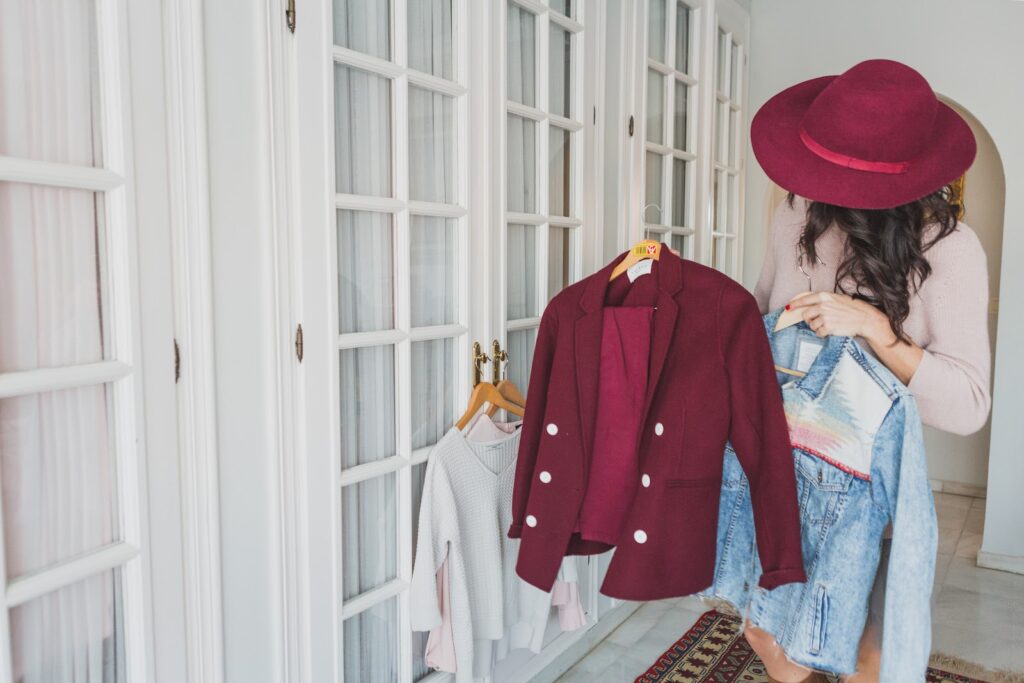
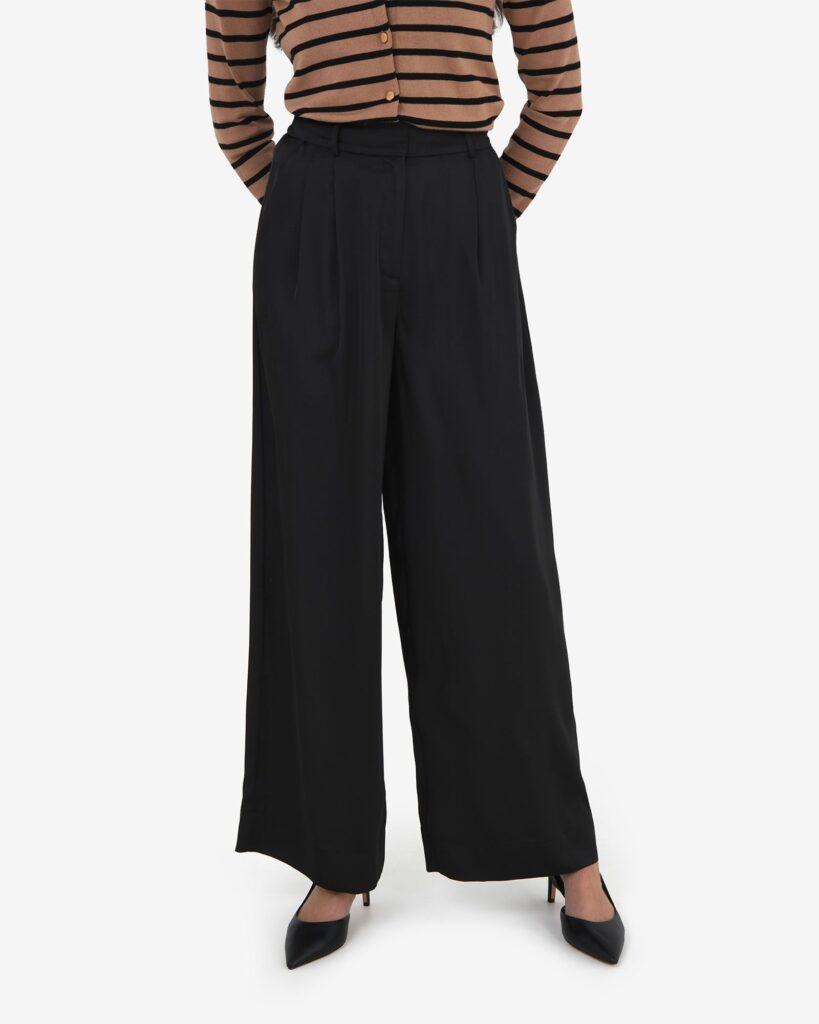
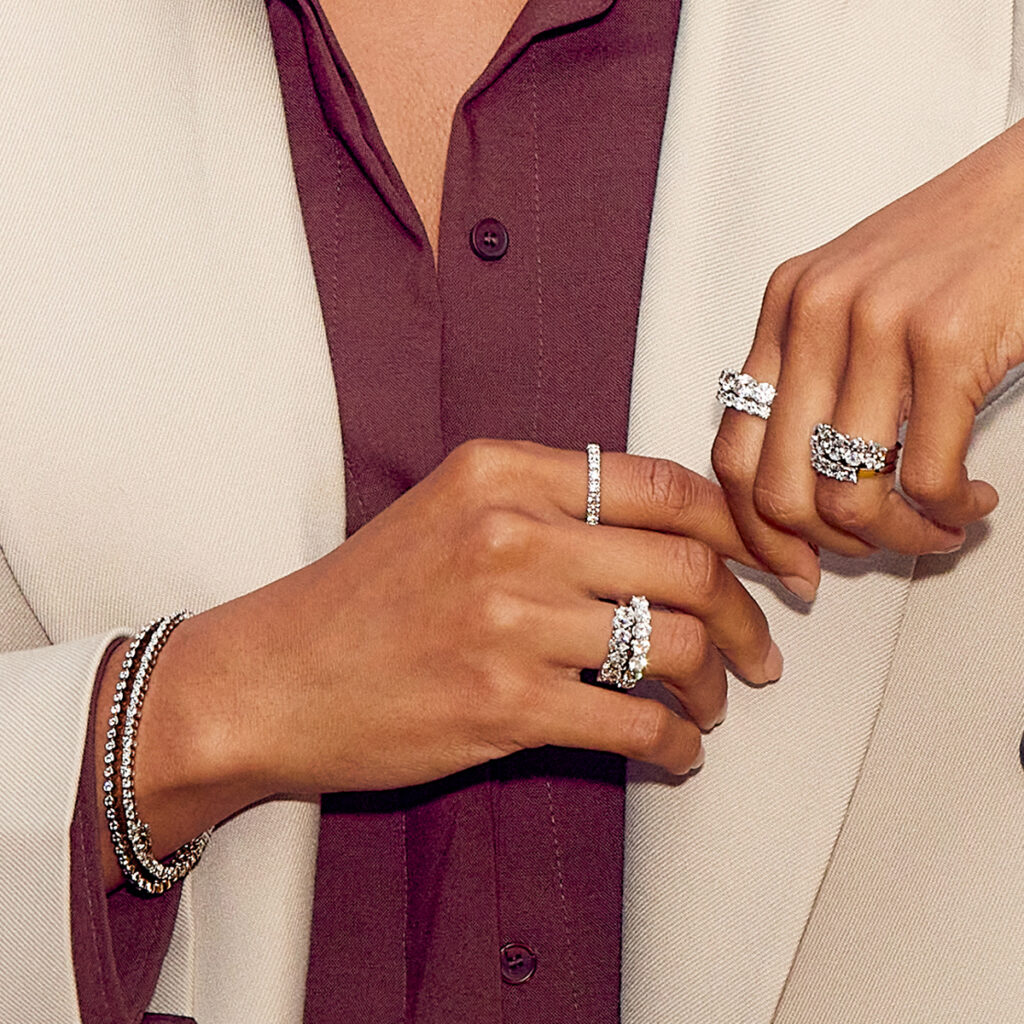
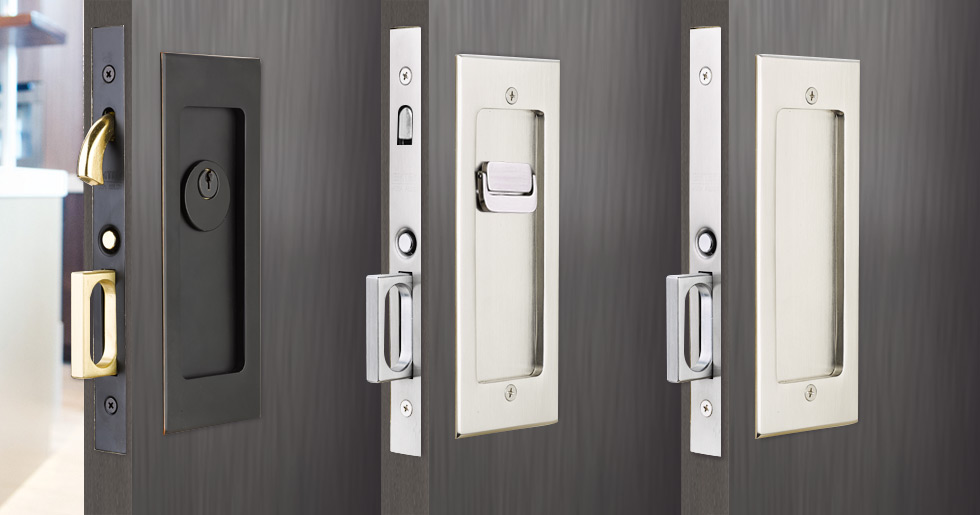
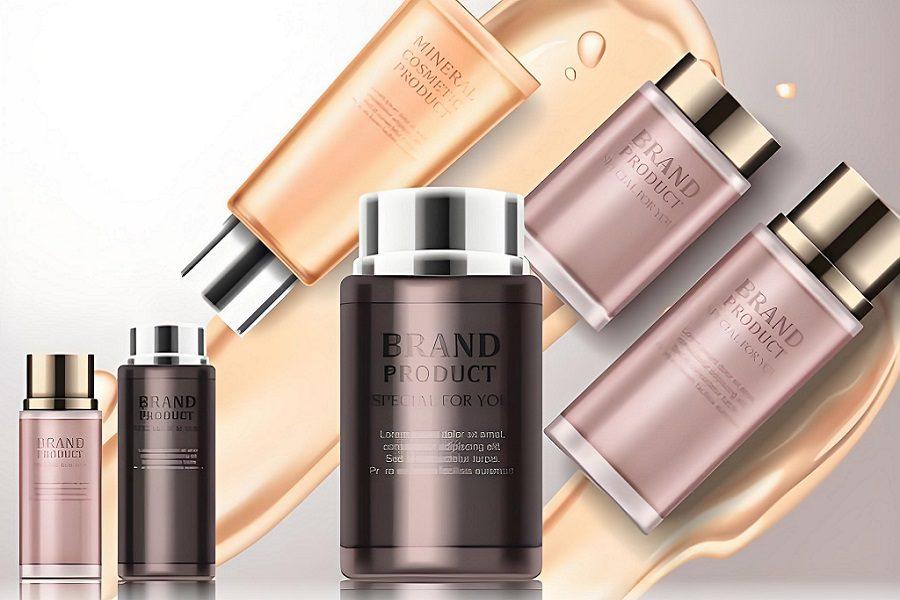
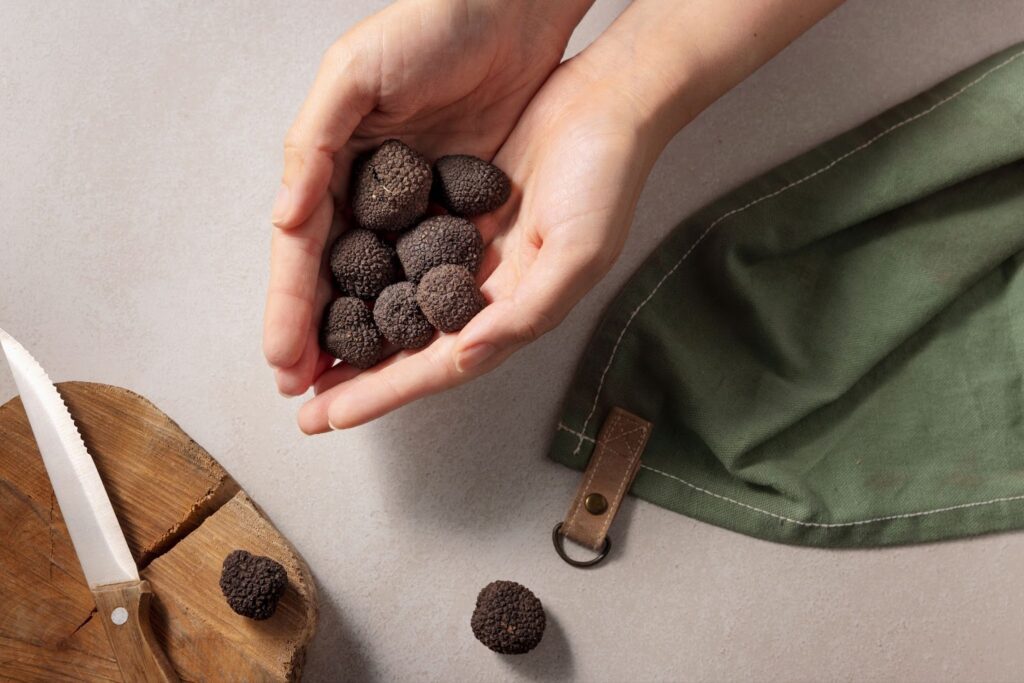
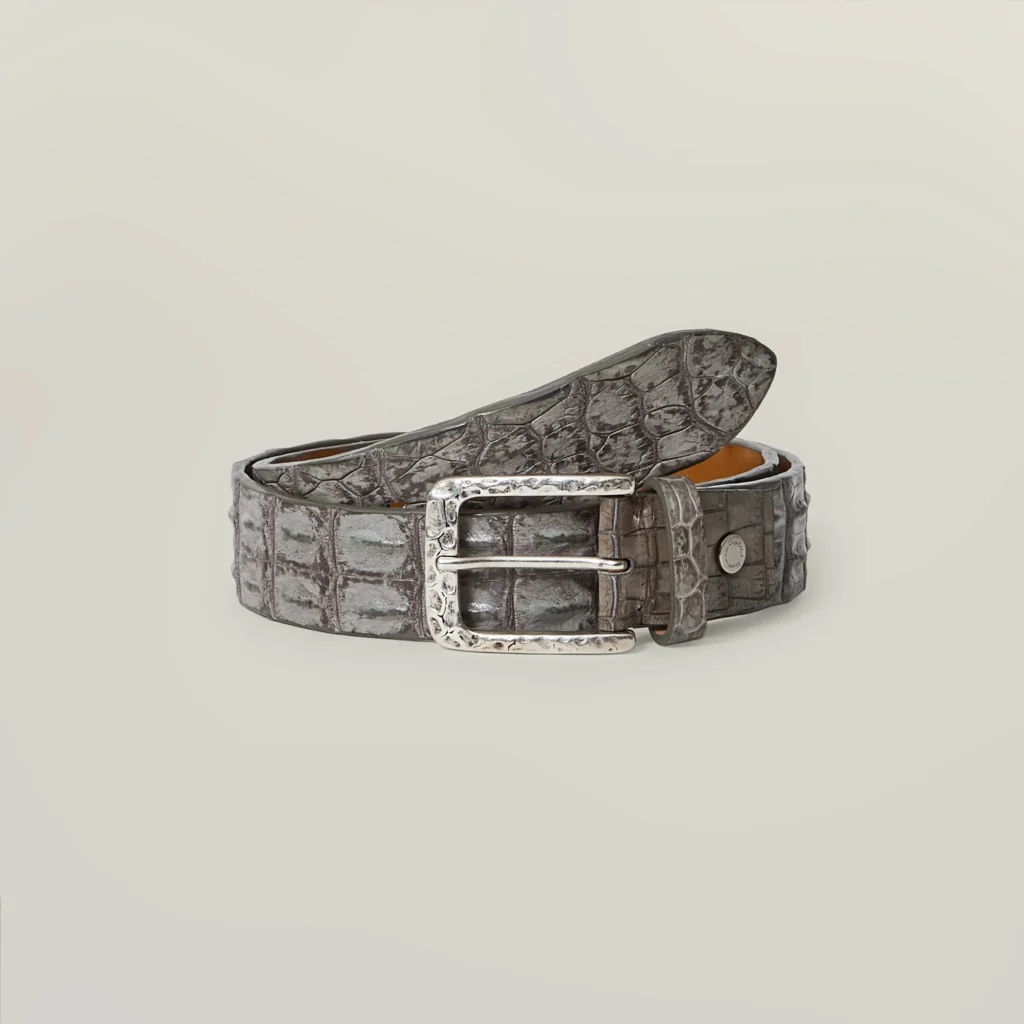
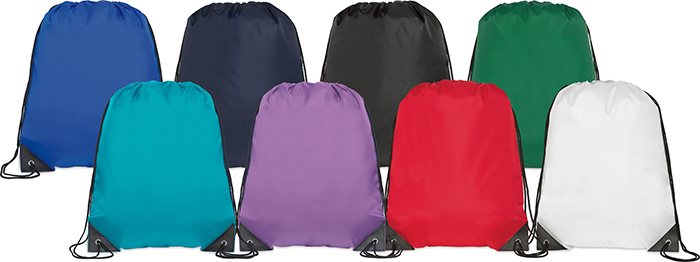
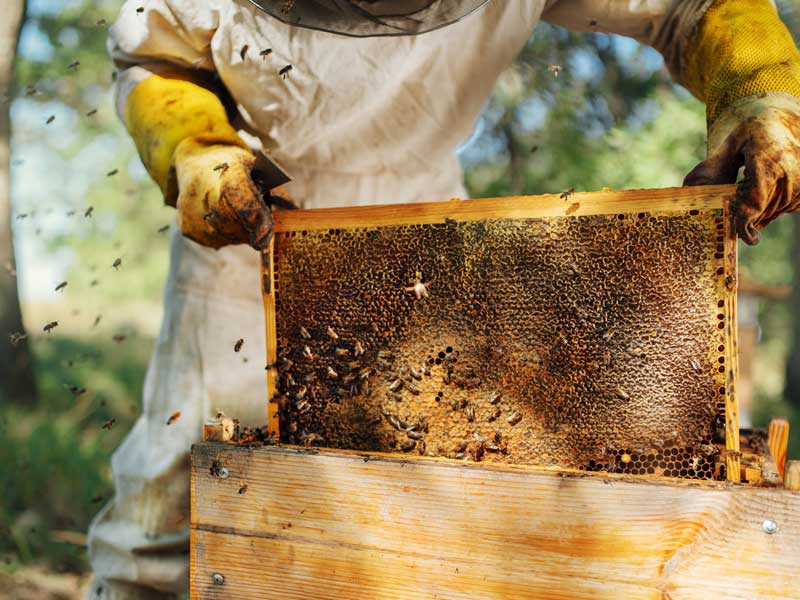
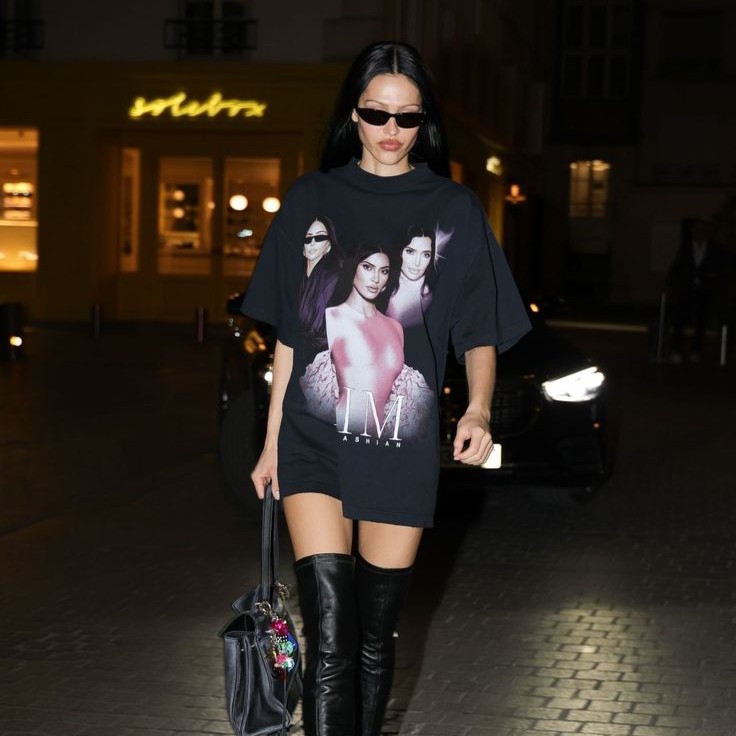
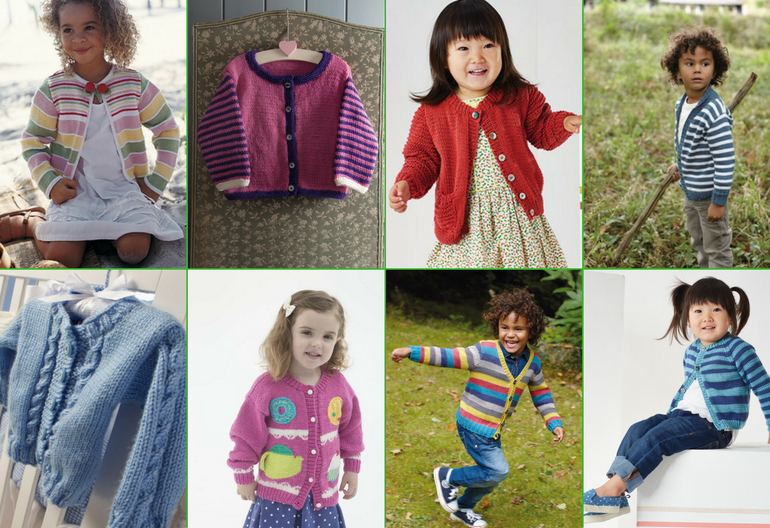
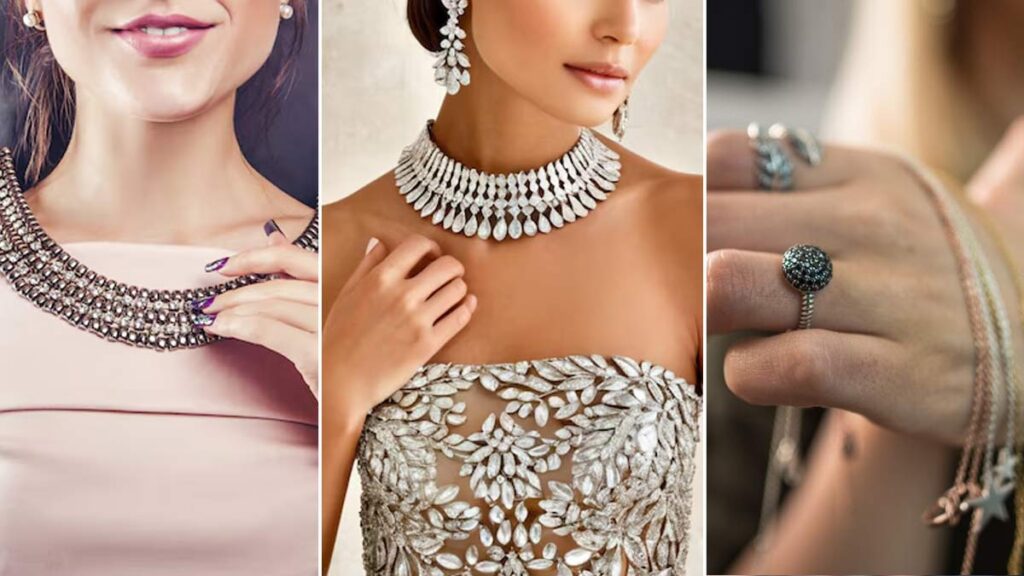
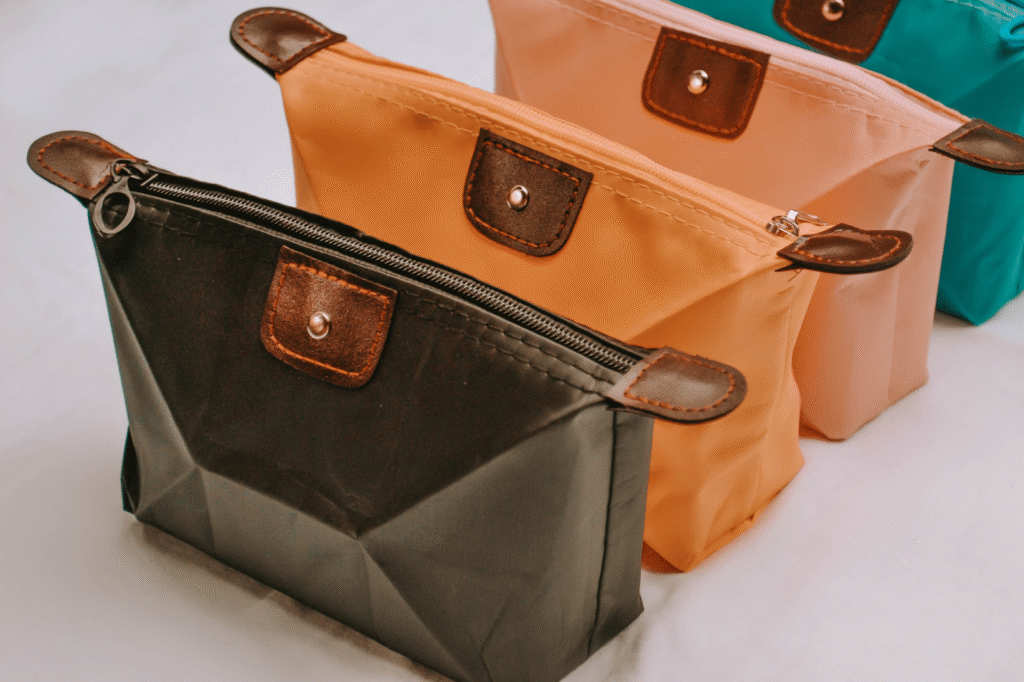
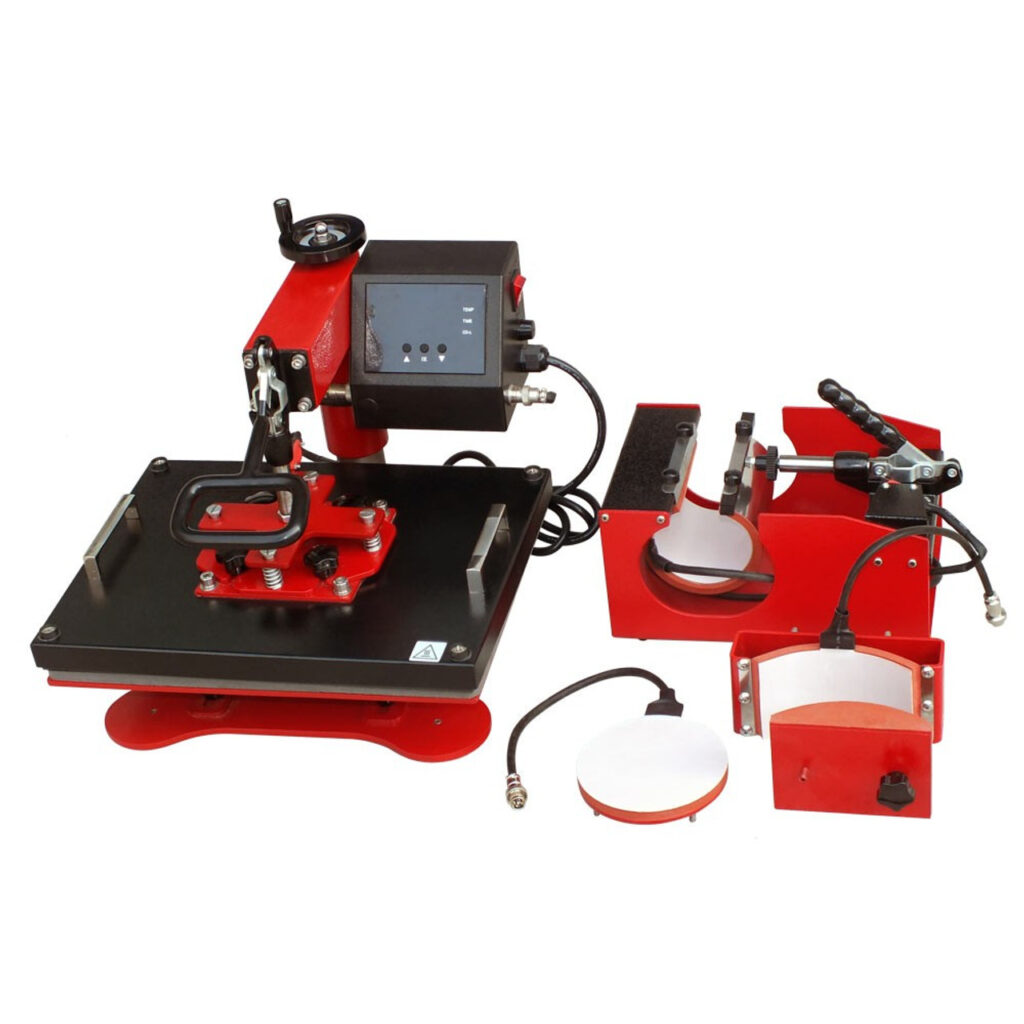
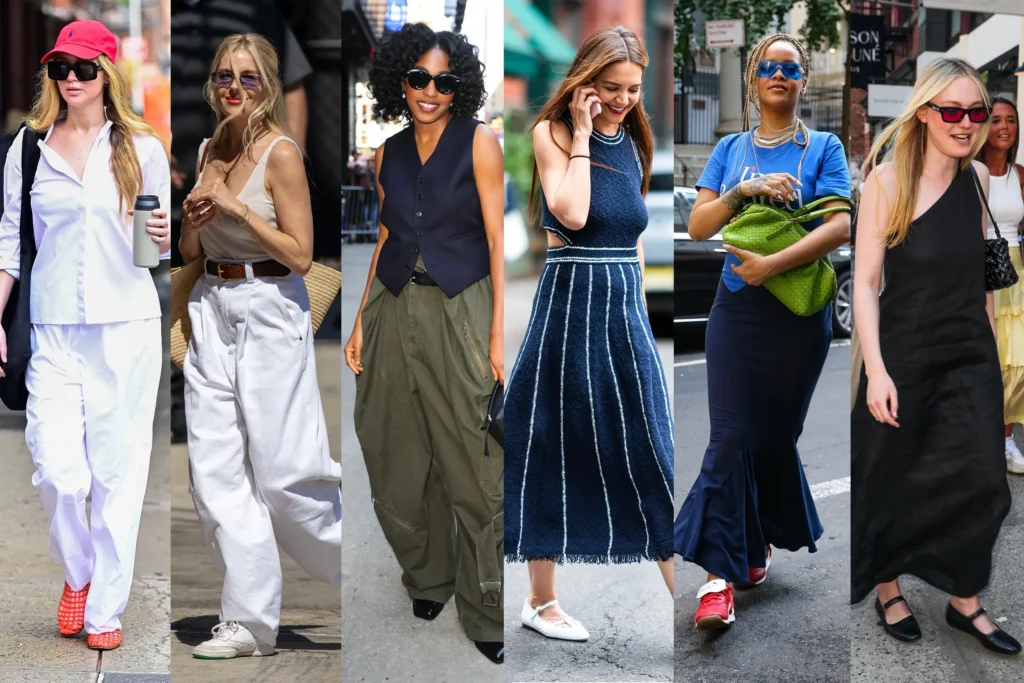
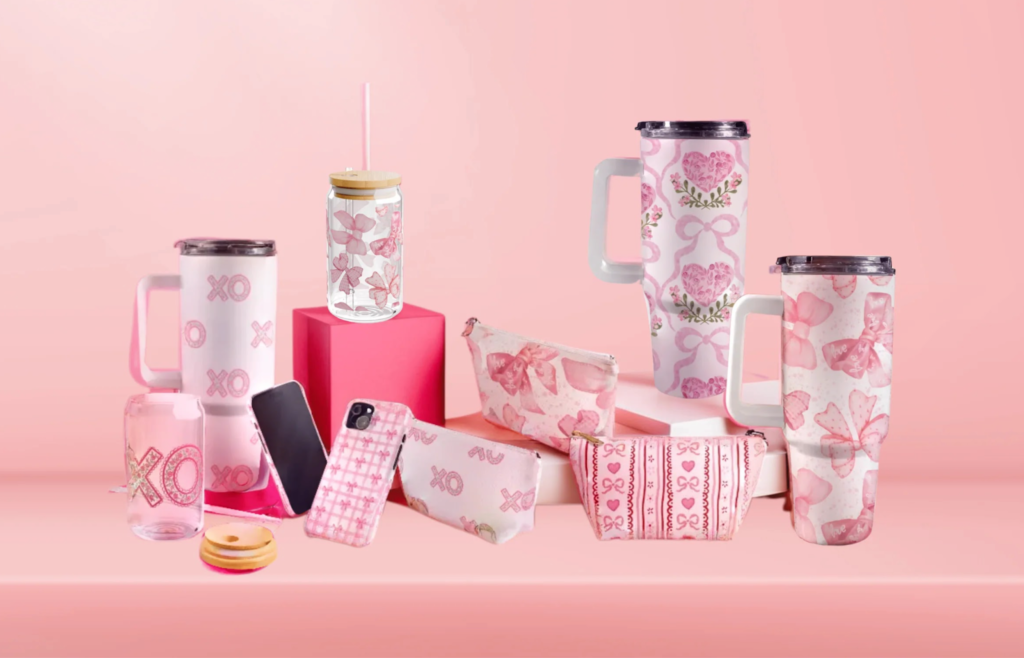
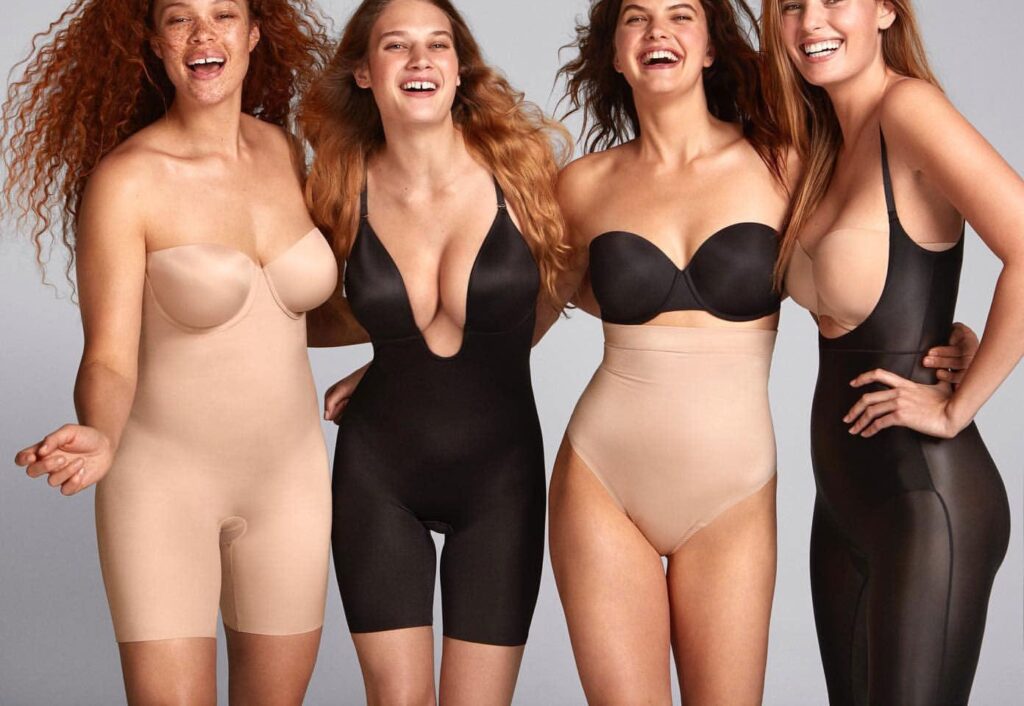
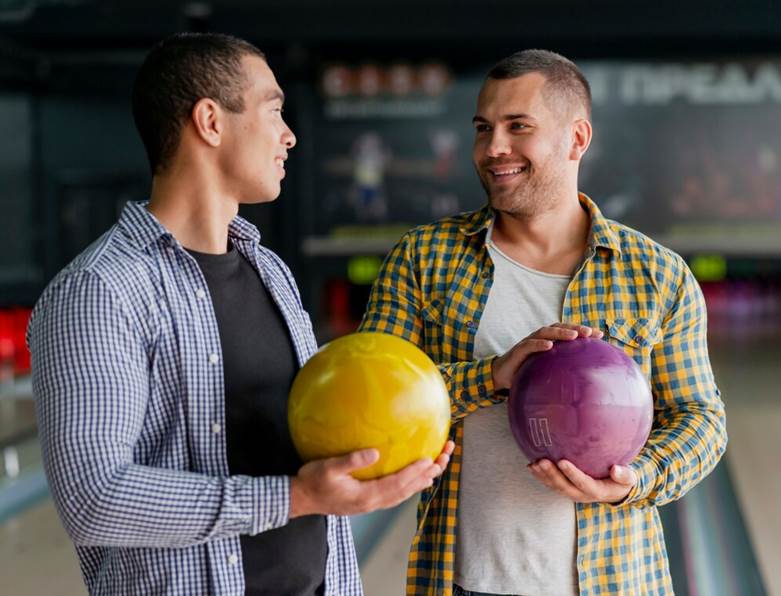
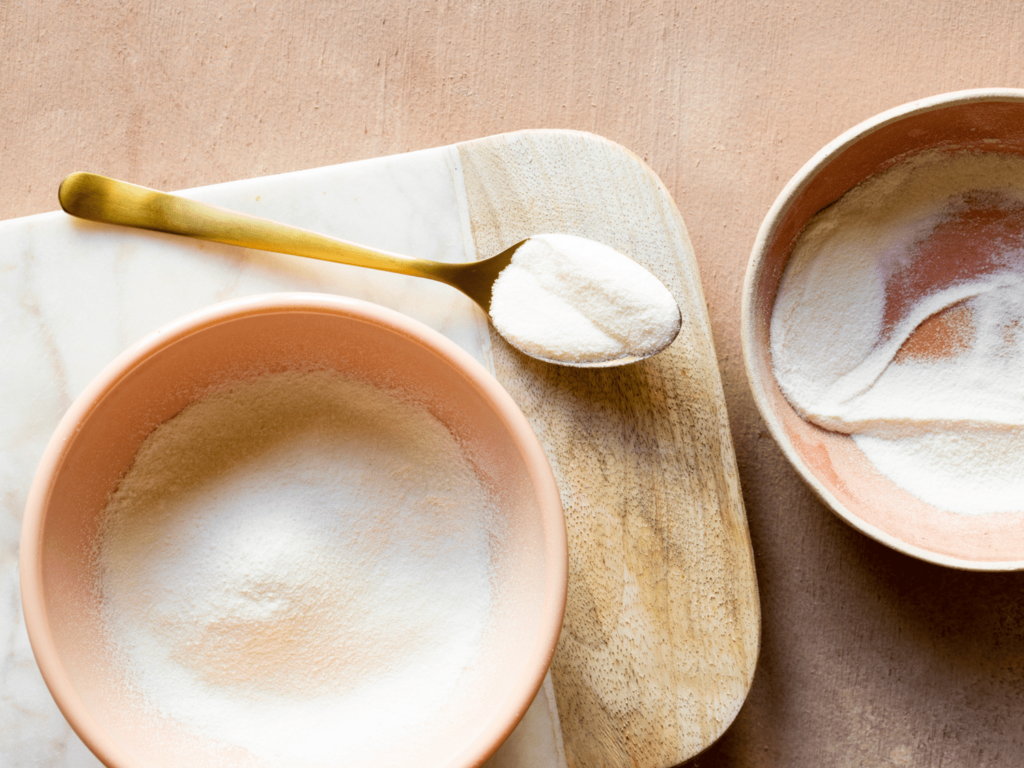
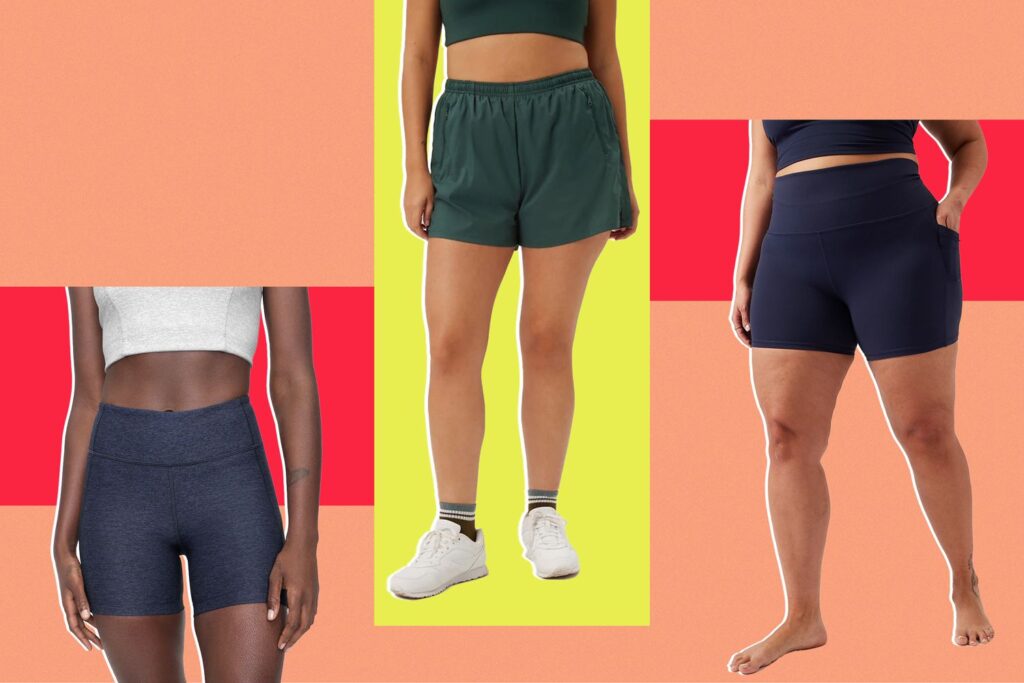
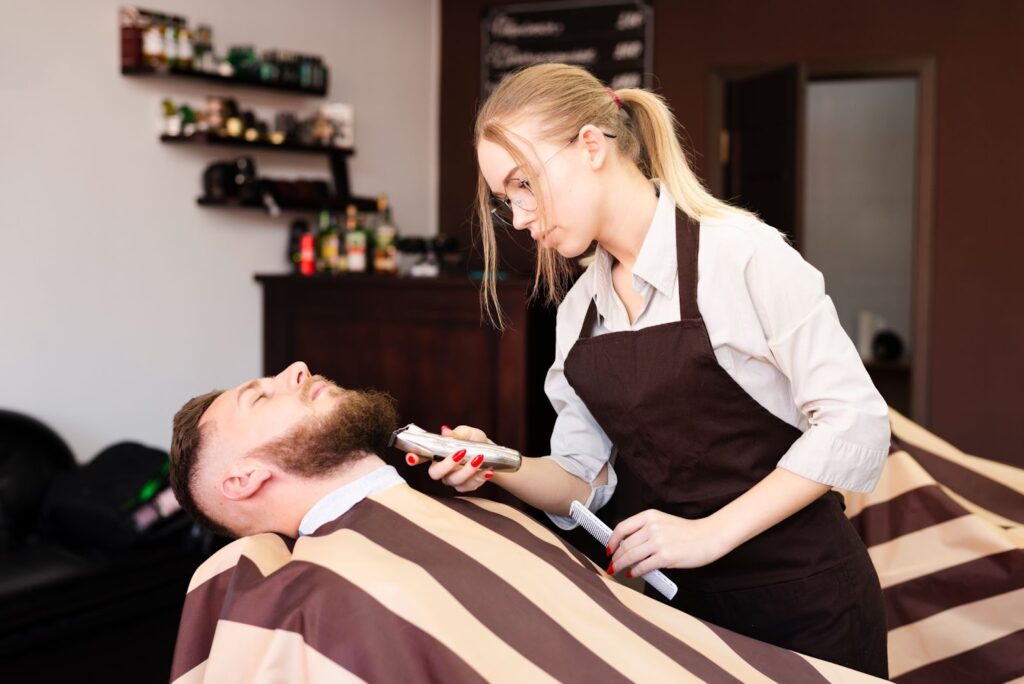
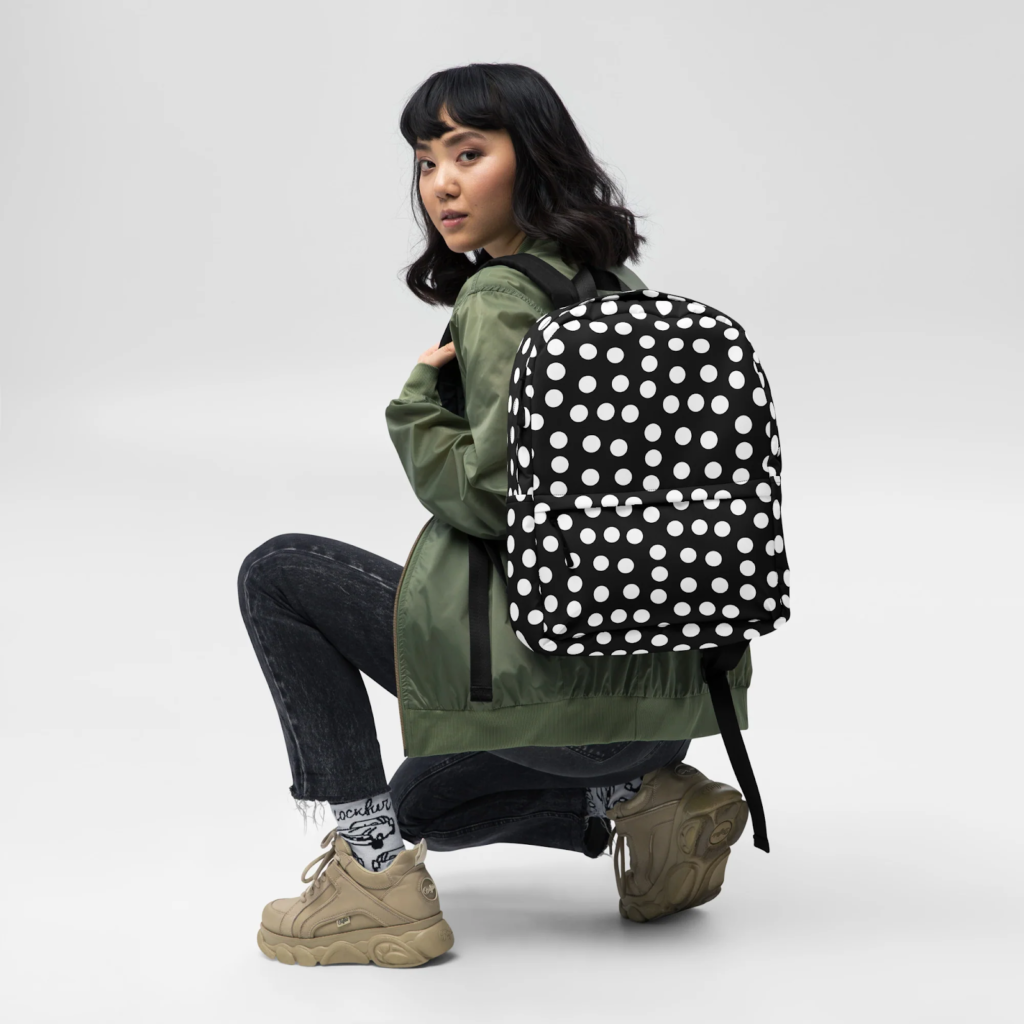
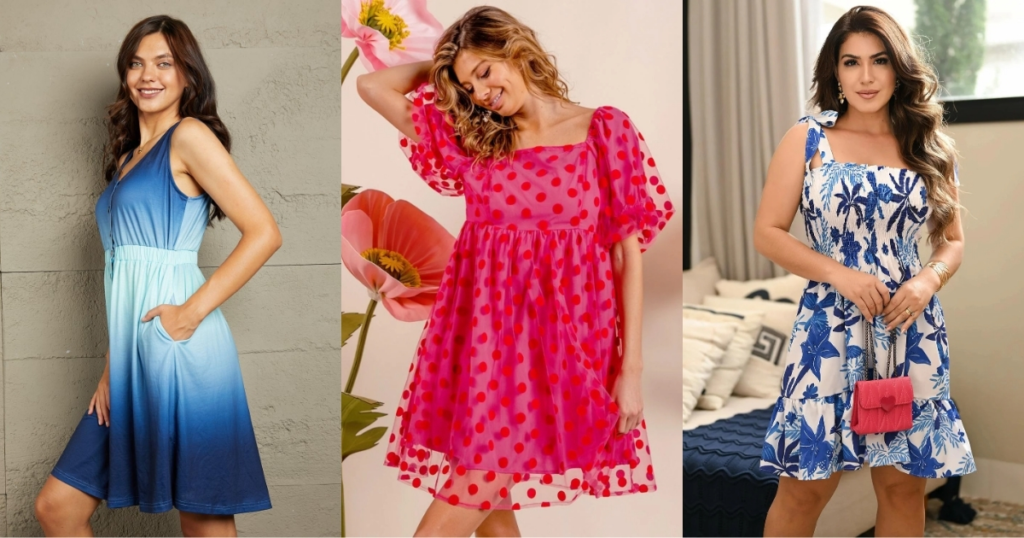
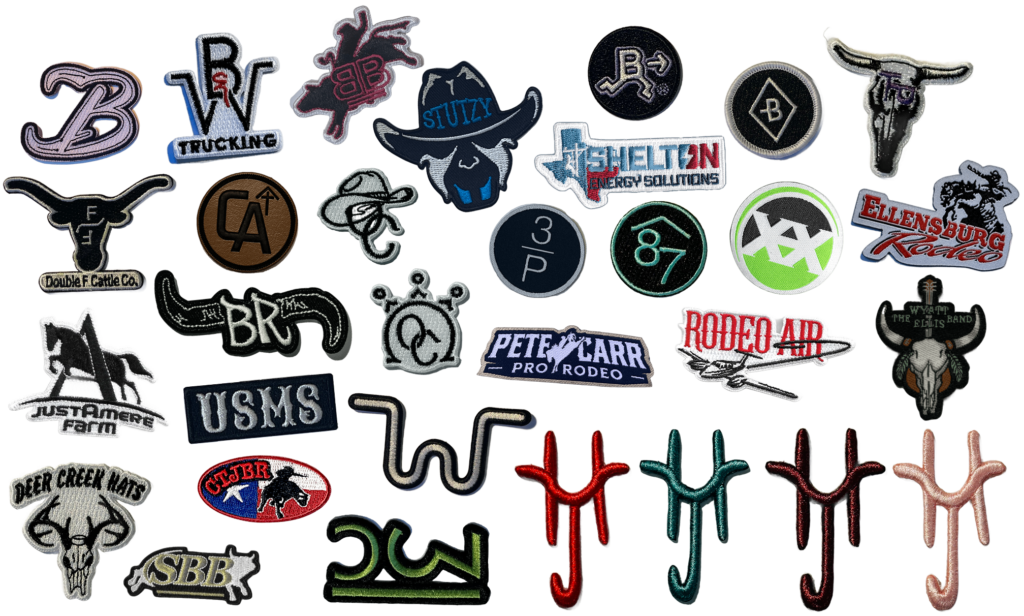
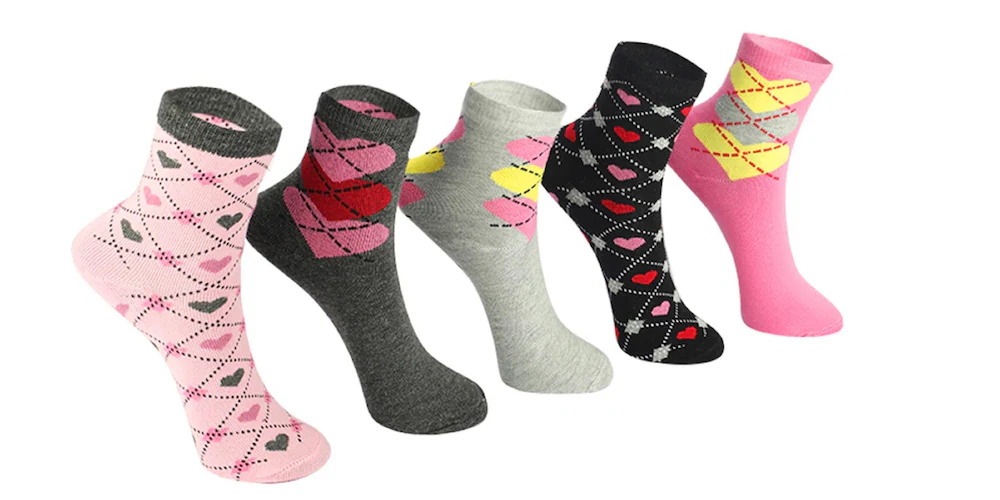
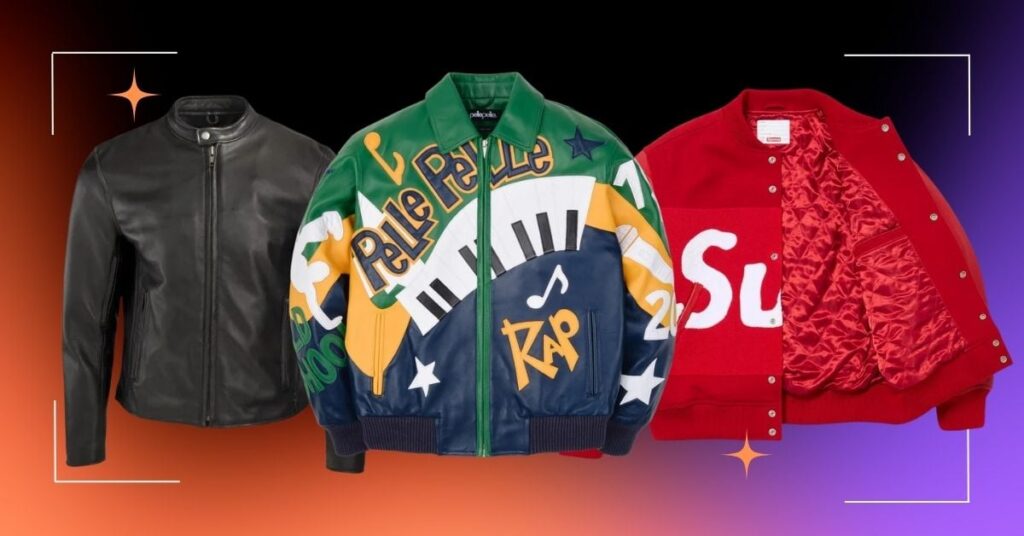
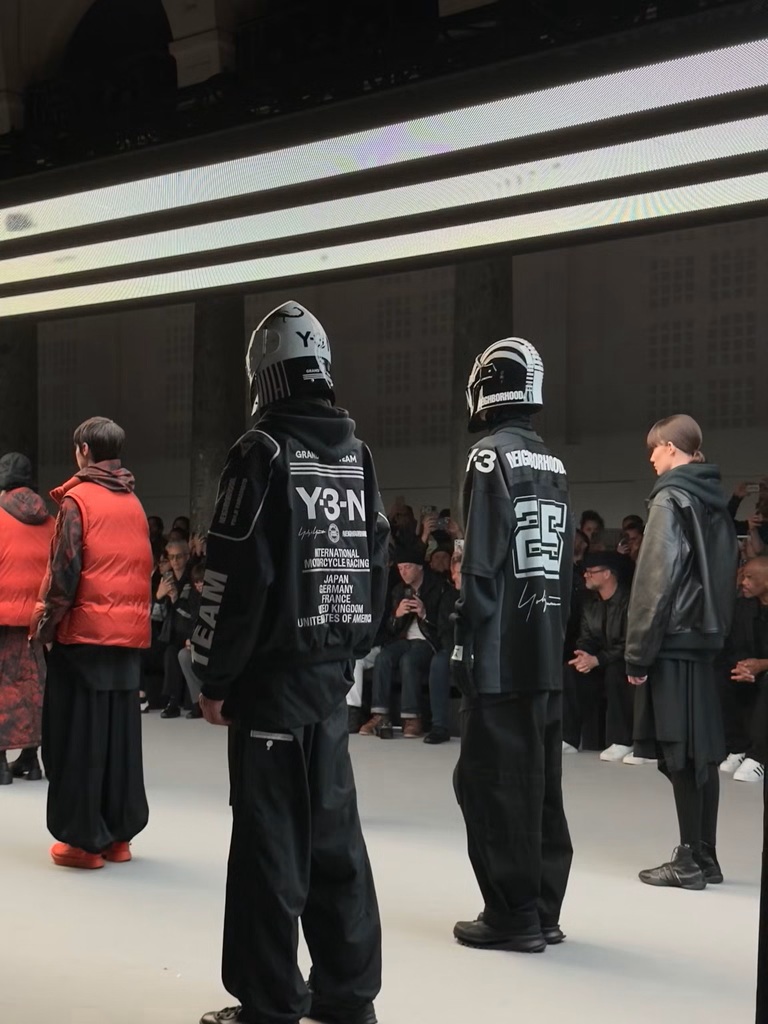
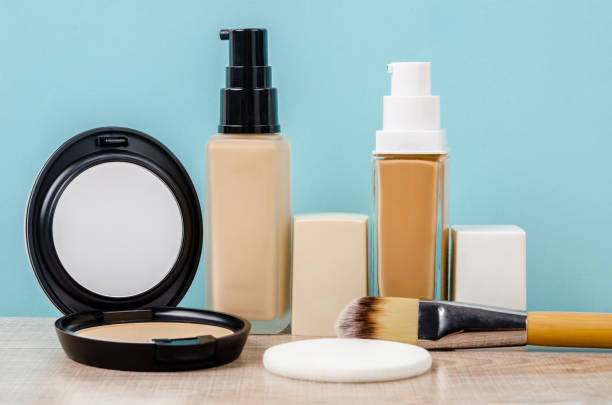
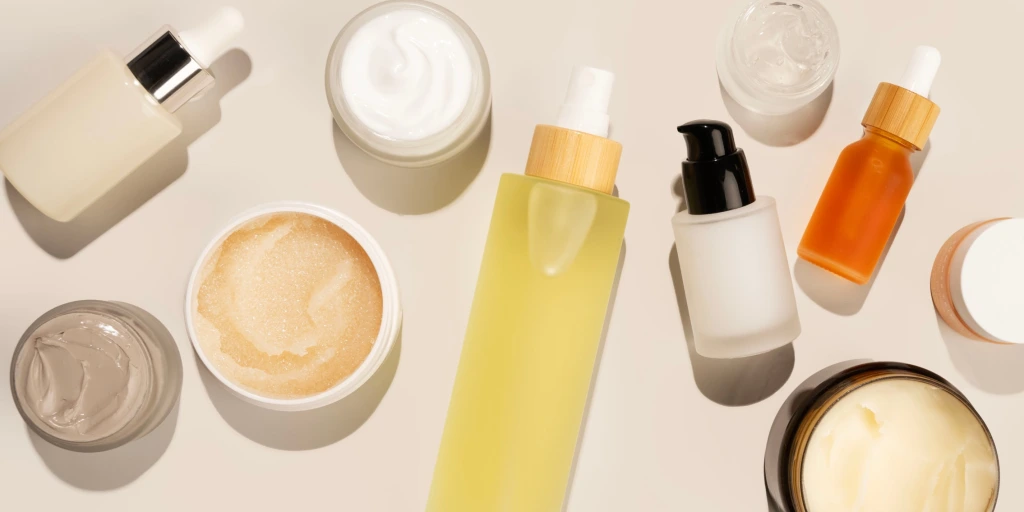
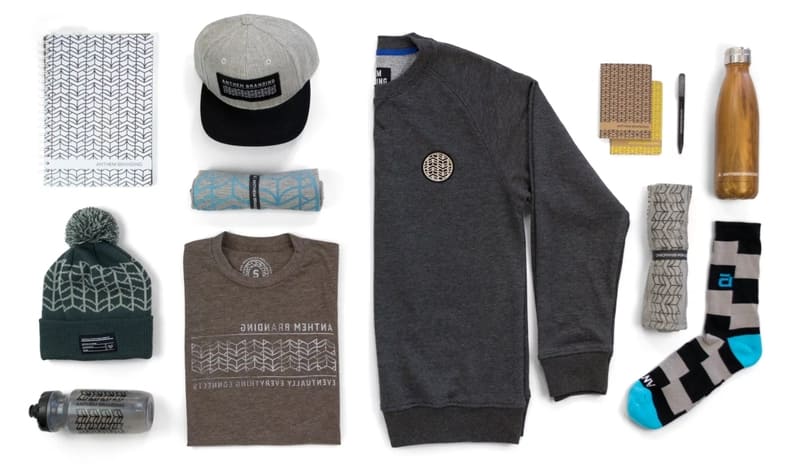
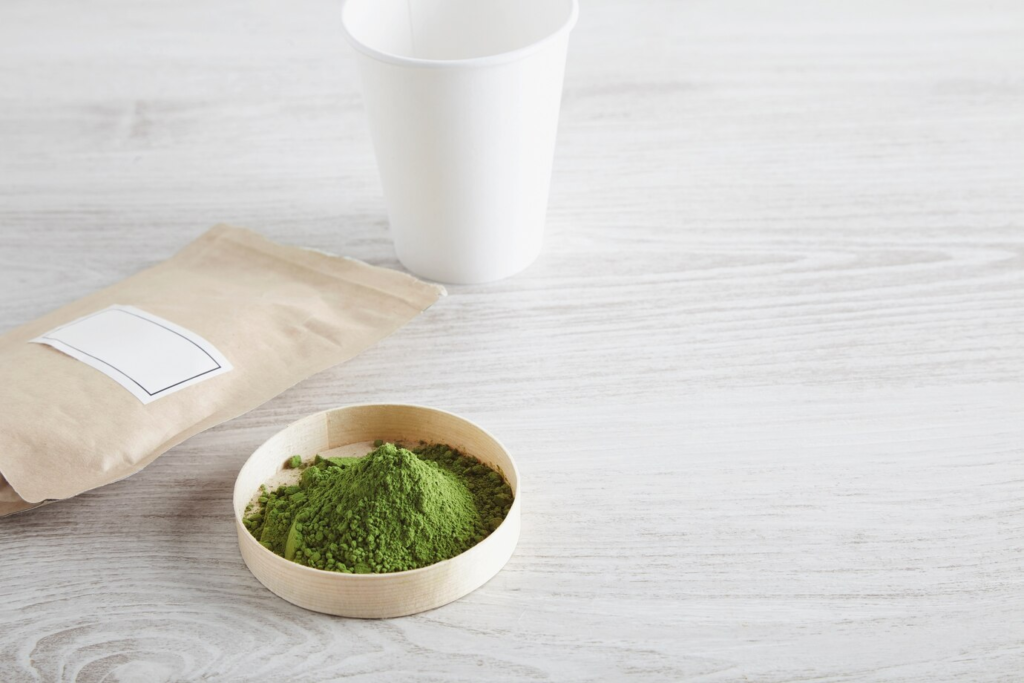
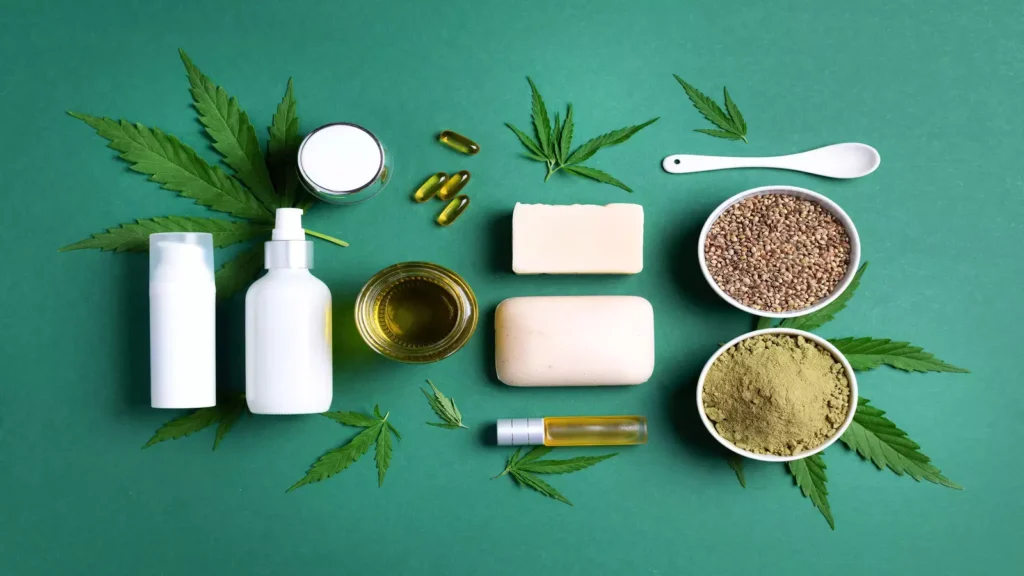
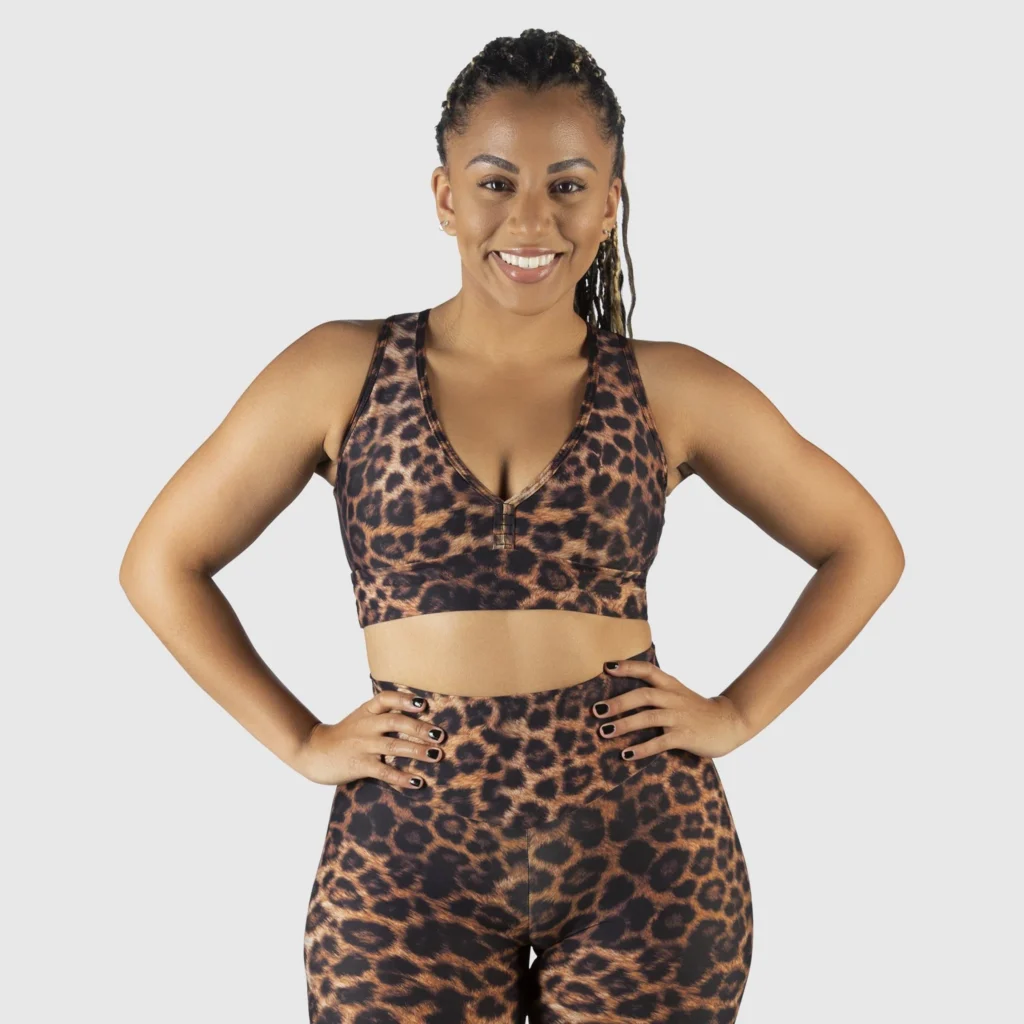
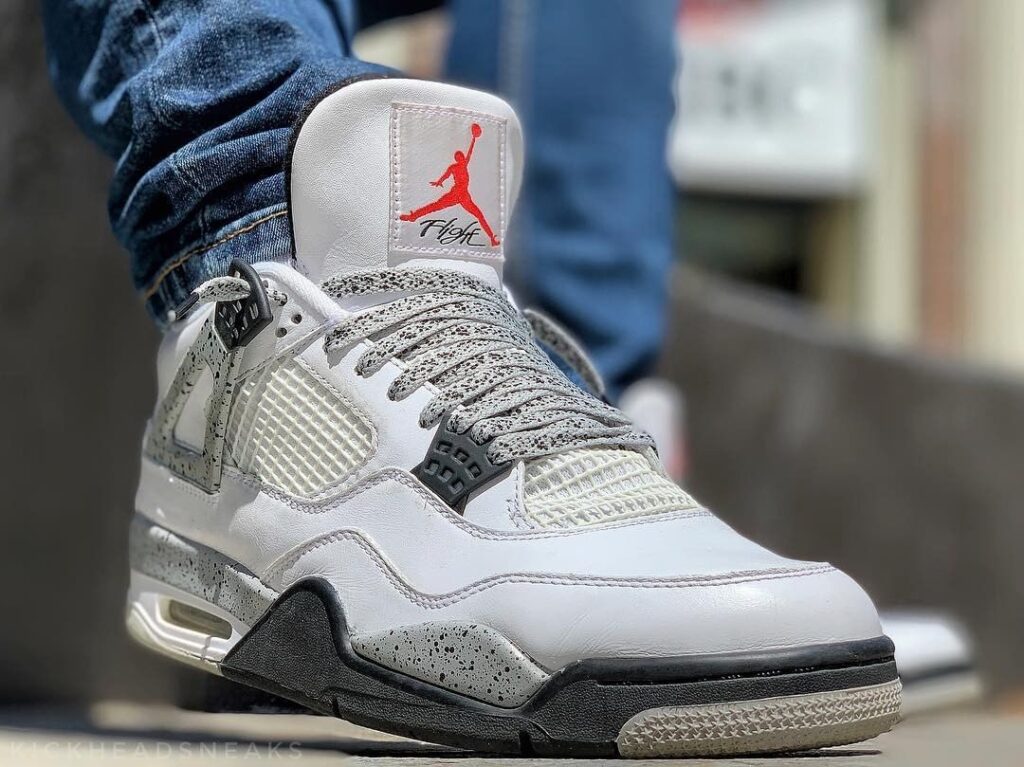
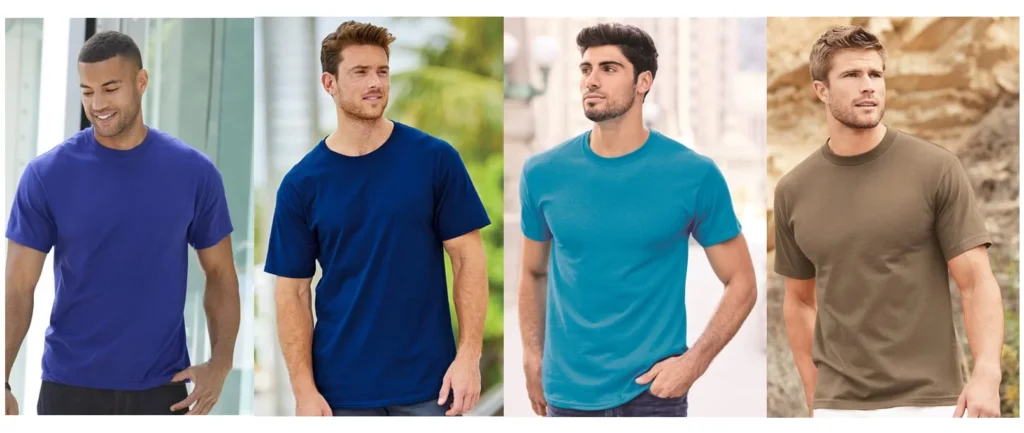
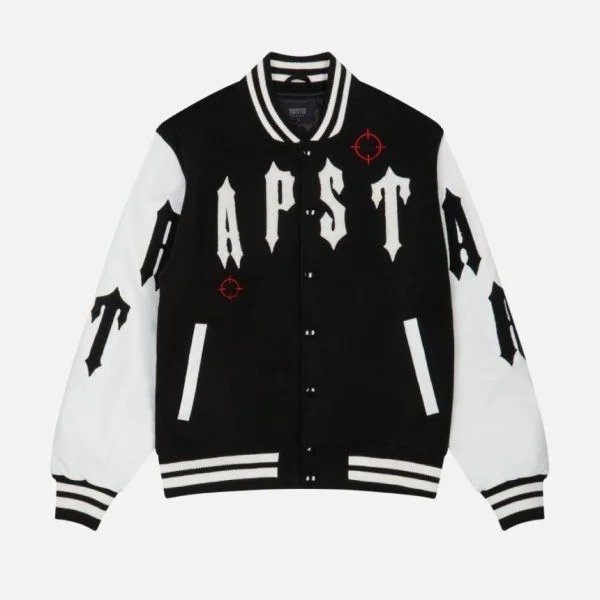
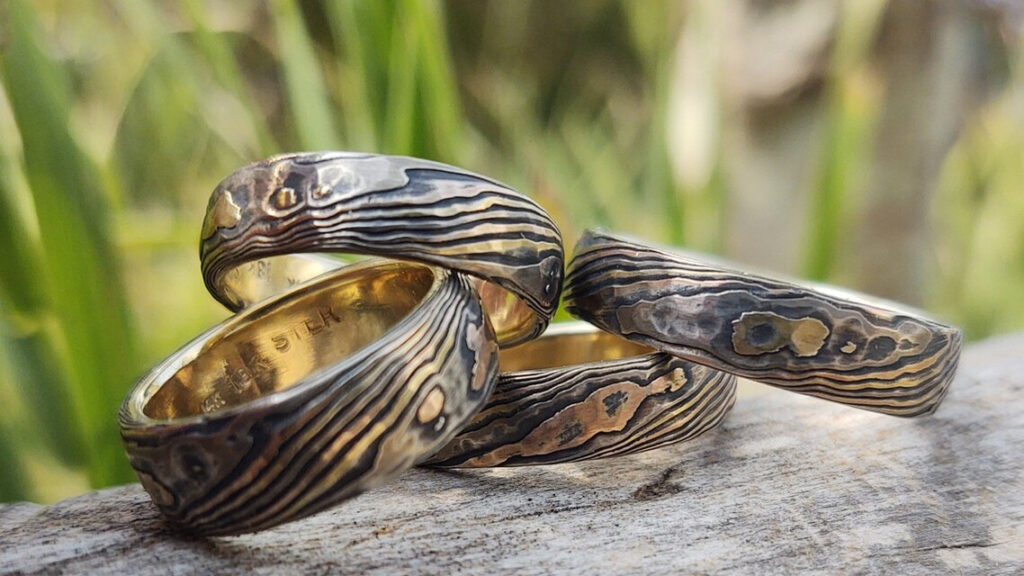
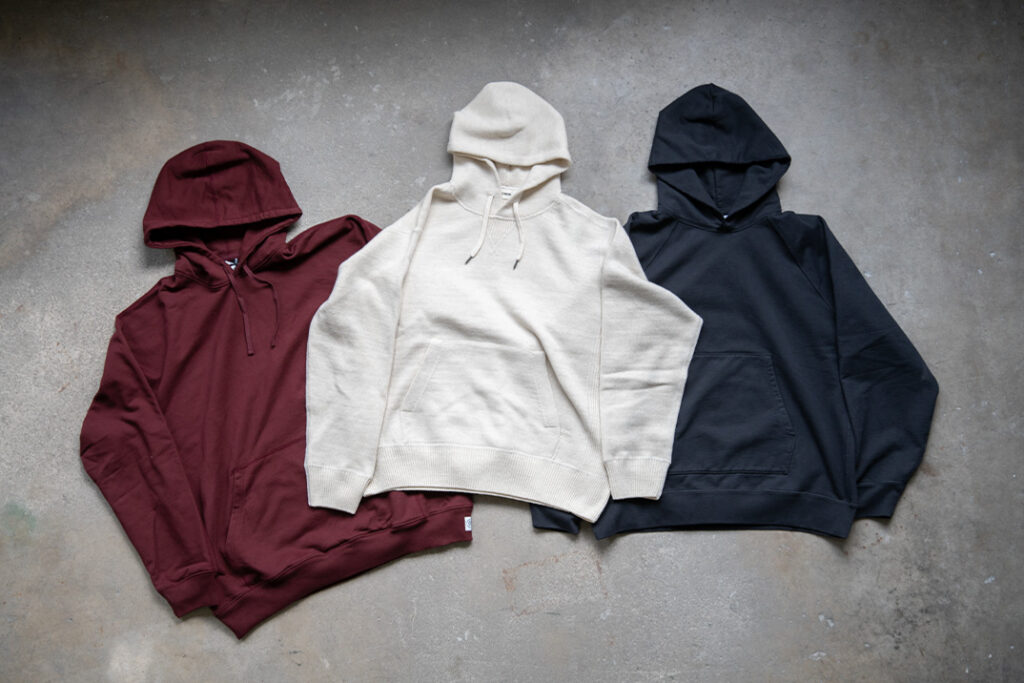
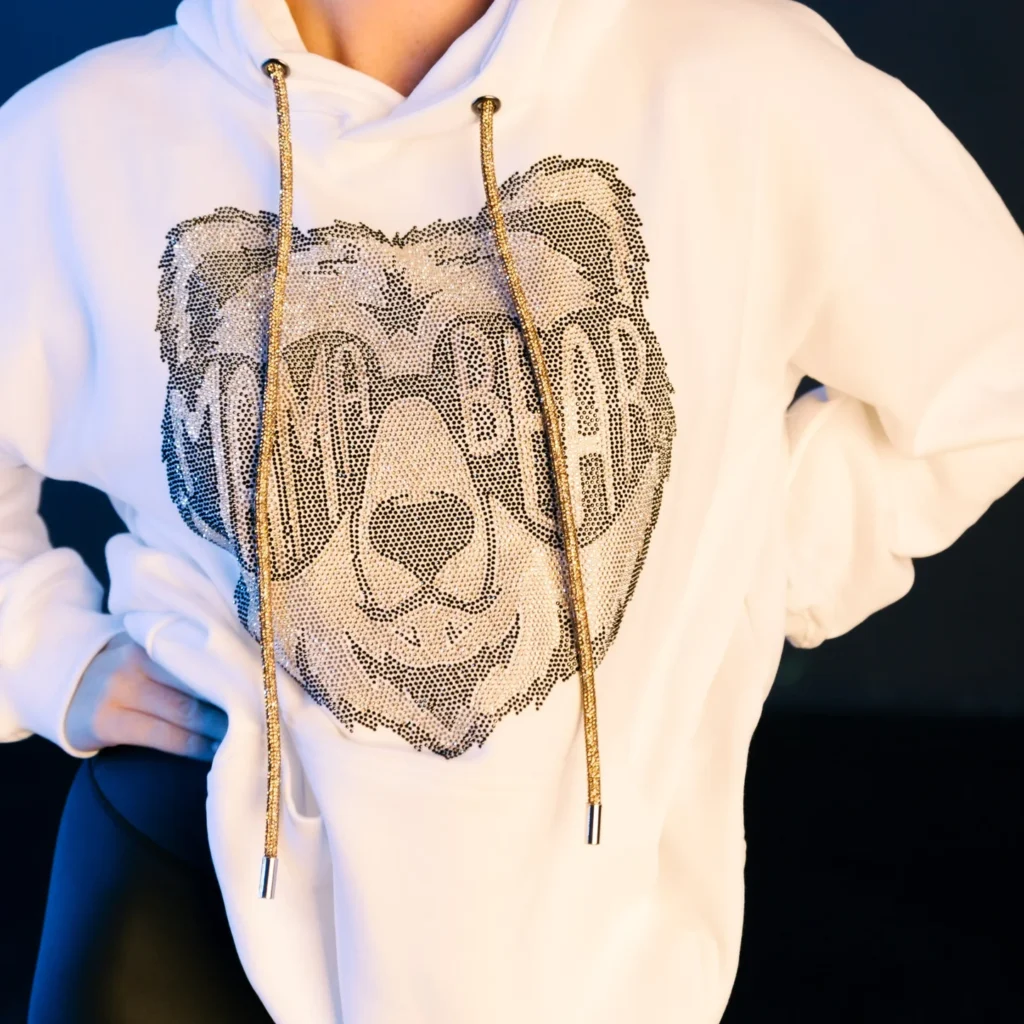
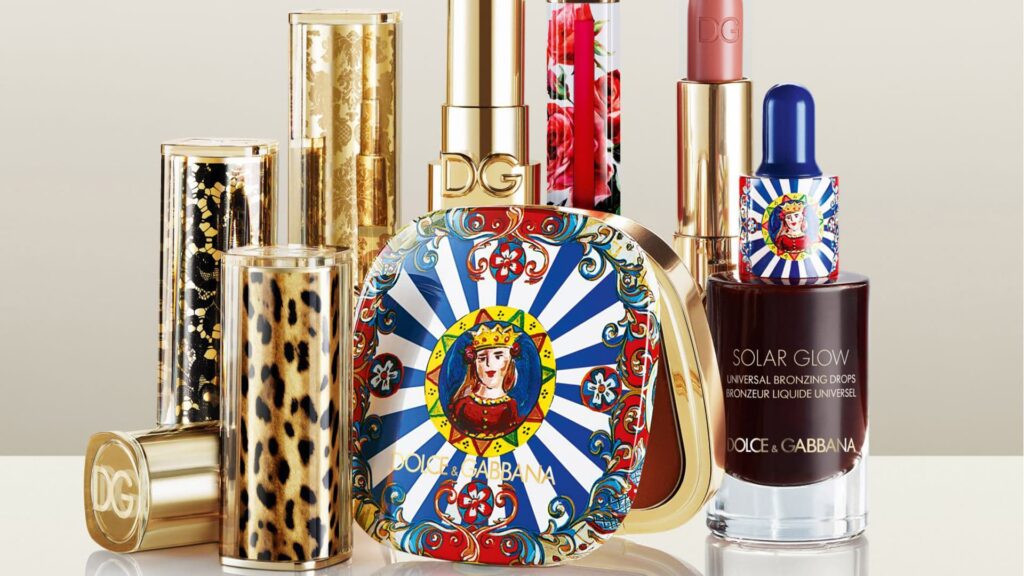
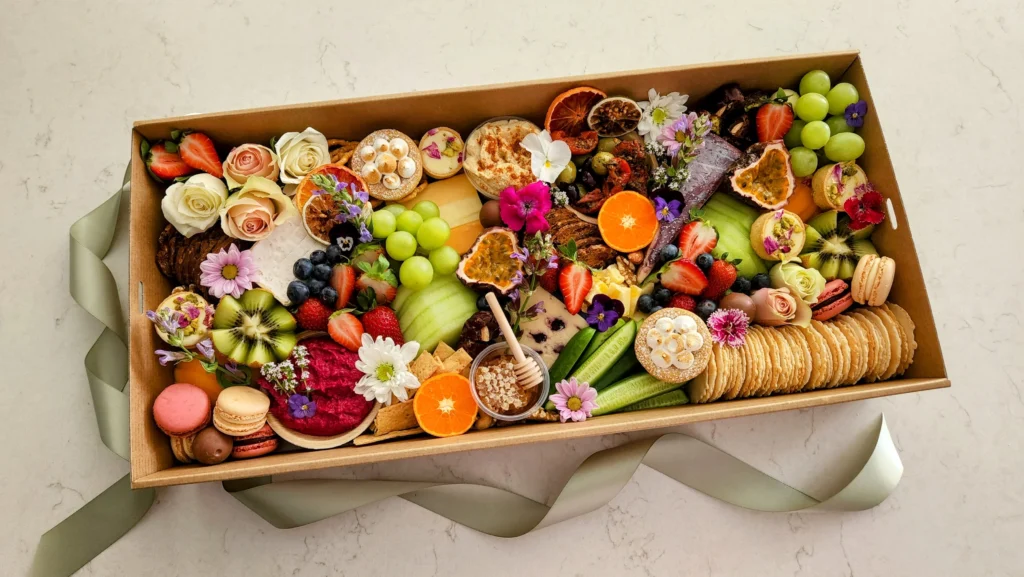
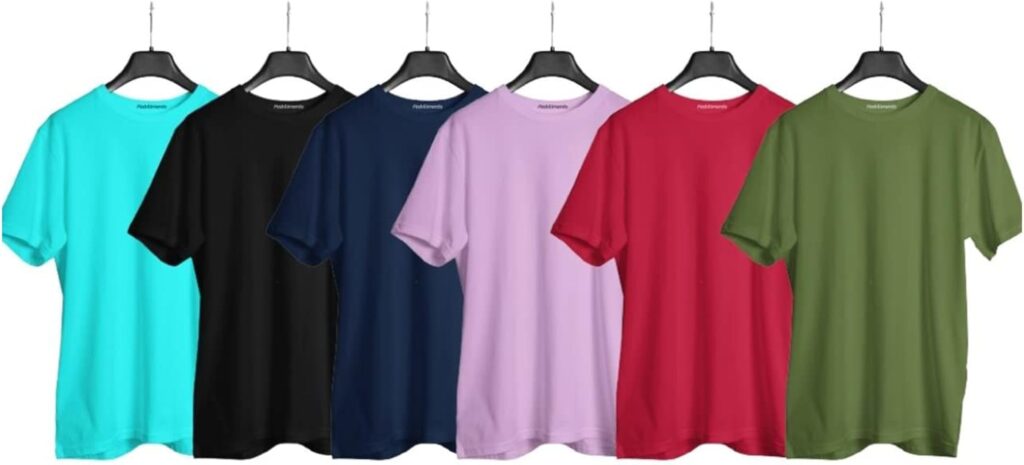
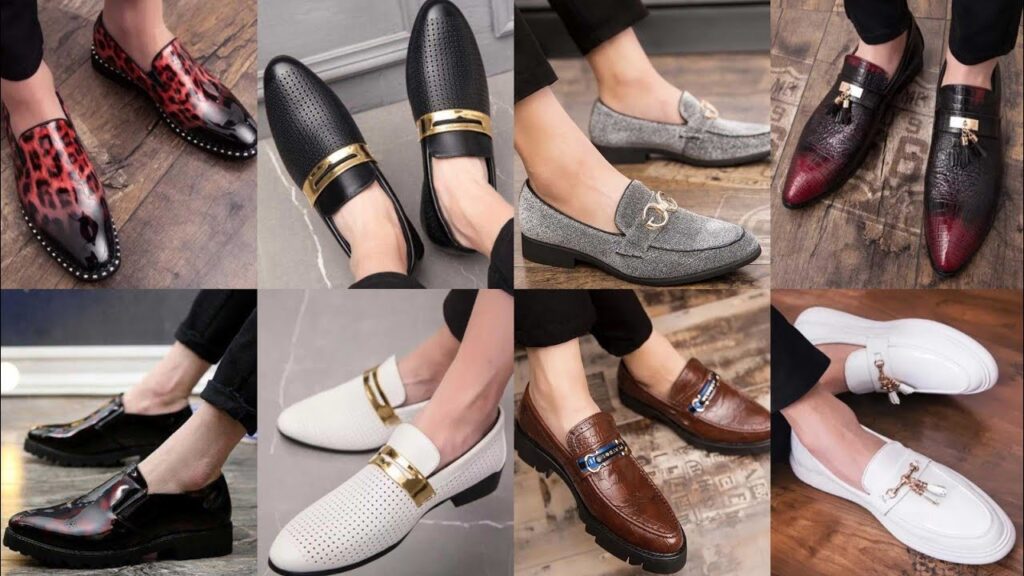
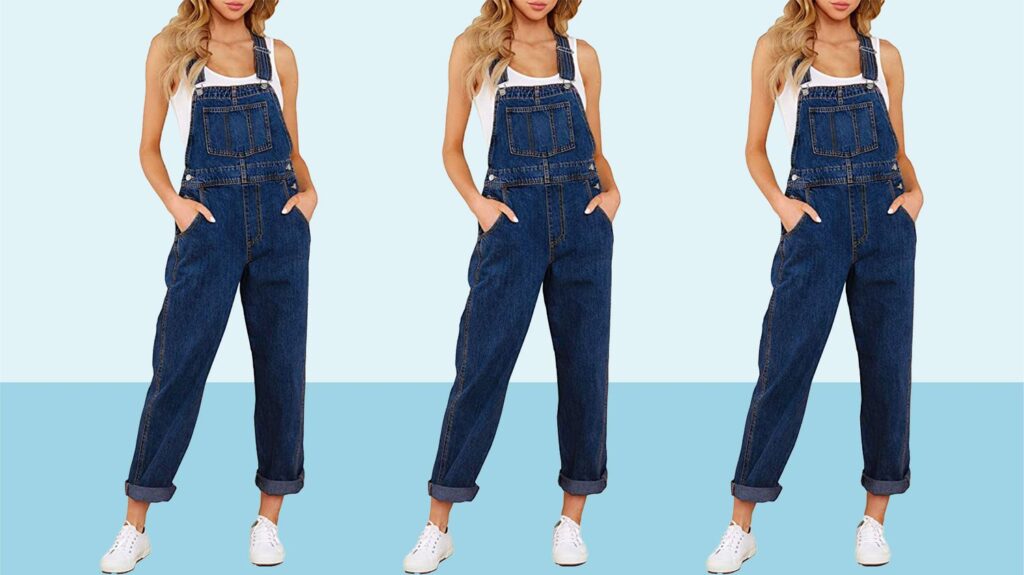
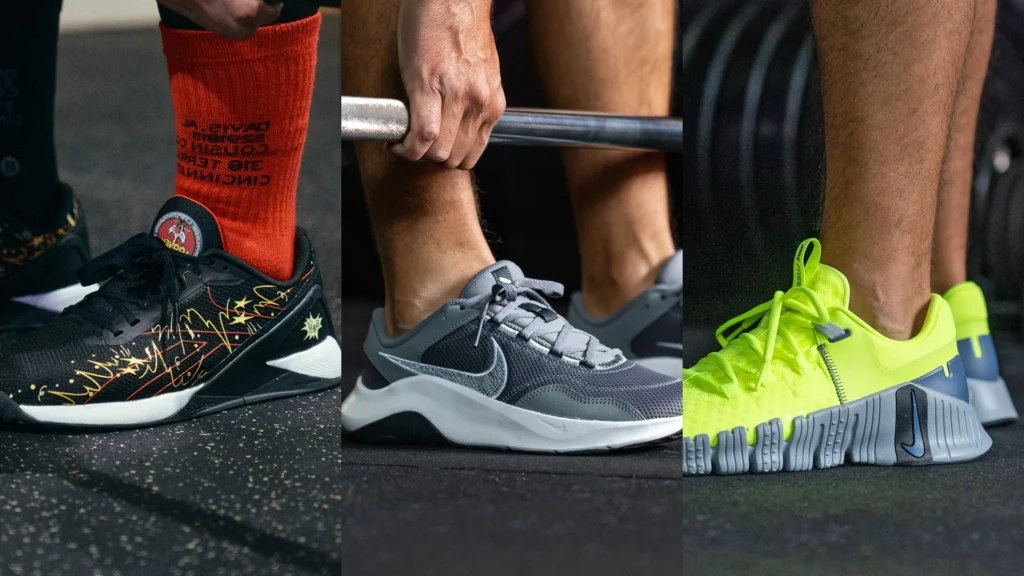
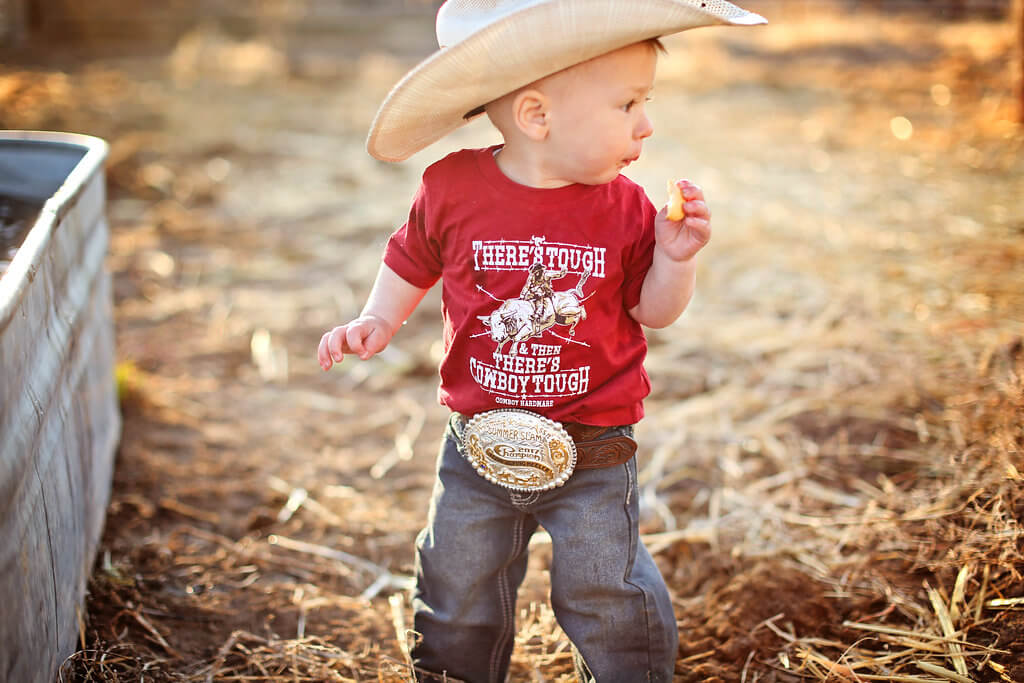
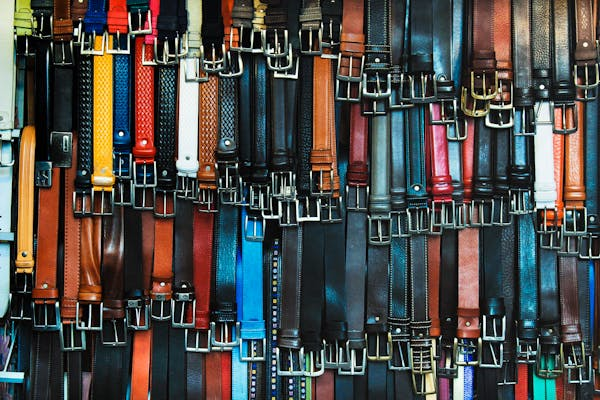
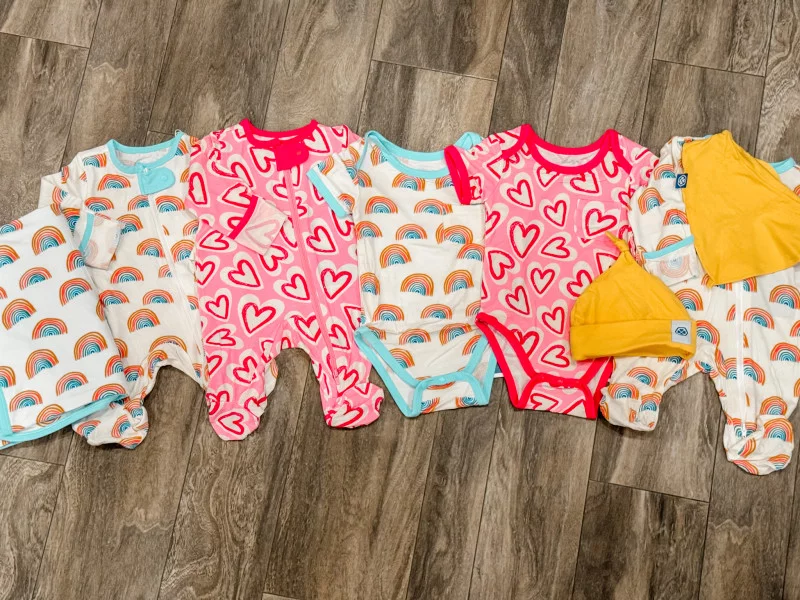
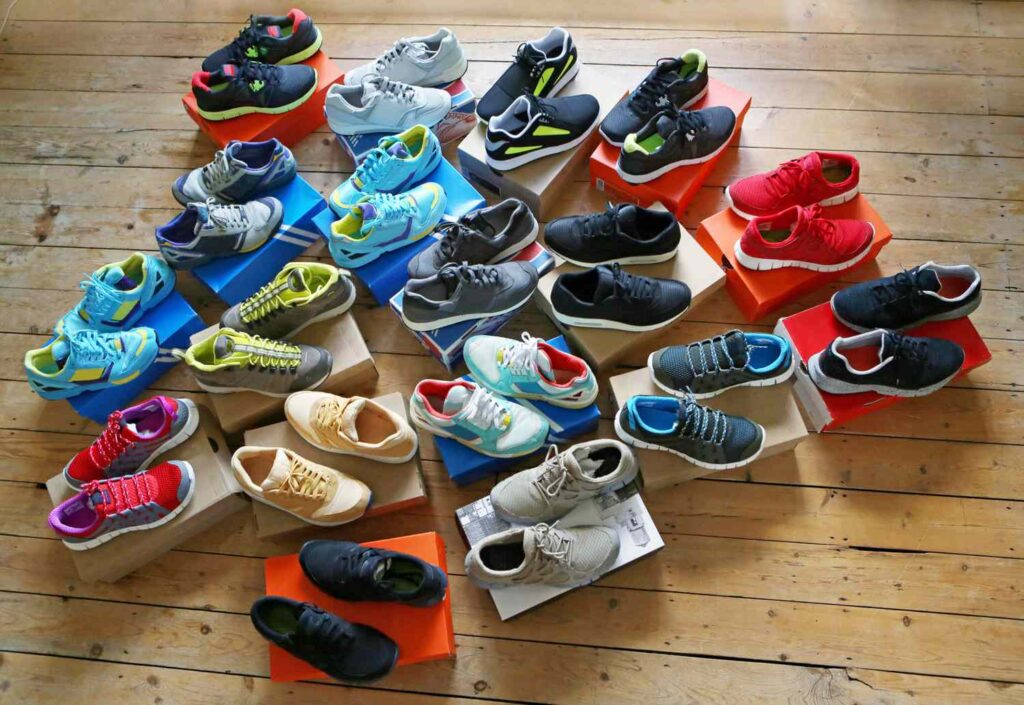
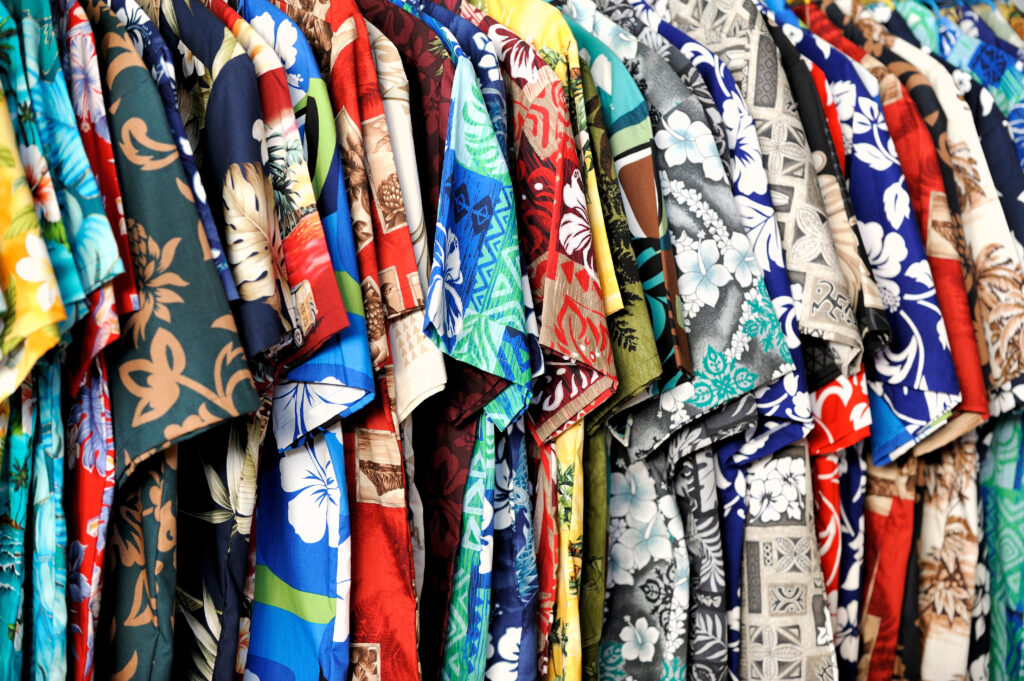
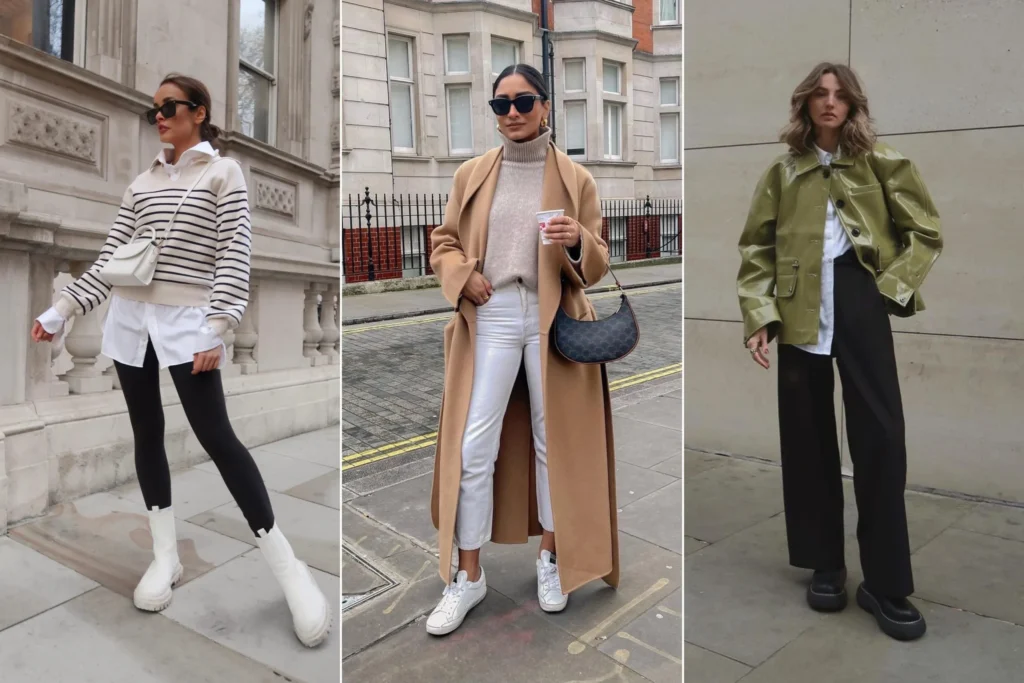
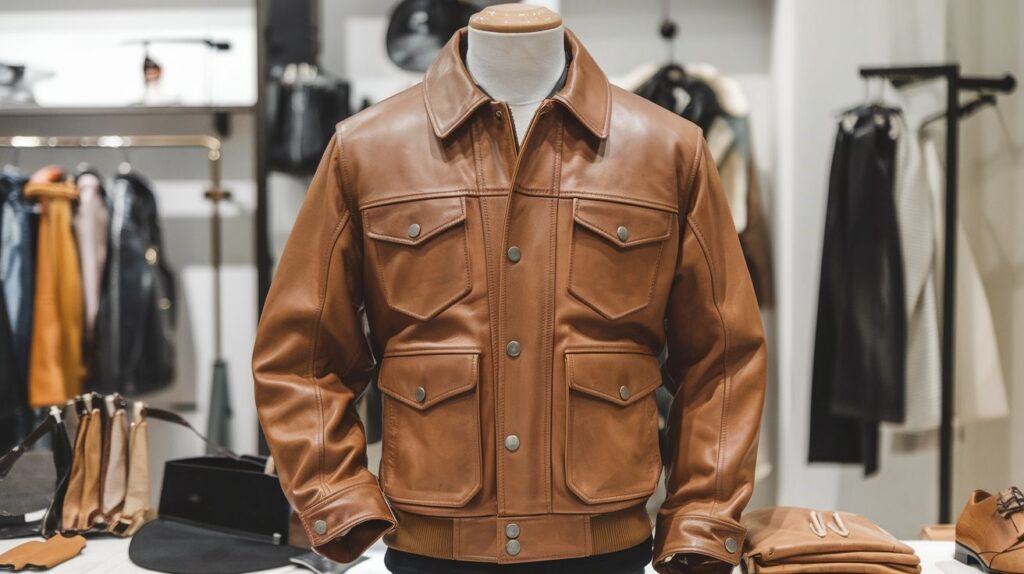
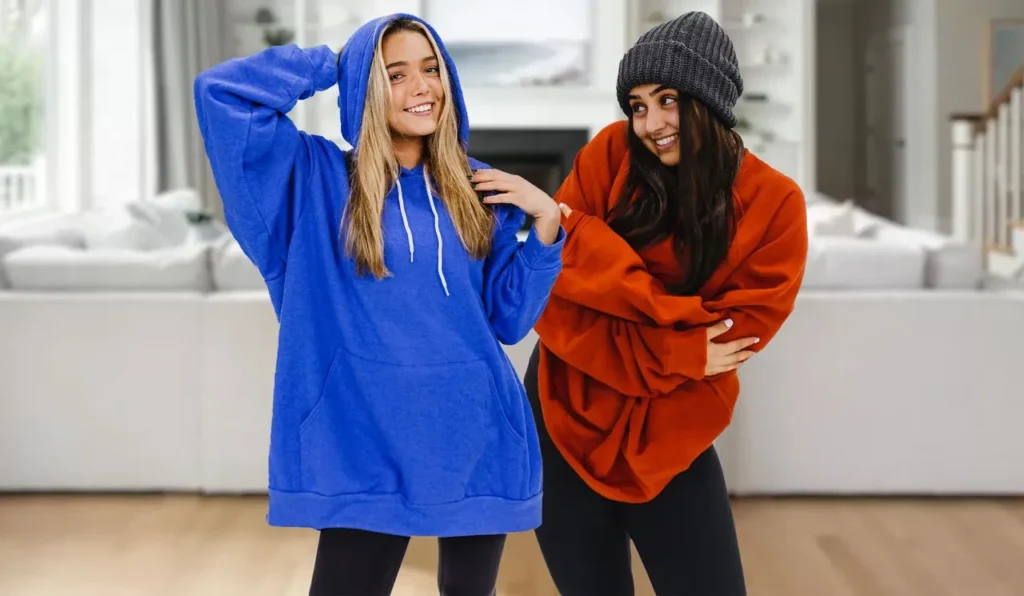
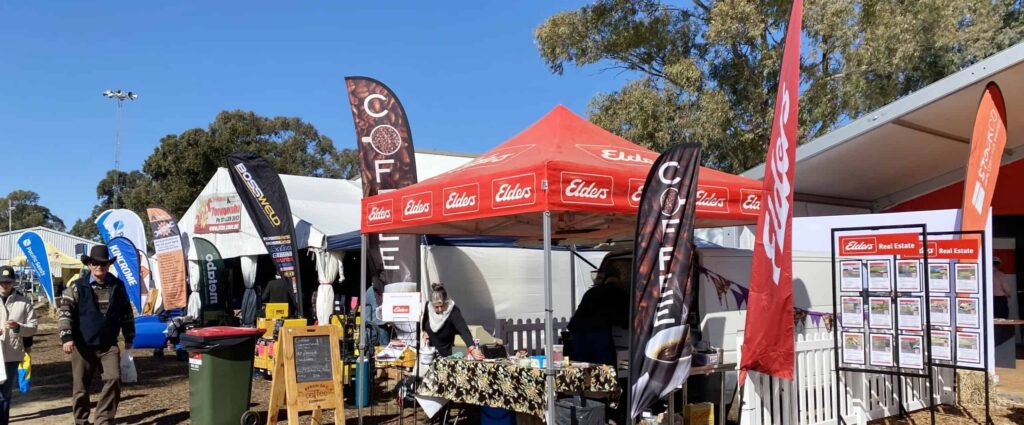
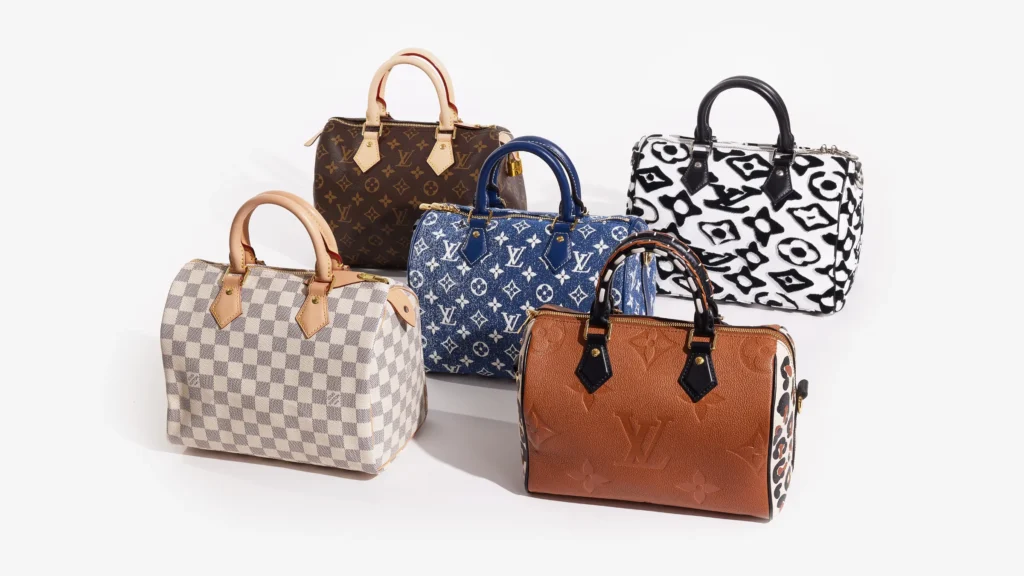
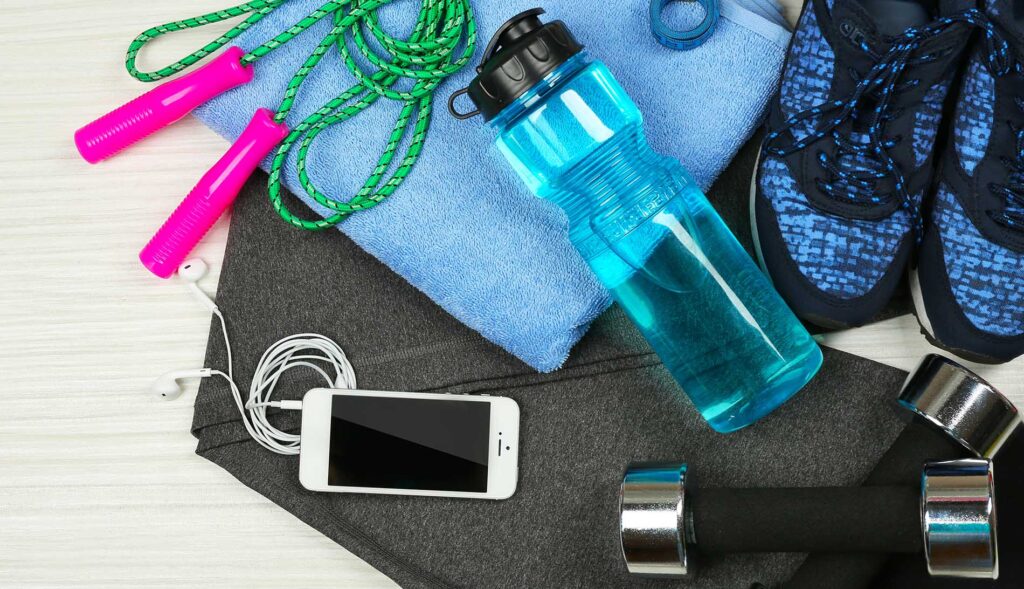
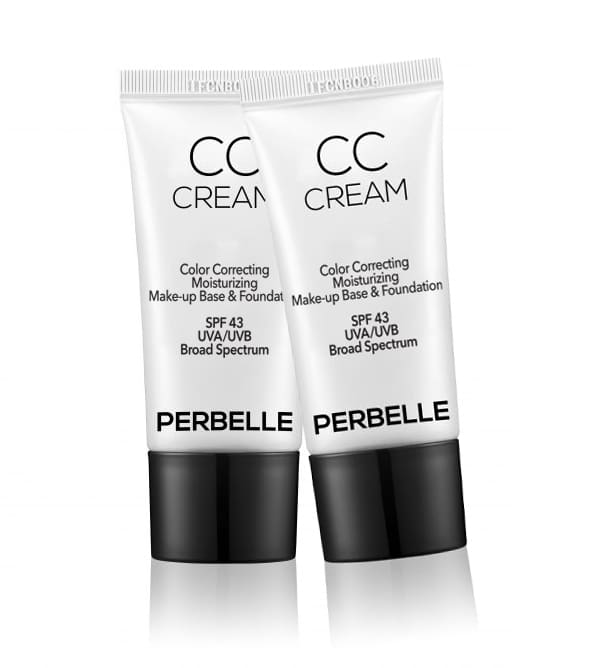
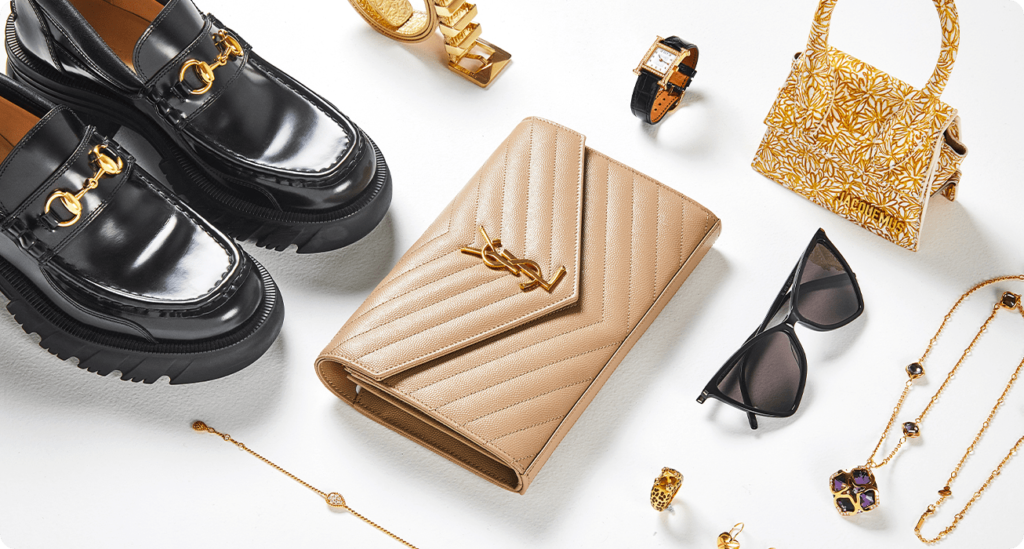
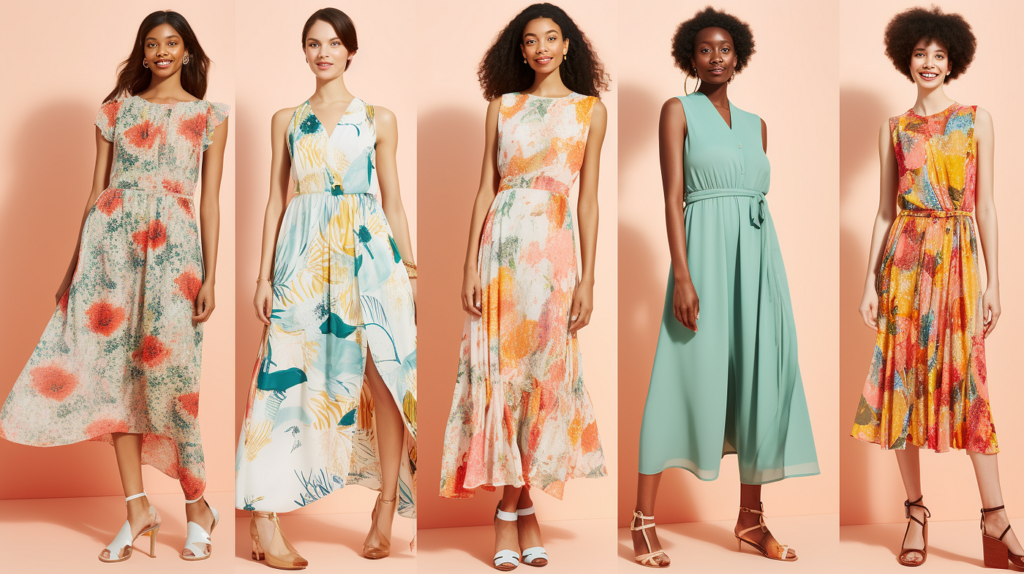
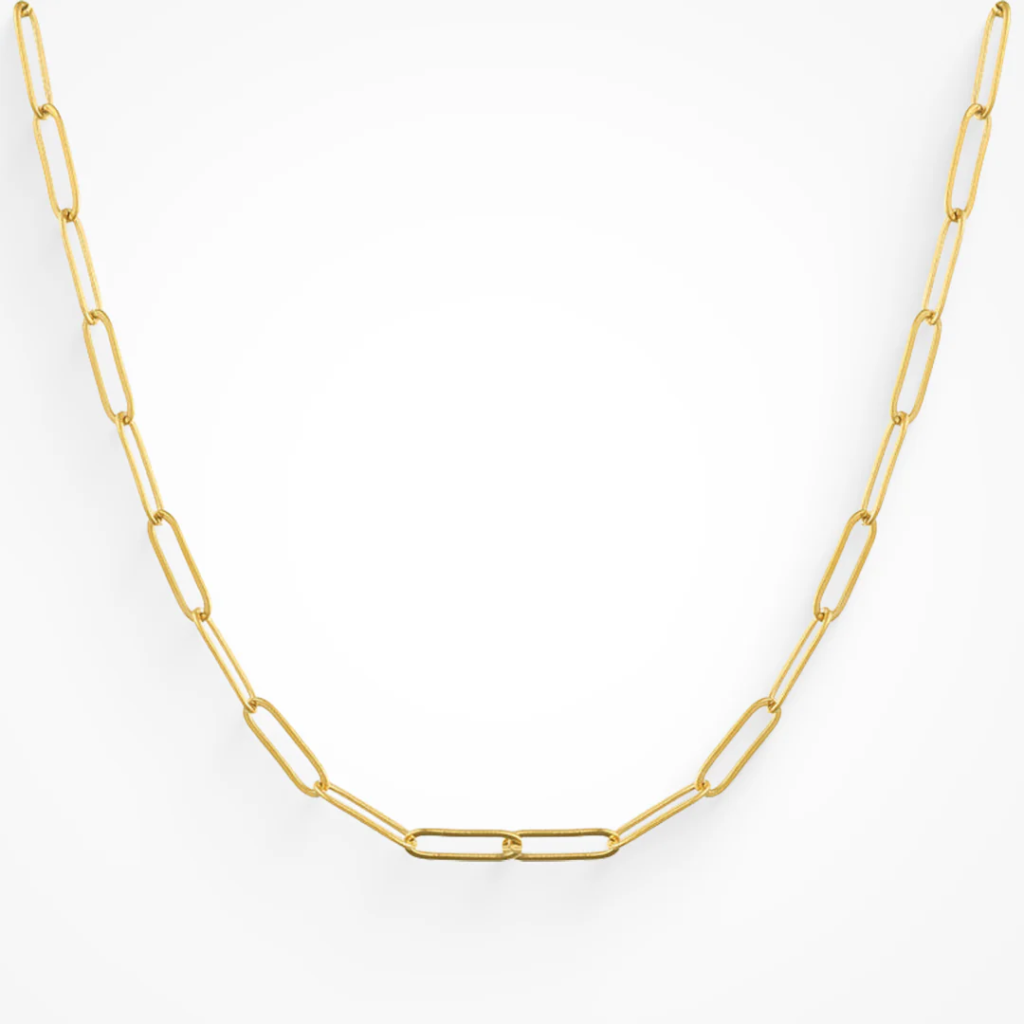
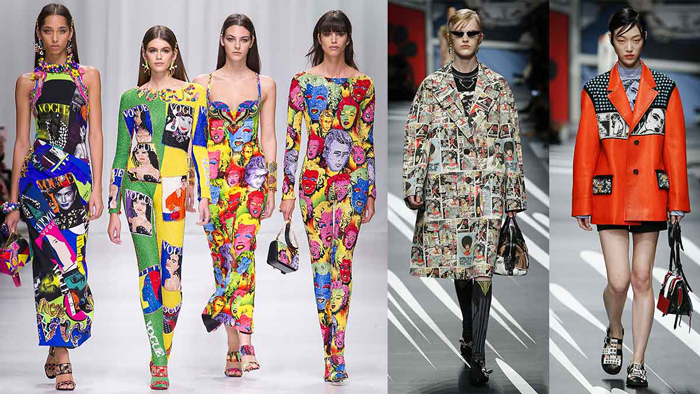
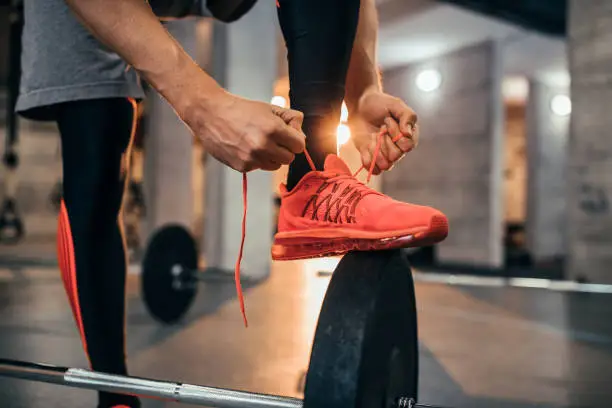
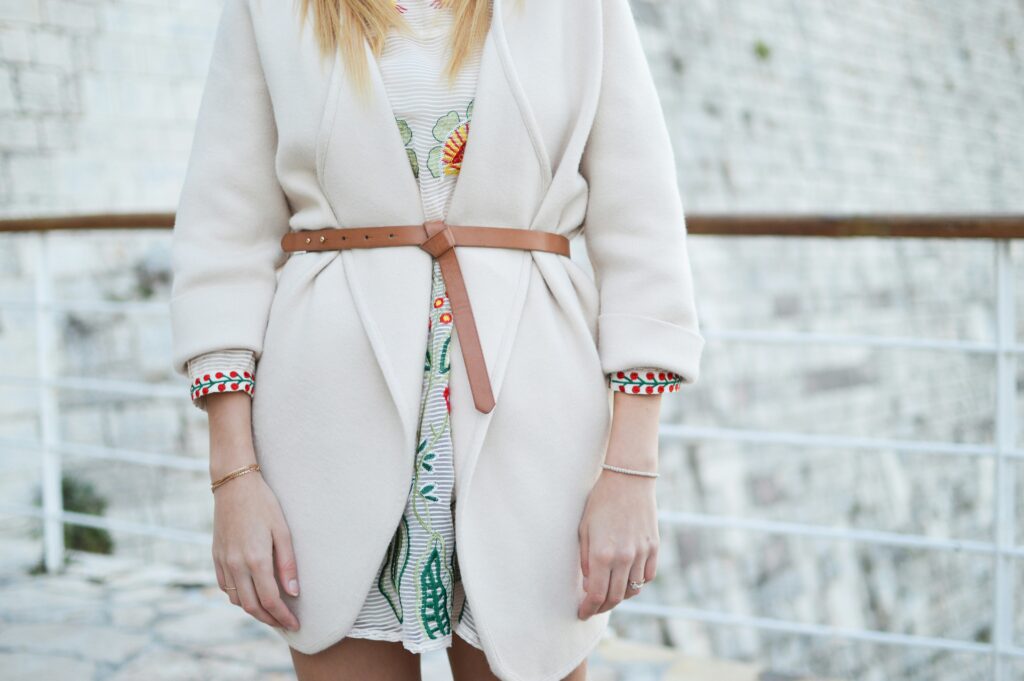
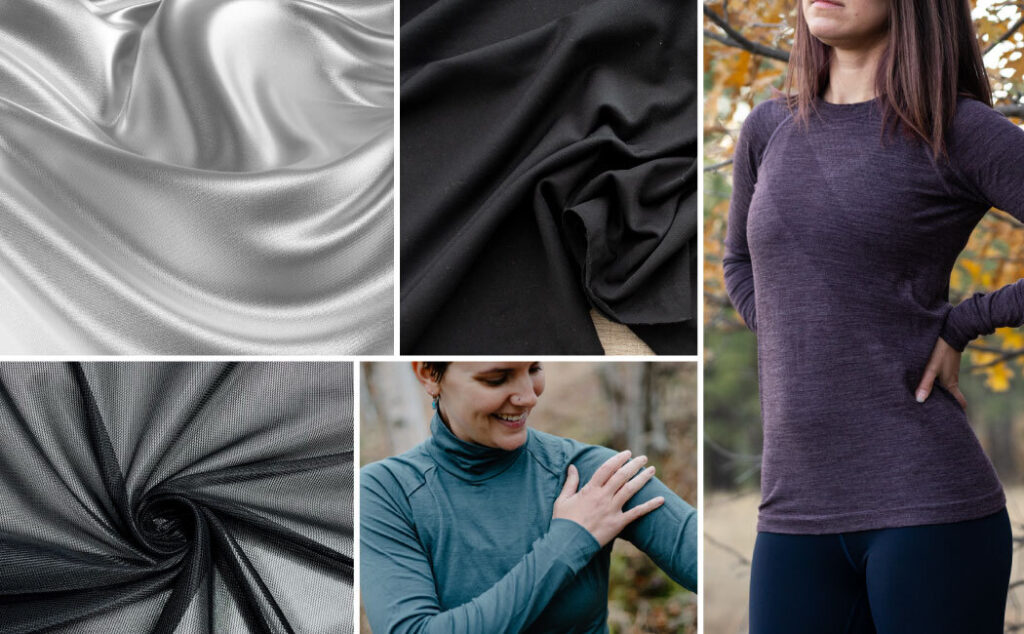
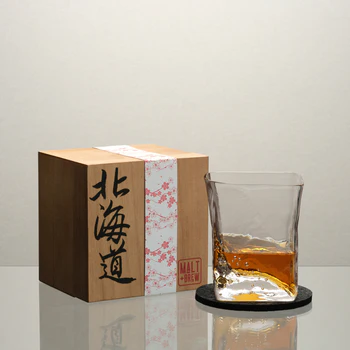
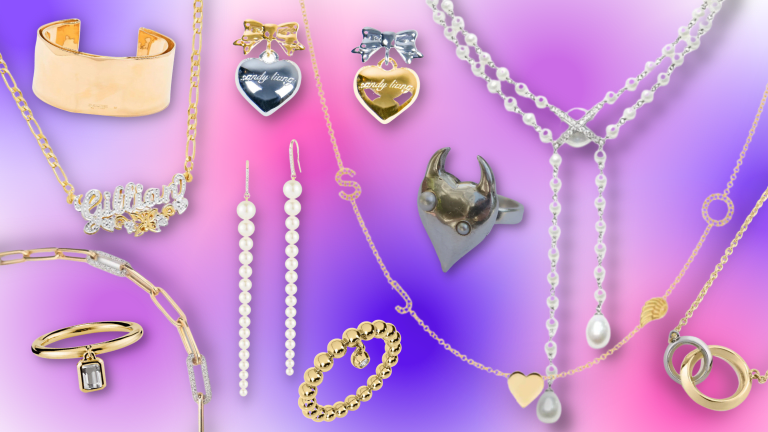
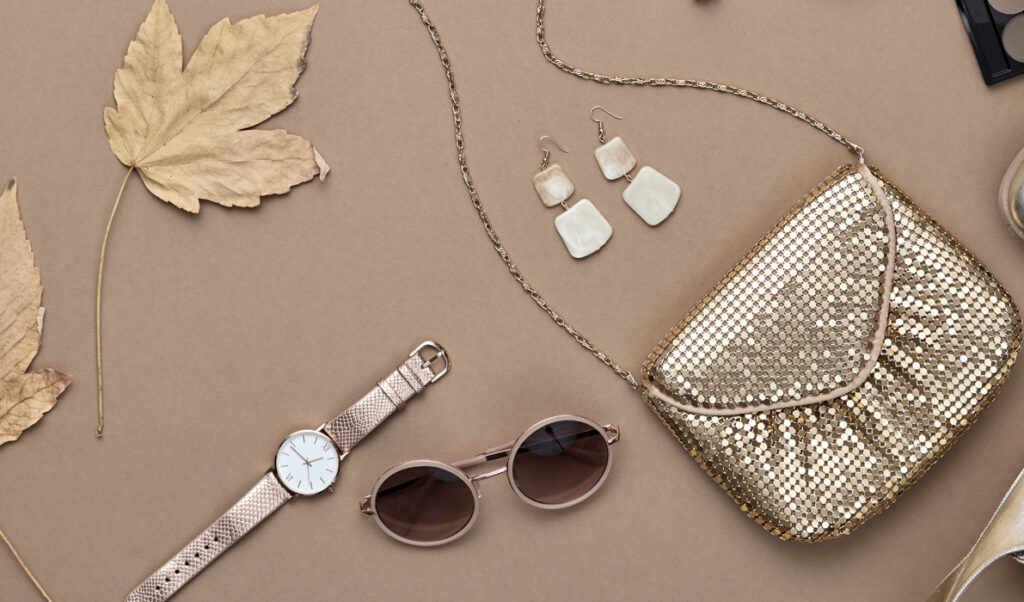
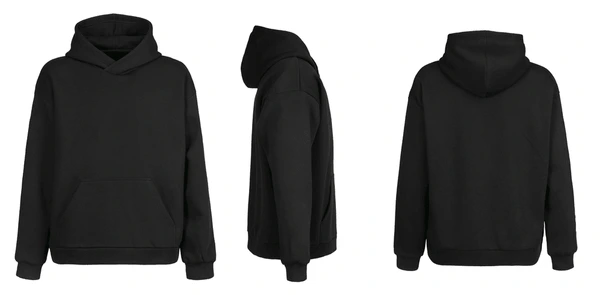
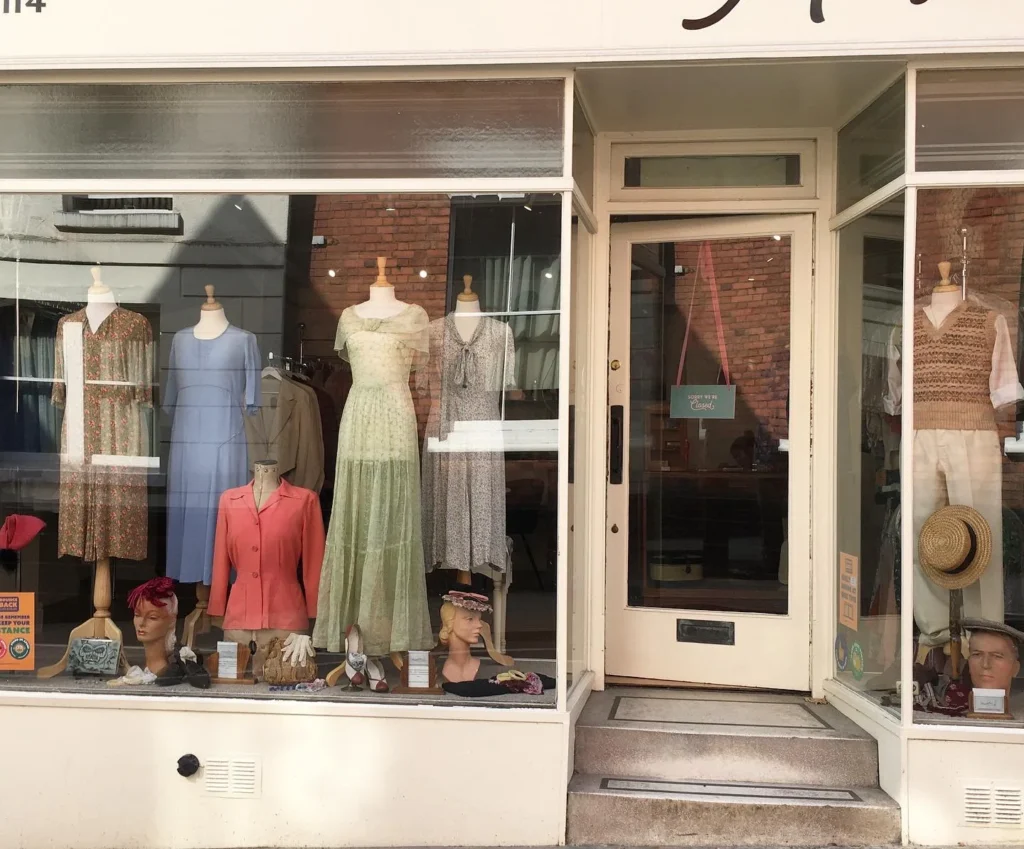
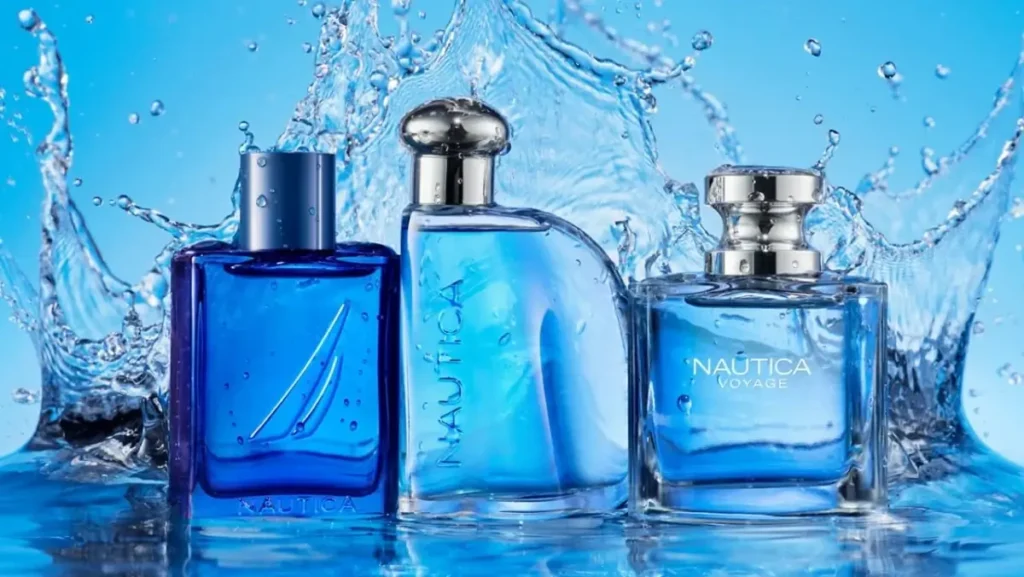
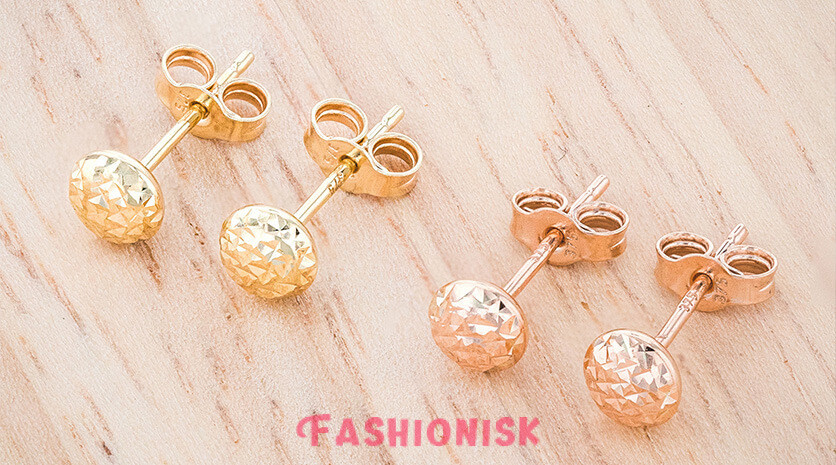
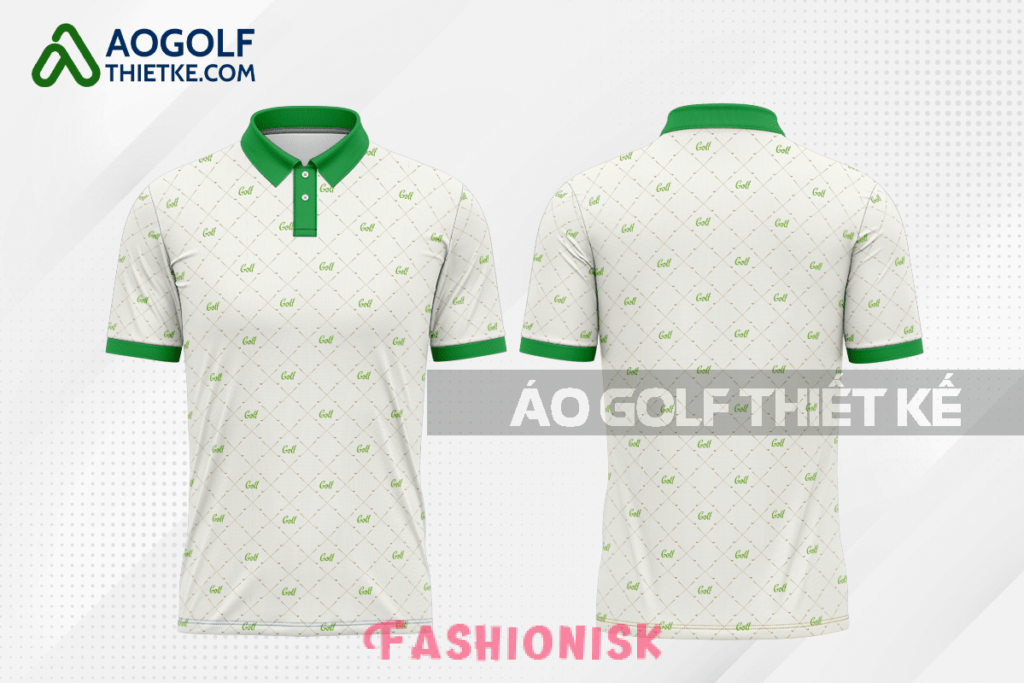
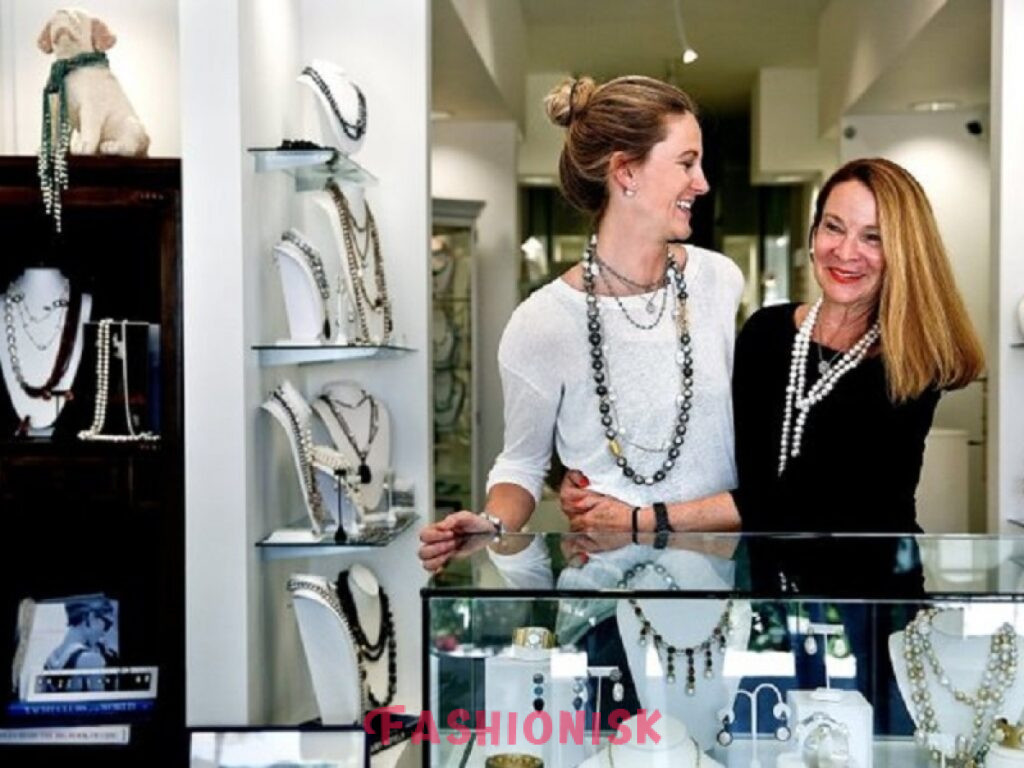
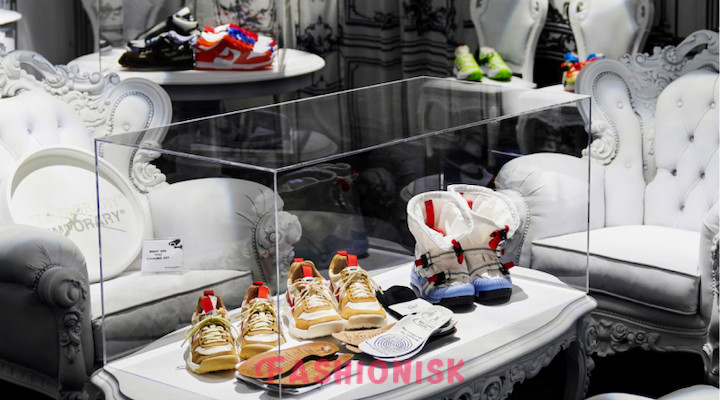
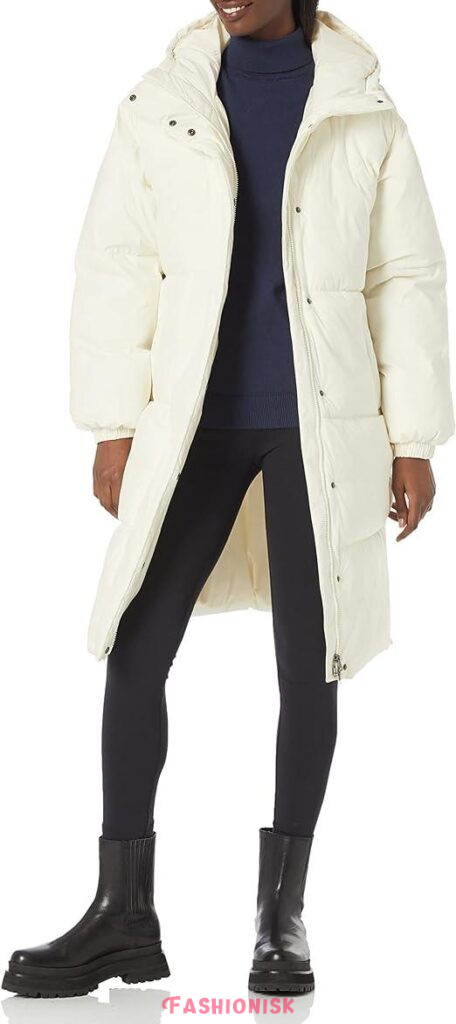
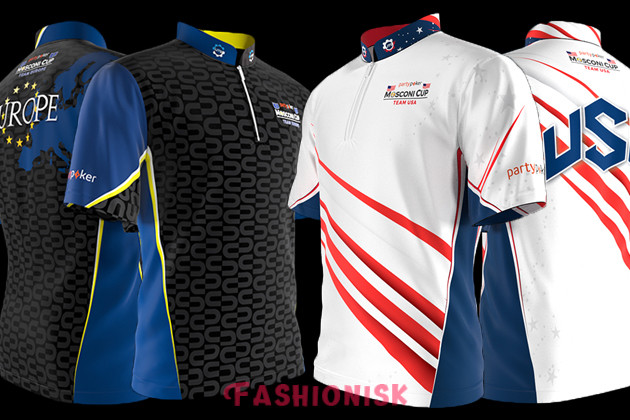
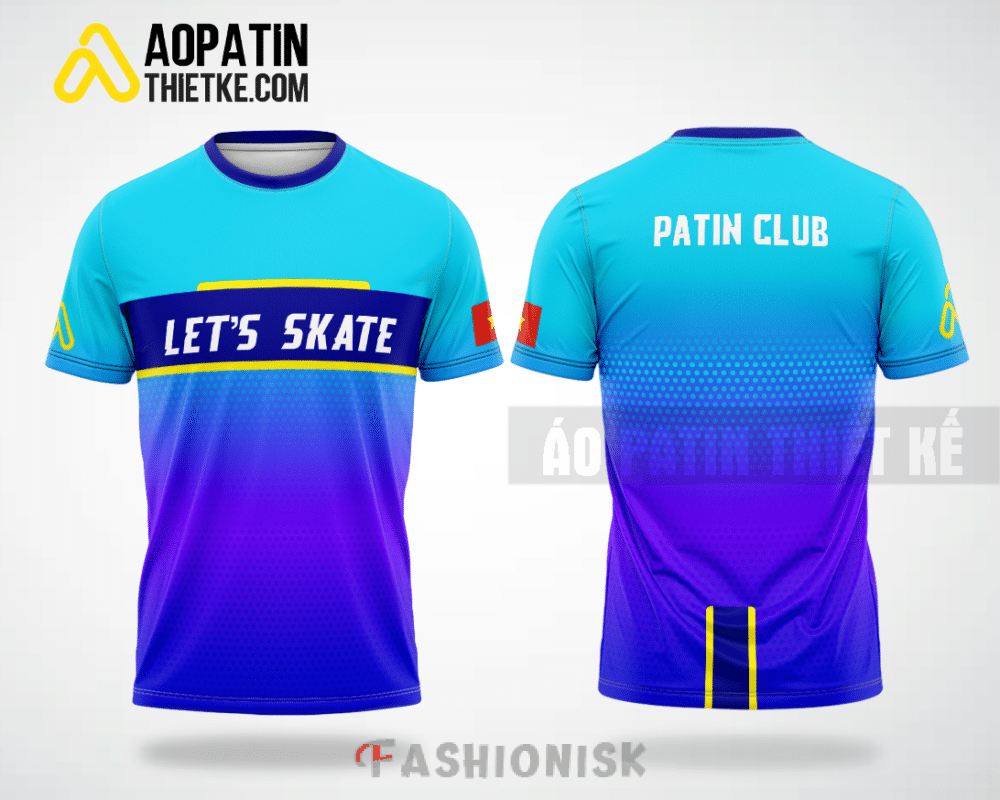
Now, you decide on the items that rightfully align with your promotional goals and target audiences. Modern consumers in 2025 prioritize sustainability, and using recycled materials can help gain popularity amid industry growth. For frequent exposure, emphasize relevant and utility products, like custom apparel, bamboo tech accessories, or branded chargers.
Ensure that these items reflect with brand values, such as sustainability, if green initiatives matter. Moreover, it is not always necessary to follow the trend; sometimes timeless pieces can generate unexpected results. Functional and qualitative swag can be more memorable, boosting recall and loyalty.
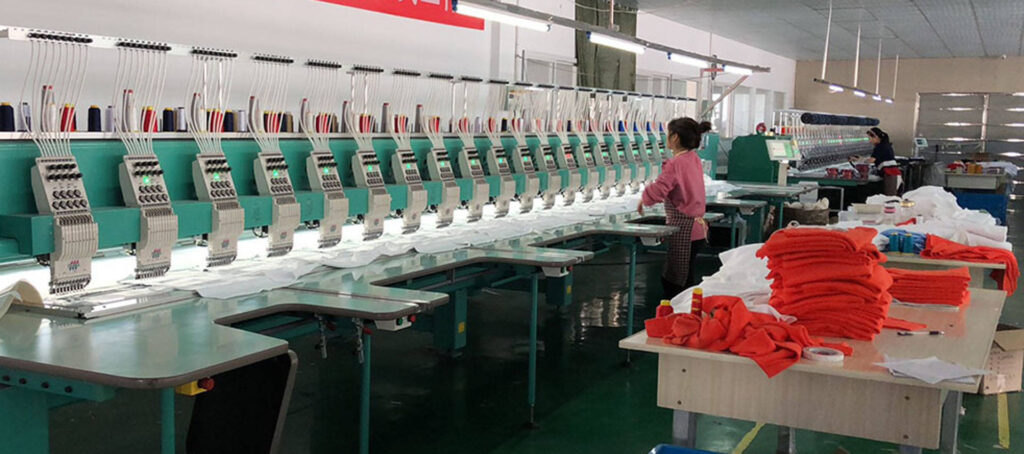
Step 4: Choose a reliable supplier
Once you have shortlisted your promo items, it’s time to find a reliable vendor or supplier. Opt for those having affiliations with PPAI or ASI, which ensure ethical standards and product safety. Do your research by reviewing ratings, case studies, and testimonials for insights into service. List multiple vendors and compare their quotes, focusing on value over price, while confirming customization services.
Get full details about their minimum orders, imprint techniques (e.g., laser engraving vs. digital printing), eco-certifications, return policies, and warranties to mitigate risks. Building quality partnerships can yield discounts and priority service. This thorough selection minimizes errors, ensuring seamless execution from order to delivery.
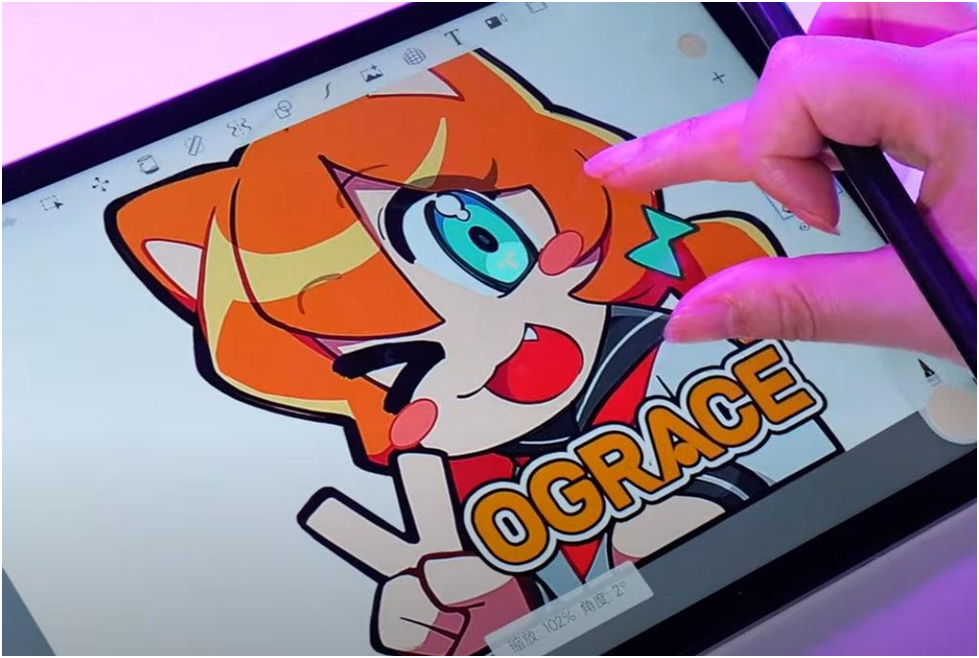
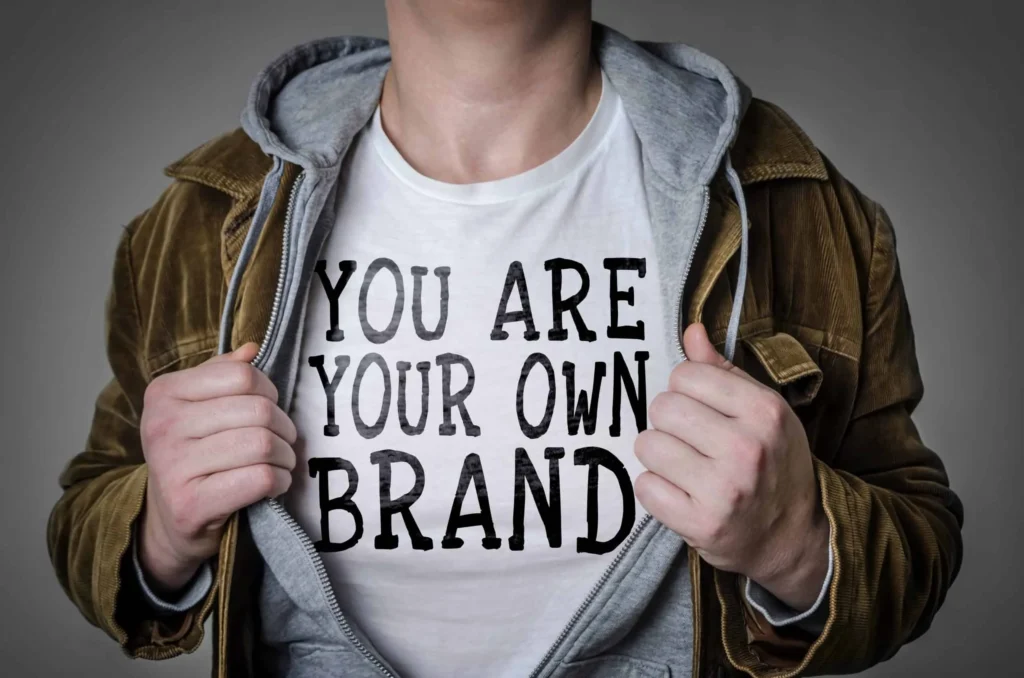
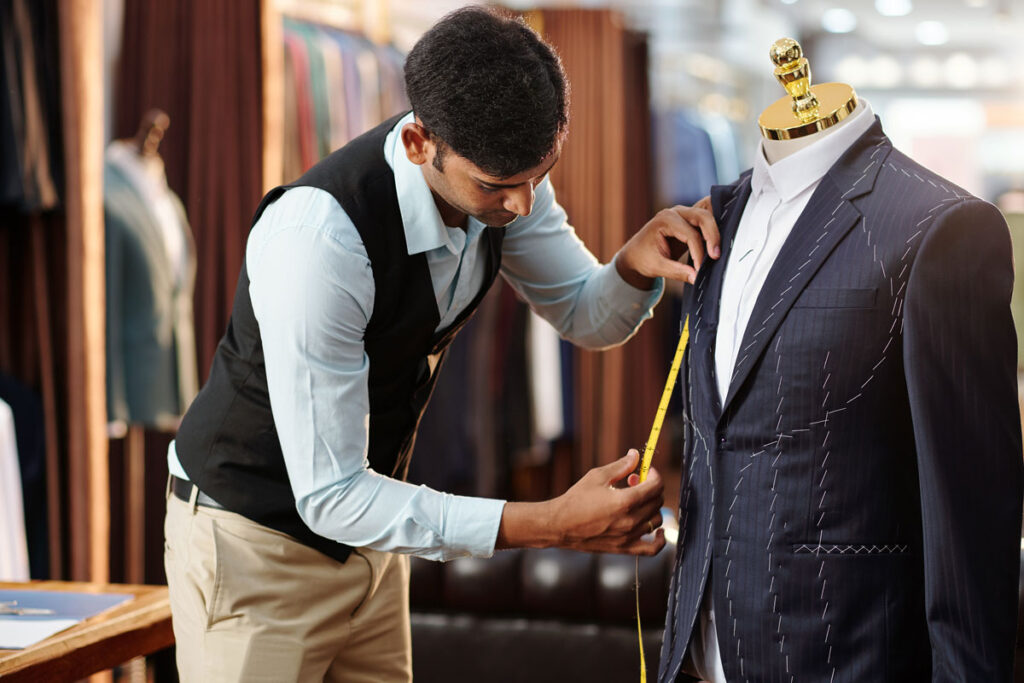
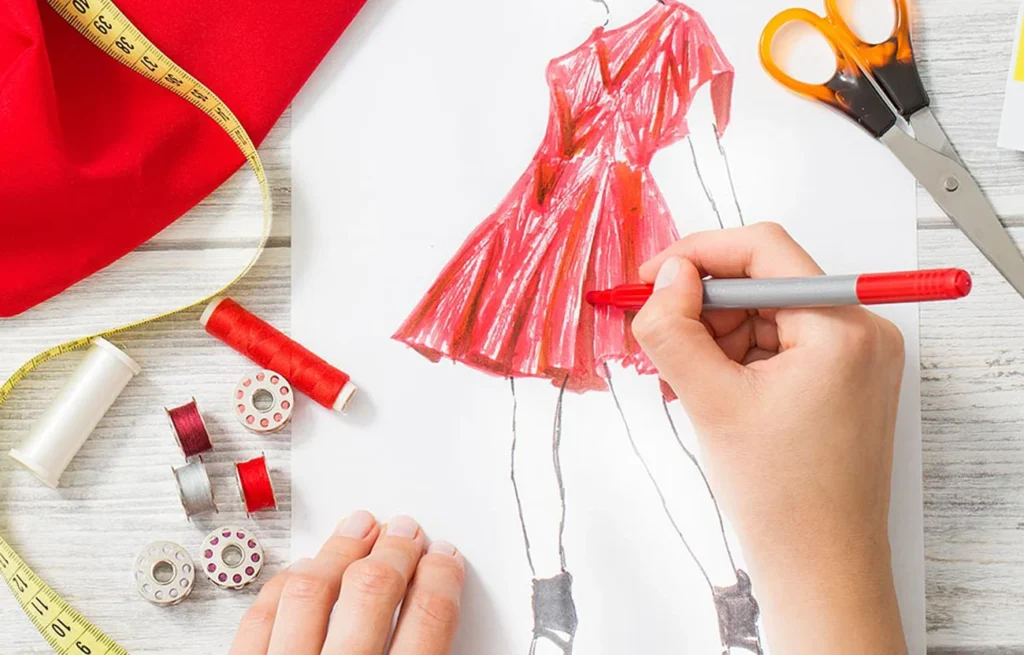
Step 5: Prepare and submit artwork
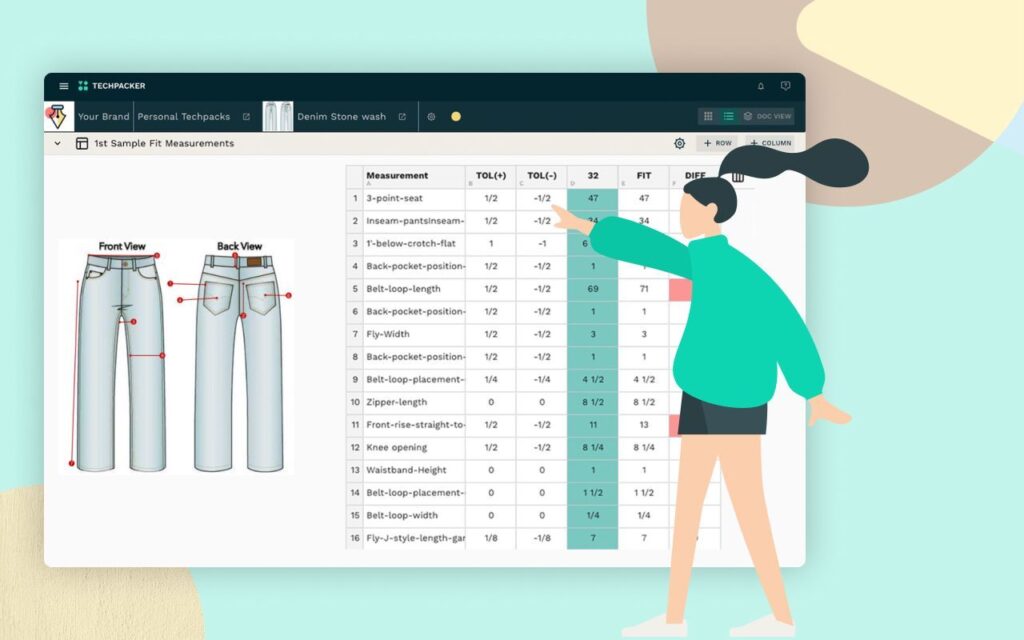
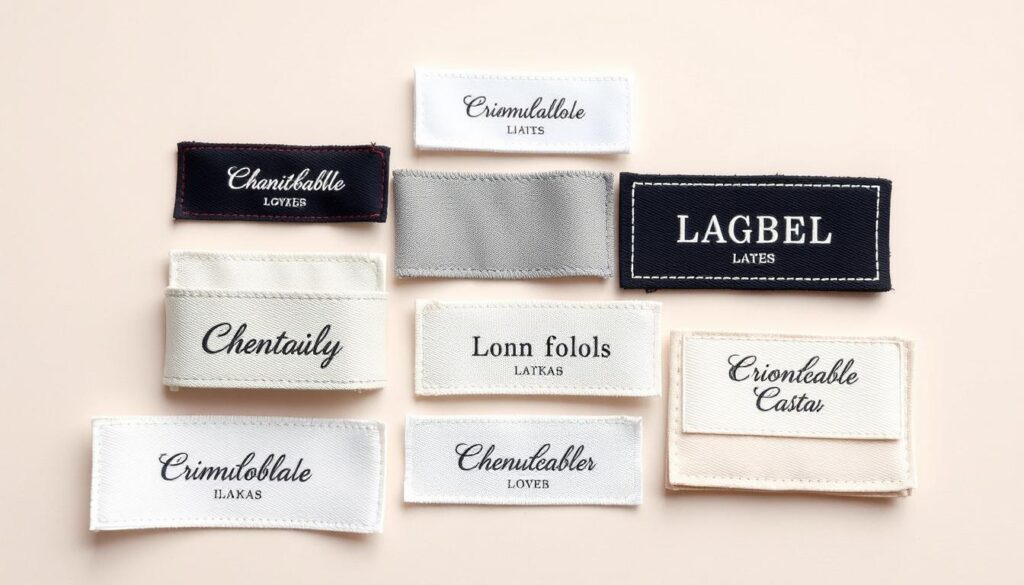
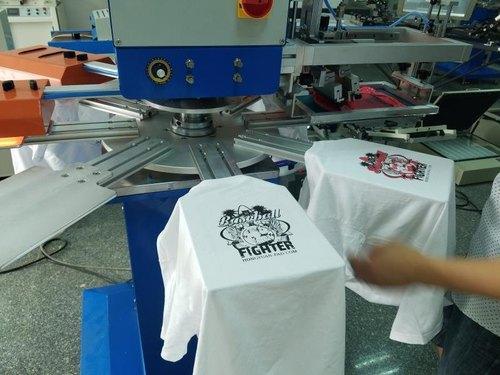
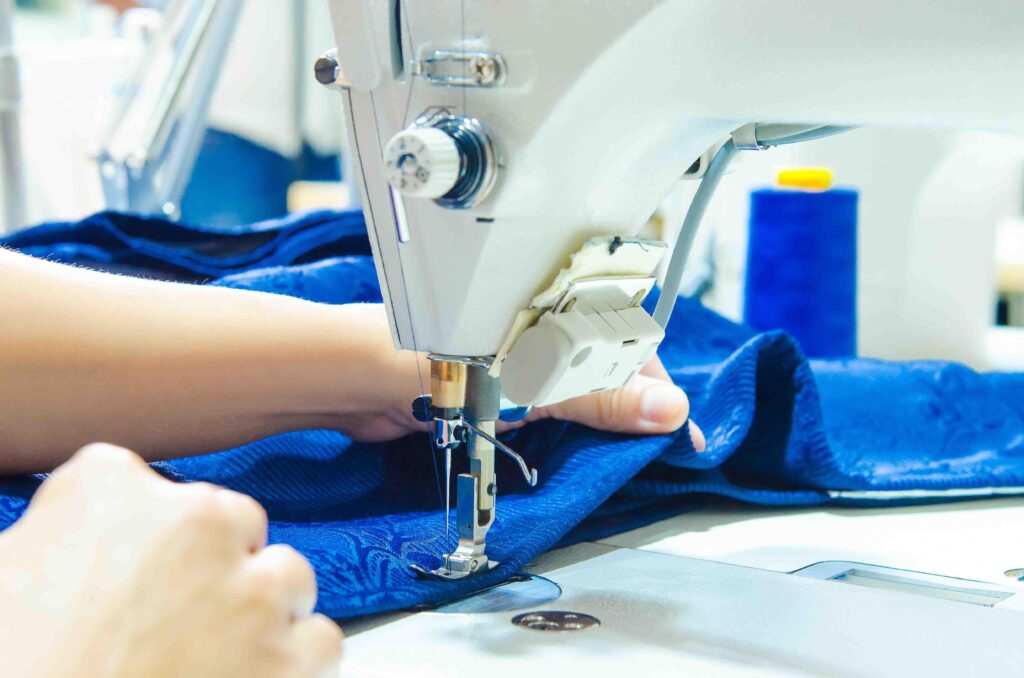
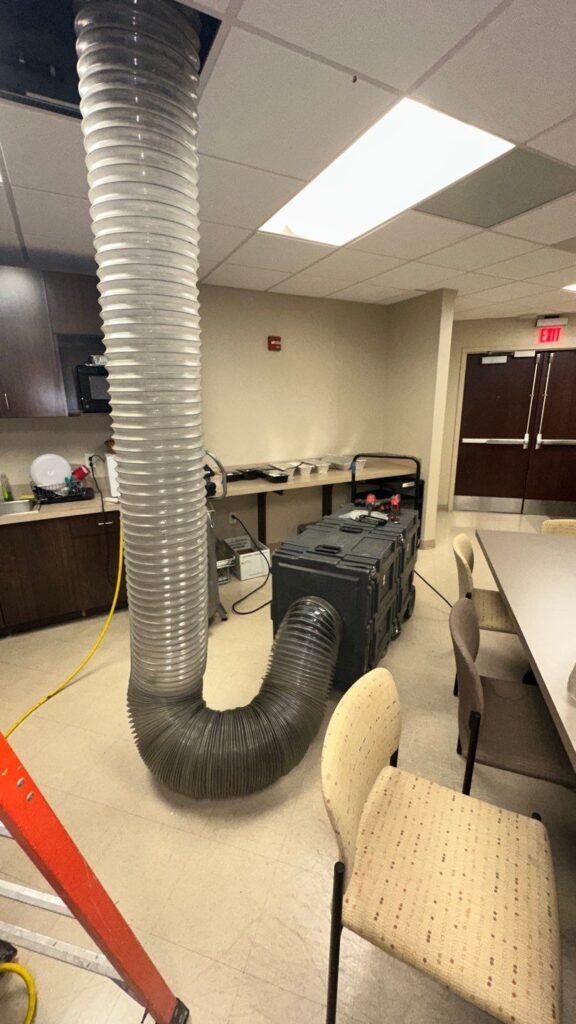
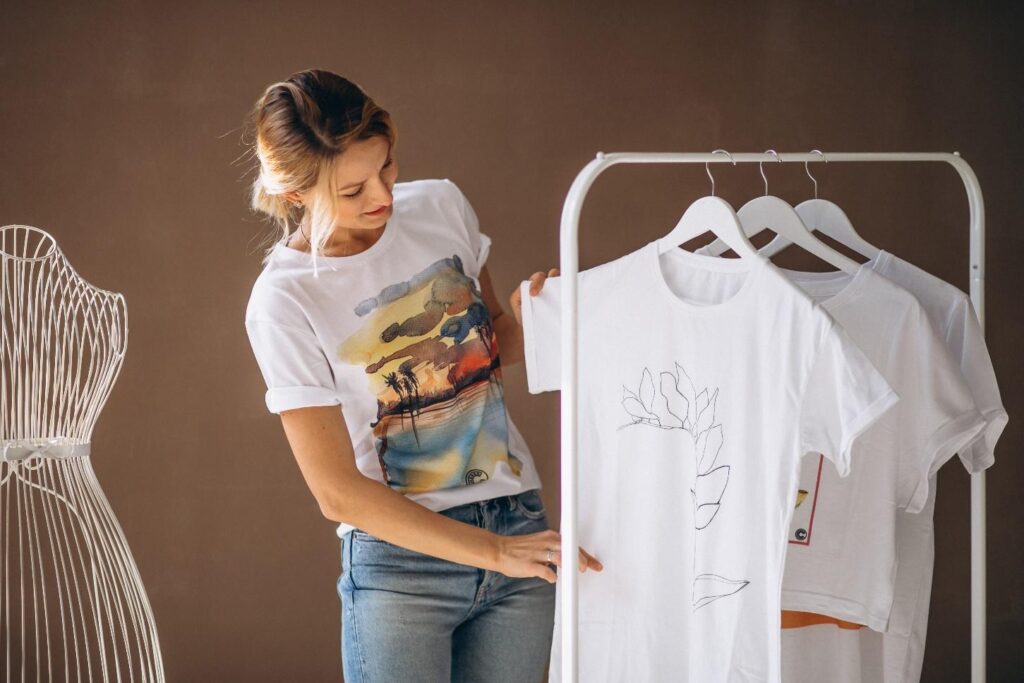
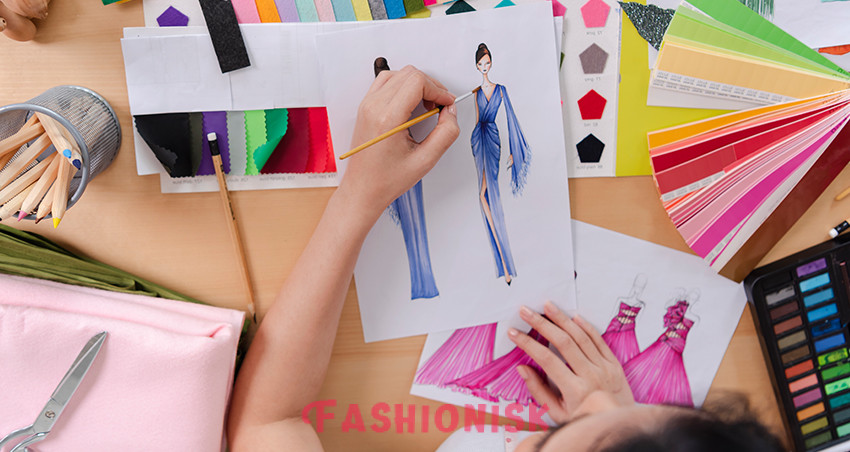
Artwork basically means designing merch that brings your brand to life, so precision is key here. Always use high-resolution files (300 DPI for prints) in vector formats like EPS for scalability; otherwise, low-res submissions will produce blurry outcomes. Strictly comply with branding guidelines, like Pantone colors, fonts, and logo sizes for consistency across items. If adding licensed elements, obtain permissions beforehand to avoid legal issues.
Never do artwork in ignorance because curved surfaces of products need adjusted layouts. This cautious artwork submission process prevents costly revisions and ensures that your brand message is clearly and professionally conveyed on every piece.
Step 6: Review proofs and order samples
After artwork submissions, request order samples as proofs to safeguard against faults. This could be either digital or physical versions merely to verify colors, placement, and sizing. Cross-check for typos, alignment issues, or color mismatches. Approve further production only after team consensus.
A sample order helps with tactile evaluation, like functionality testing of a mug’s heat resistance or a bag’s stitching. This hands-on scrutiny reveals quality gaps early, saving on reprints. By investing time and money here, rest assured, your final products will meet expectations and enhance brand perception.
Step 7: Place the custom merchandise order
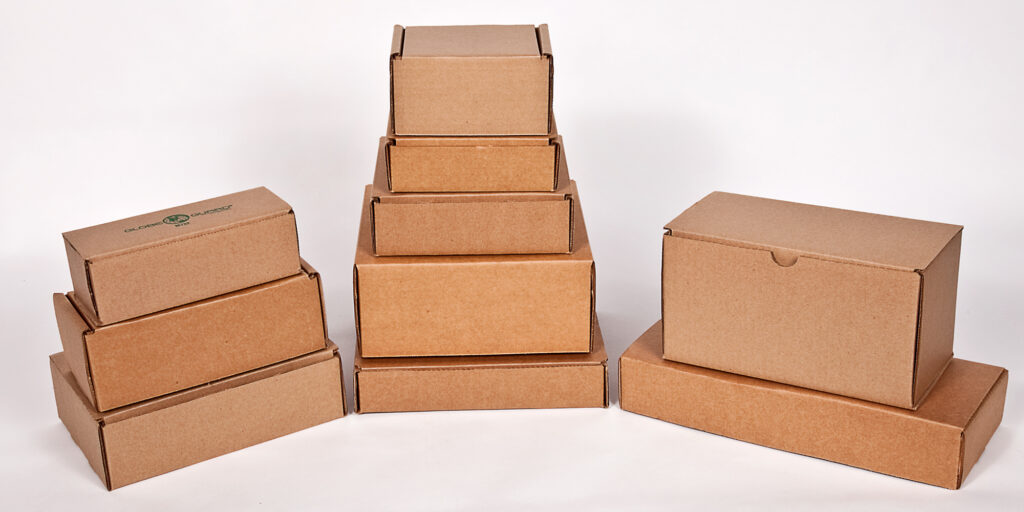
With approvals in hand, finalize the custom product’s details meticulously. Confirm quantities, variations (e.g., sizes, colors), imprint methods, and packaging options, like special individual wrapping for gifting. Once the orders are made, secure written quotes from vendors to lock in pricing, including payment terms and deposits.
Track your production via supplier portals for real-time updates, and always double-check to prevent delivery errors. This custom merchandise order phase transitions from planning to action, so clarity minimizes disruptions.
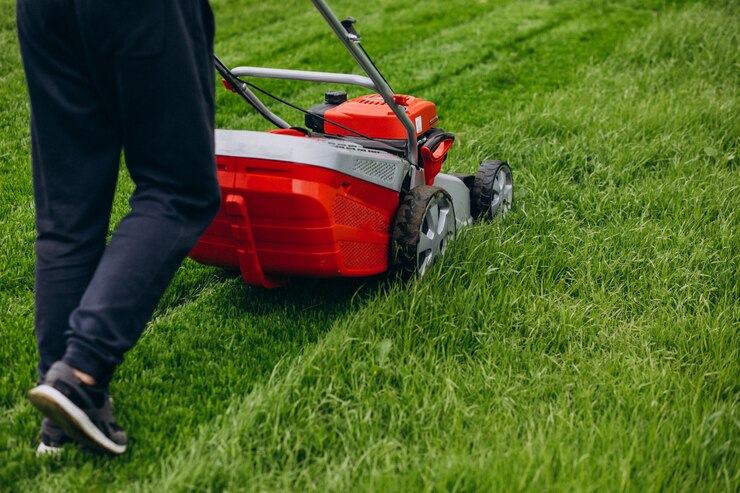
Step 8: Handle production, delivery, and distribution
To ensure that the timeline is followed, monitor production closely. Reputable suppliers often provide progress reports and inform about potential delays. Once you receive your order, inspect it thoroughly: Count items, check for defects, and verify branding accuracy. You can now go ahead with distribution, like as giveaways at events. If there’s leftover, store it properly to maintain quality. Effective handling here maximizes reach and ensures positive recipient experiences, amplifying your campaign’s success.
Step 9: Evaluate and iterate
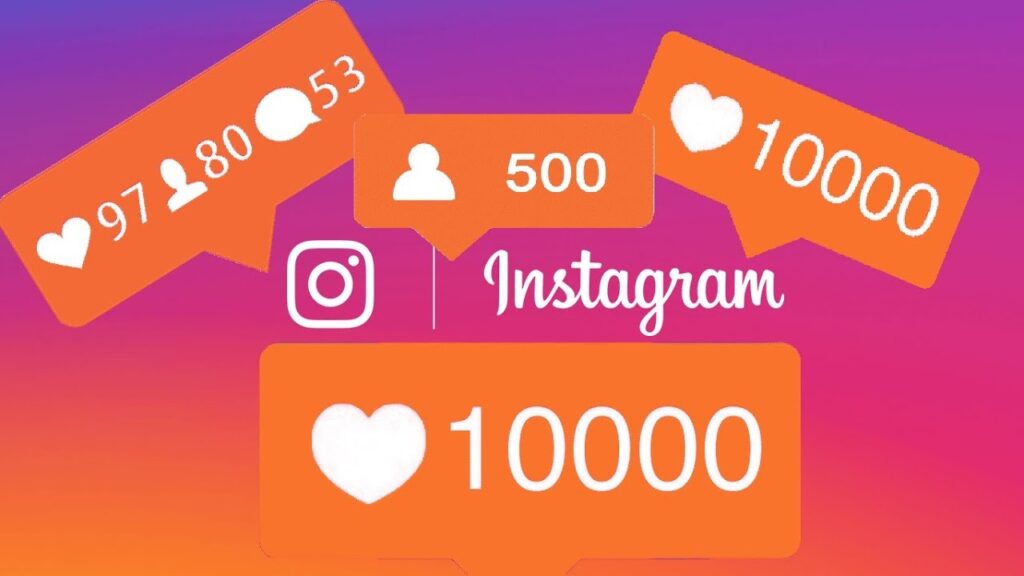
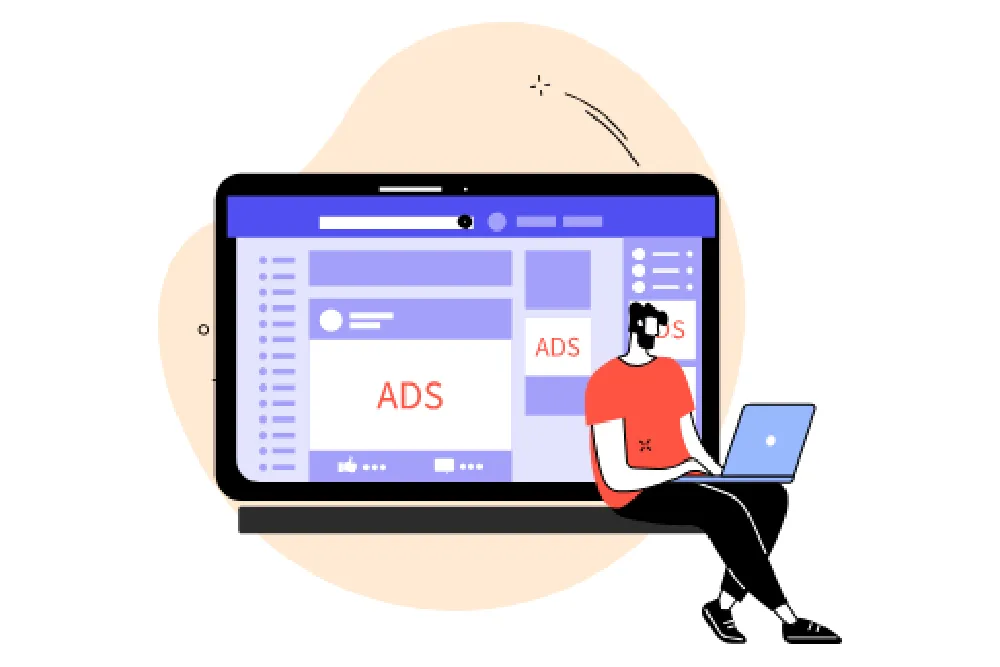
The process doesn’t end after distribution. Now is the time to measure outcomes, like surveying recipients on item usage and impressions. Track metrics like website visits, sales uplifts, or social mentions to quantify ROI. This evaluation will give you insights about a high-engagement product, effective channels, underused items, etc. Document any identity gaps in your promotional product checklist for refinement. This iterative process builds expertise, optimizing budgets and strategies over time.
These steps highlight that ordering promotional products is a time-consuming process. By following this balanced guide, you can create impactful campaigns. So, ready to elevate your brand?