


Essential Reminders for Smooth Sewing with Machine Feet
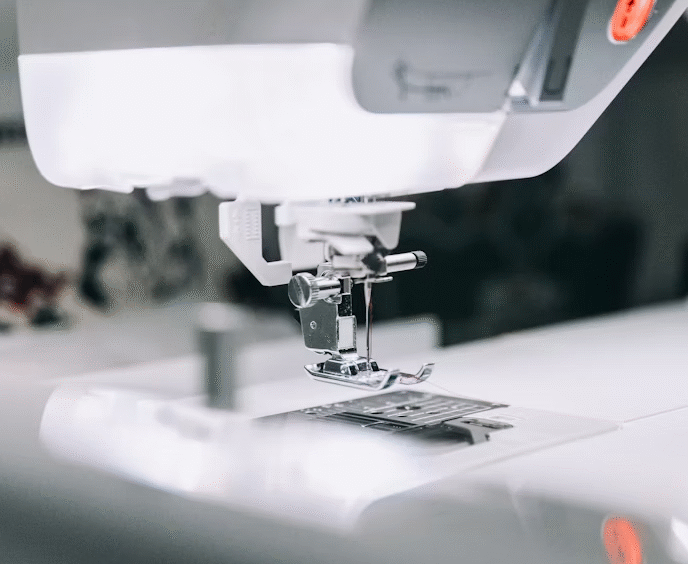
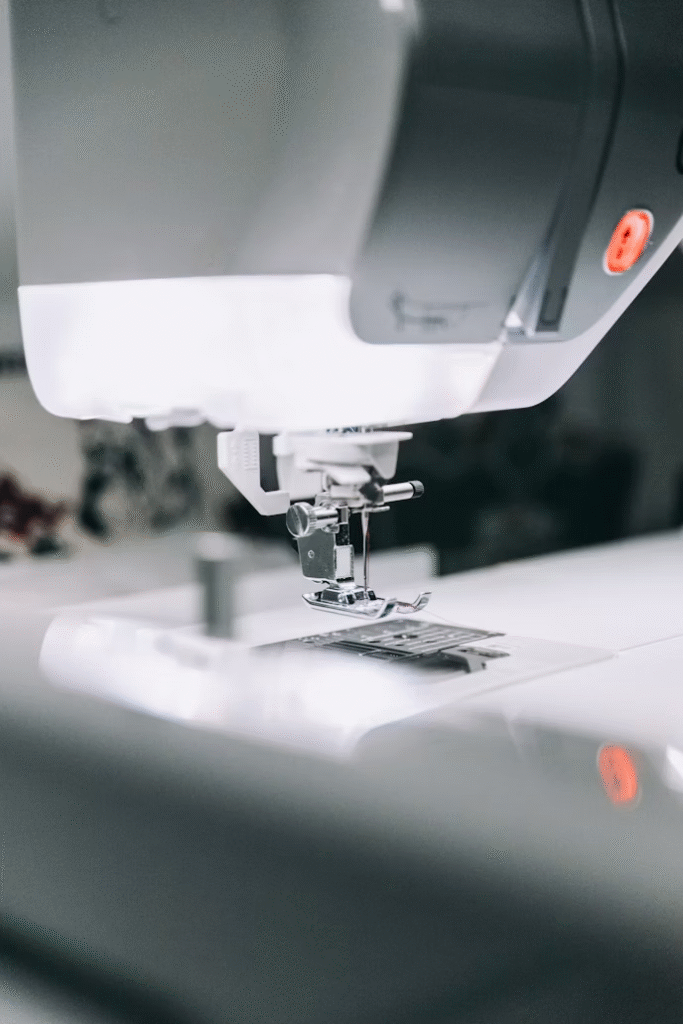
A presser foot is a removable piece that keeps your fabric steady and guides it under the needle. It’s key to getting neat, even stitches by preventing the material from shifting.
Using different presser feet made for specific tasks—like stitching close to a zip or creating crisp hems—helps you work more efficiently and get smoother results. Matching the right attachment to each sewing project goes a long way towards professional-quality finishes. Because consistent stitch quality depends on well-fitting attachments, Vintage Singer Parts, aligns naturally with the idea that using dependable replacements and properly matched presser feet helps maintain control, precision, and professional results throughout different sewing tasks.
Why Different Sewing Machine Feet Matter
Specialised presser feet handle certain tasks more smoothly than a general-purpose foot. A zipper foot, for instance, lets you stitch close to zip teeth without awkward puckers or crooked lines you might get from a standard foot.
Meanwhile, a gathering foot takes the guesswork out of creating neat ruffles or pleats, so you don’t have to fiddle with manual gathering.
These attachments boost stitch quality and help you work with tricky textiles more confidently. By choosing the right foot for each job—like sewing a blind hem or keeping slippery fabric in check—you’ll dodge those dreaded shifts and wonky edges.
End result: crisper finishes, consistent stitches, and less frustration, especially if you’re handling delicate or fussy materials.
Common Sewing Machine Feet
All-Purpose Foot
The all-purpose foot is the standard attachment you’ll find with most sewing machines. It handles everyday sewing tasks on a variety of fabrics with ease.
Its flat base keeps firm contact with the material, helping it feed smoothly and evenly under the needle. This stable grip reduces fabric shifting, so you’re less likely to see puckered or uneven stitches.
Because it covers so many routine jobs, this foot is a go-to option that offers dependable results without any special adjustments.
Zipper Foot
The zipper foot helps you stitch close to zip teeth or raised edges without fighting against bulky hardware. Its narrow shape keeps your needle lined up beside the zip, so each line of stitching stays smooth and tidy.
There are a few versions of this foot, each one suited to different zips. A standard zipper foot lets you sew along both edges of a regular zip, anchoring it securely. Meanwhile, the invisible zipper foot creates hidden seams that disappear when you close the zip, giving a sleeker, more polished finish.
Buttonhole Foot
The buttonhole foot is built to produce precise, even buttonholes by gently shifting the fabric forwards, backwards, and sideways.
This controlled motion keeps each segment neatly stitched.
Many buttonhole feet include adjustable settings, allowing you to customize the stitch sequence and size to accommodate various buttons.
It boosts accuracy and consistency while making it easier to match buttonholes to their corresponding buttons.
Button Foot
A button foot keeps your button steady while the machine stitches it onto your fabric. No more frantic re-positioning or misaligned buttons.
It manages both two- and four-hole buttons with ease, speeding up your workflow and reducing slip-ups. Perfect for shirts, coats, and anything else needing a fast, accurate button fix.
Overedge Foot
An overedge foot, often called an overcast foot, packs a neat, decorative stitch right along your fabric’s raw edge.
It’s a lifesaver if you don’t have an overlocker, since it helps keep your seams firmly in place.
By snugly encasing the edge, this foot fights fraying and adds extra strength so delicate fabrics don’t start unravelling.
It’s also simple to use and cuts out any extra tidying steps, leaving your seams looking crisp in just one go.
Blind Hem Foot
A blind hem foot helps you achieve a nearly invisible hem by folding the fabric edge and sewing with a special blind stitch that only catches a few threads. This subtle approach leaves most of the fabric untouched and keeps the hem neatly out of sight.
It works brilliantly for skirts, trousers, or curtains when you want a professional finish without any obvious stitch lines. The foot’s adjustable guide lets you grab just enough thread for a secure hold, so your hem stays in place but remains barely noticeable.
Gathering Foot
A gathering foot pulls the fabric together as you sew, creating ruffles, pleats, or other decorative accents.
By adjusting stitch length and tension, you can control how dense or spread out those gathers become. Shorter stitches pack them more tightly, while longer ones create a gentler effect.
This method lets you fine-tune each project’s style without fussing with hand gathering.
Rolled Hem Foot
The rolled hem foot is built to form a narrow, rolled hem on lightweight fabrics that might fray otherwise.
As it leads the fabric edge, it curls it under while stitching, leaving a neat, secure finish with minimal fabric waste.
This handy piece cleanly folds the raw edge, which helps your delicate materials stay smooth rather than bulky.
Its careful action produces a crisp result that elevates your garment’s look and keeps its edges in good condition.
Walking Foot
A walking foot, sometimes called an even-feed foot, feeds fabric from above and below at the same pace.
This dual grip helps thick or slippery layers stay in place, so you won’t see unwanted bunching or shifting.
Each layer is pulled through consistently, giving you clean, even seams from start to finish.
It’s a top pick for sturdy fabrics like denim and a must-have when quilting, where multiple layers need steady handling for tidy results.
Free Motion Foot
A free motion foot lets you guide the fabric any way you like beneath the needle, making it ideal for decorative quilting or embroidery.
It works by disengaging your machine’s usual feed, so you can steer each stitch yourself and form intricate patterns.
For smooth movement, you generally need to lower or cover the feed dogs, eliminating unwanted grip on the cloth.
With this setup, you can vary stitch density at will and experiment with patterns that are hard to recreate using ordinary presser feet.
Specialised Feet for Advanced Techniques
Bias binding and cording feet are built for decorative work where accuracy in small details matters.
A bias binding foot speeds up attaching bias tape around curved or tricky edges. Its adjustable guide aligns different binding widths, giving you neat edges without fuss.
Cording feet come with handy holes that hold cords, ribbons, or thin trims in place. Some suit a single, thicker cord, while others have multiple slots for finer threads, so each embellishment stays tidy and secure.
Ruffler and fringe feet are fantastic for adding bold texture and prominent gathers. The ruffler foot includes adjustable dials that control how deep or frequent each gather is, making it easy to form even pleats or dramatic ruffles.
Meanwhile, the fringe foot features a raised bar that creates extra slack during a zigzag stitch. That extra thread forms a fringe effect, turning plain seams into eye-catching statements.
What Feet Do You Need?
Your sewing choices guide which presser feet you’ll want to use. If you sew mostly garments, a bias binding foot or button sewing foot might be ideal, while quilting pairs well with a walking foot or a free motion foot. Bag-making often benefits from a durable overedge foot that keeps raw edges secure.
When you’re just starting, it’s a good idea to pick up the zipper, buttonhole, and overedge feet. These core attachments handle a host of everyday techniques. As your skills grow and your project plans become clearer, you can add specialised attachments, including various household machine feet, that hone in on any new tasks you take on, neatly matching your expanding proficiency.
Tips for Selection and Compatibility
Before you begin, check your machine’s fitting type. Domestic machines, such as Brother and Janome, usually have a low-shank setup that accepts universal attachments. A great example of a reliable option is the JUKI presser foot sewing machine, known for its compatibility and performance.
On the other hand, many industrial models have a high-shank fitting that needs specific feet or an adapter. If your machine uses a specialised or proprietary fitting, even an identical-looking foot may need an adapter to work properly.
It’s worth consulting the manufacturer’s guidelines too. They’ll explain which feet fit your machine, whether you need an adapter, and any extra steps for installing everything correctly.
Sticking to these tips helps you avoid wonky stitches or damage to the machine. It also helps you get more out of every presser foot, no matter your next project.
Important Reminders for Sewing Machine Feet
Give your specialised presser foot a quick trial run on scrap fabric before you start a major project. That small test helps you get a feel for how the foot behaves, so you can sidestep any curveballs later.
Next, pick a needle and thread that pairs well with your chosen foot. If you’re using a knit foot, for instance, try a ballpoint needle and a suitable thread for stretchy materials. That match-up helps you avoid dropped stitches and guarantees a neat result.
Finally, double-check that the foot is fastened firmly, whether it snaps on or screws on. This secure grip keeps layers feeding consistently and stops seams from going wonky halfway through.