


How To Unlock Maximum Performance with a Milwaukee Multi-Tool
Ever feel like your Milwaukee multi-tool could be doing more?
This amazing tool is full of potential, yet realizing its full output is more than a question of simply flipping the switch. The difference between amateur-grade output and pro-level precision often hinges on tiny changes that most users overlook.
From smarter initial setups to intuitive methods, there are imperative ways to boost productivity, extend tool longevity, and produce cleaner, faster results. Whether a pro or DIYer, having the ability to tap into these strategies can turn the entire nature of your workaround.
Want to simplify and enhance every project?
Read on to learn easy but effective tips that will enable you to maximize the potential of your Milwaukee multi-tool.
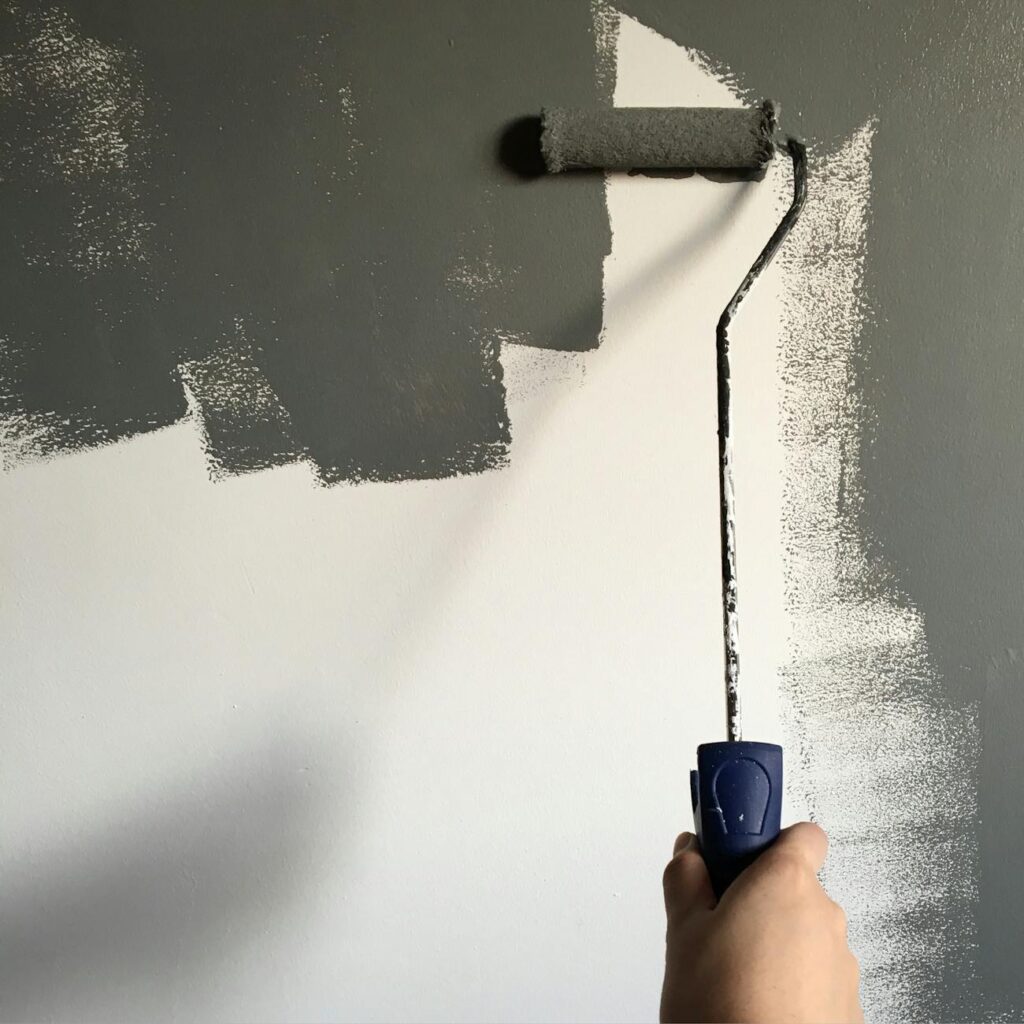
1. Choose the Right Blade for the Task
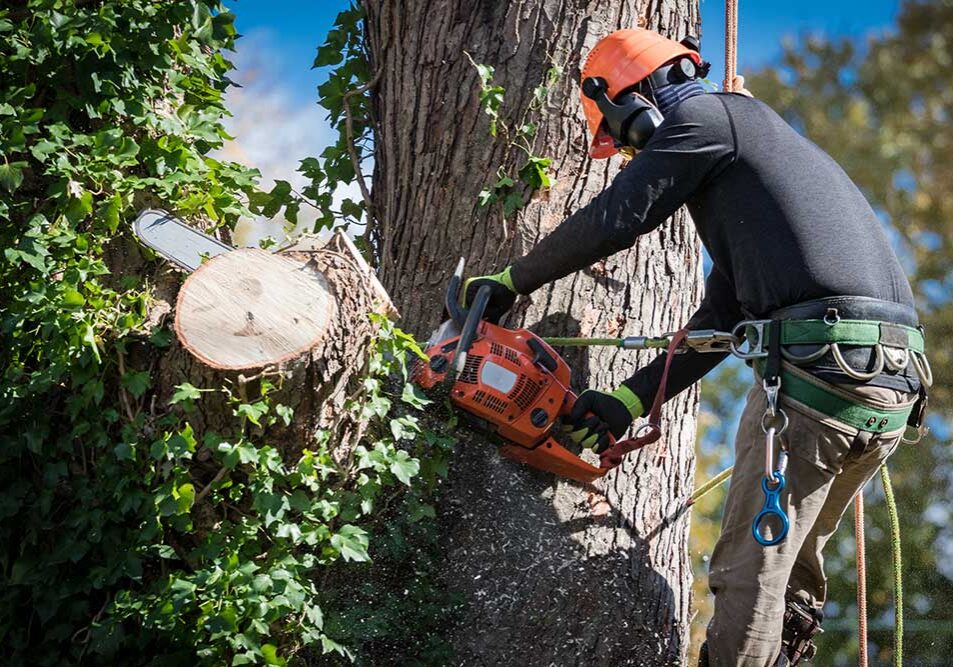
The first tip to get the most out of your Milwaukee multi tool is to select the right blade according to the material you are dealing with. When cutting wood that contains nails, use a wood and nail blade designed to cut both materials without becoming dull easily.
On the other hand, when cutting metal, use metal-specific blades to prevent damage or wear. Flush-cut blades come in handy where accuracy is required in cutting near surfaces or in confined areas.
Furthermore, pairing the blade with the task will result in cleaner cuts and less frustration. The correct blade will also extend blade and tool life, allowing you to work more quickly and more precisely.
This initial step preconditions your success in any project you work on.
2. Optimize Tool Settings and Usage
Adjust the oscillation speed according to the material to get the best out of your Milwaukee multi-tool. Softer materials should be run at low rates to achieve smooth cuts, and those that are harder should be run at higher rates to cut effectively.
Use medium pressure- allowing the tool to do the job will avoid wearing and overheating of the blade. To make plunge cuts, begin at a low speed to control.
When sanding, it is best to hold the tool at a slight angle to allow for even coverage of the surface without gouging. By adjusting speed, pressure, and technique to your task, you can achieve better-cut quality and greatly increase the life of your blades and tools, as well as make your work easier and more efficient.
3. Maintain Your Blades and Tool
Regular maintenance of your Milwaukee multi-tool and blades is necessary for smooth operation. After each use, spend a few minutes cleaning the blades thoroughly.
Over time, dust, resin, and other debris can stick, leading to overheating and accelerated dulling—both of which impair cutting performance and blade life. Furthermore, light lubrication of blade teeth before and after prolonged use reduces friction, regulates heat, and keeps blades sharp.
Also, occasional inspection of your blades for wear, bending, or missing teeth will prevent them from becoming too worn out to cut effectively. Swift blade replacement provides cleaner and safer cuts as well as safeguards your work surface and the tool against damage.
Equally as vital is keeping your blades dry and temperature-stabilized away from rusting and warping. Finally, by sticking to a regular maintenance schedule, you prolong the life of your tool and accessories and provide top-notch performance on every project you undertake.
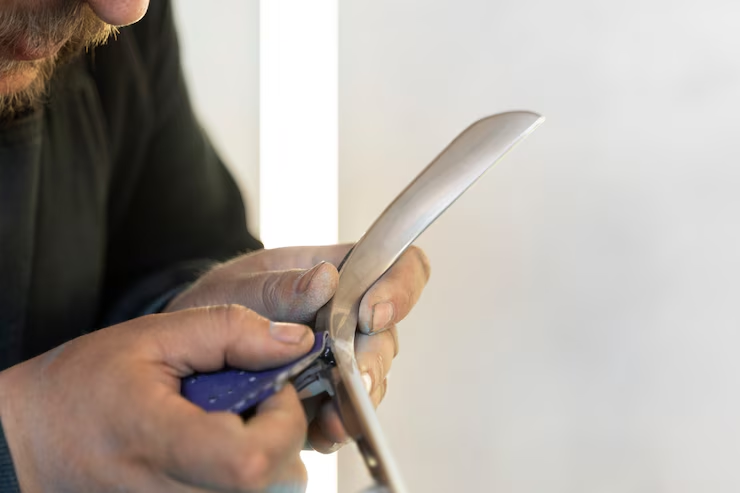
4. Master Fast, Frustration-Free Blade Changes
Among the handiest features of your Milwaukee multi-tool is that it allows tool-free blade changes. No more futzing with wrenches; rather, switch blades quickly from cutting, sanding, or scraping work without interrupting work.
To get the best out of it, get to know the locking mechanism and drill quick changes before taking on larger jobs. Keep your blades within reach and store them in an orderly fashion so you’re not spending precious time rummaging around project-style.
With all of your blades ready to go, you can easily switch between materials and functions. And if a blade becomes dulled or is having trouble halfway through a project, an instant replacement yields better results.
Ultimately, swift and effortless blade replacements save you time, prevent strain, and keep your flow going strong—particularly with multi-step projects where several attachments are called for.
5. Leverage Battery Power

Battery life is an important factor that determines how your multi-tool performs under heavy-duty tasks. Ensure that your battery is fully charged before you begin, as it may cause power drop-offs in the middle of your project.
The M18 and M12 systems from Milwaukee offer excellent runtime; however, carrying a second battery is a good idea to minimize downtime on longer projects. To increase battery longevity, it is a thumb rule not to fully drain the battery before recharging it, and partial charges are better.
Watch for heat — hot batteries wear out faster — and let them cool down between charging sessions whenever you can. Additionally, storing in cool, dry conditions helps retain capacity after storage.
6. Explore Accessories
Expand your Milwaukee multi-tools versatility by using a variety of accessories designed for specific jobs. Quick-release blades speed up switching between tasks. Scraper blades help remove adhesives or paint efficiently.
In addition, sanding pads give you smooth, professional finishes on wood, metal, and drywall. Using the right accessory for the job transforms your tool into a multi-purpose machine, improving your productivity and delivering better results.
Ultimately, having the right attachments ready lets you handle any challenge with confidence.
Conclusion
With just a few strategic upgrades to your setup and habits, your Milwaukee multi-tool can go from good to exceptional. By choosing the right blades, adjusting settings smartly, and maintaining everything well, you’re setting yourself up for pro-level results with less effort.
Stay prepared with accessories and charged batteries, and every project becomes smoother and faster. Unlock the full potential of your Milwaukee multi-tool today.

